The solar system
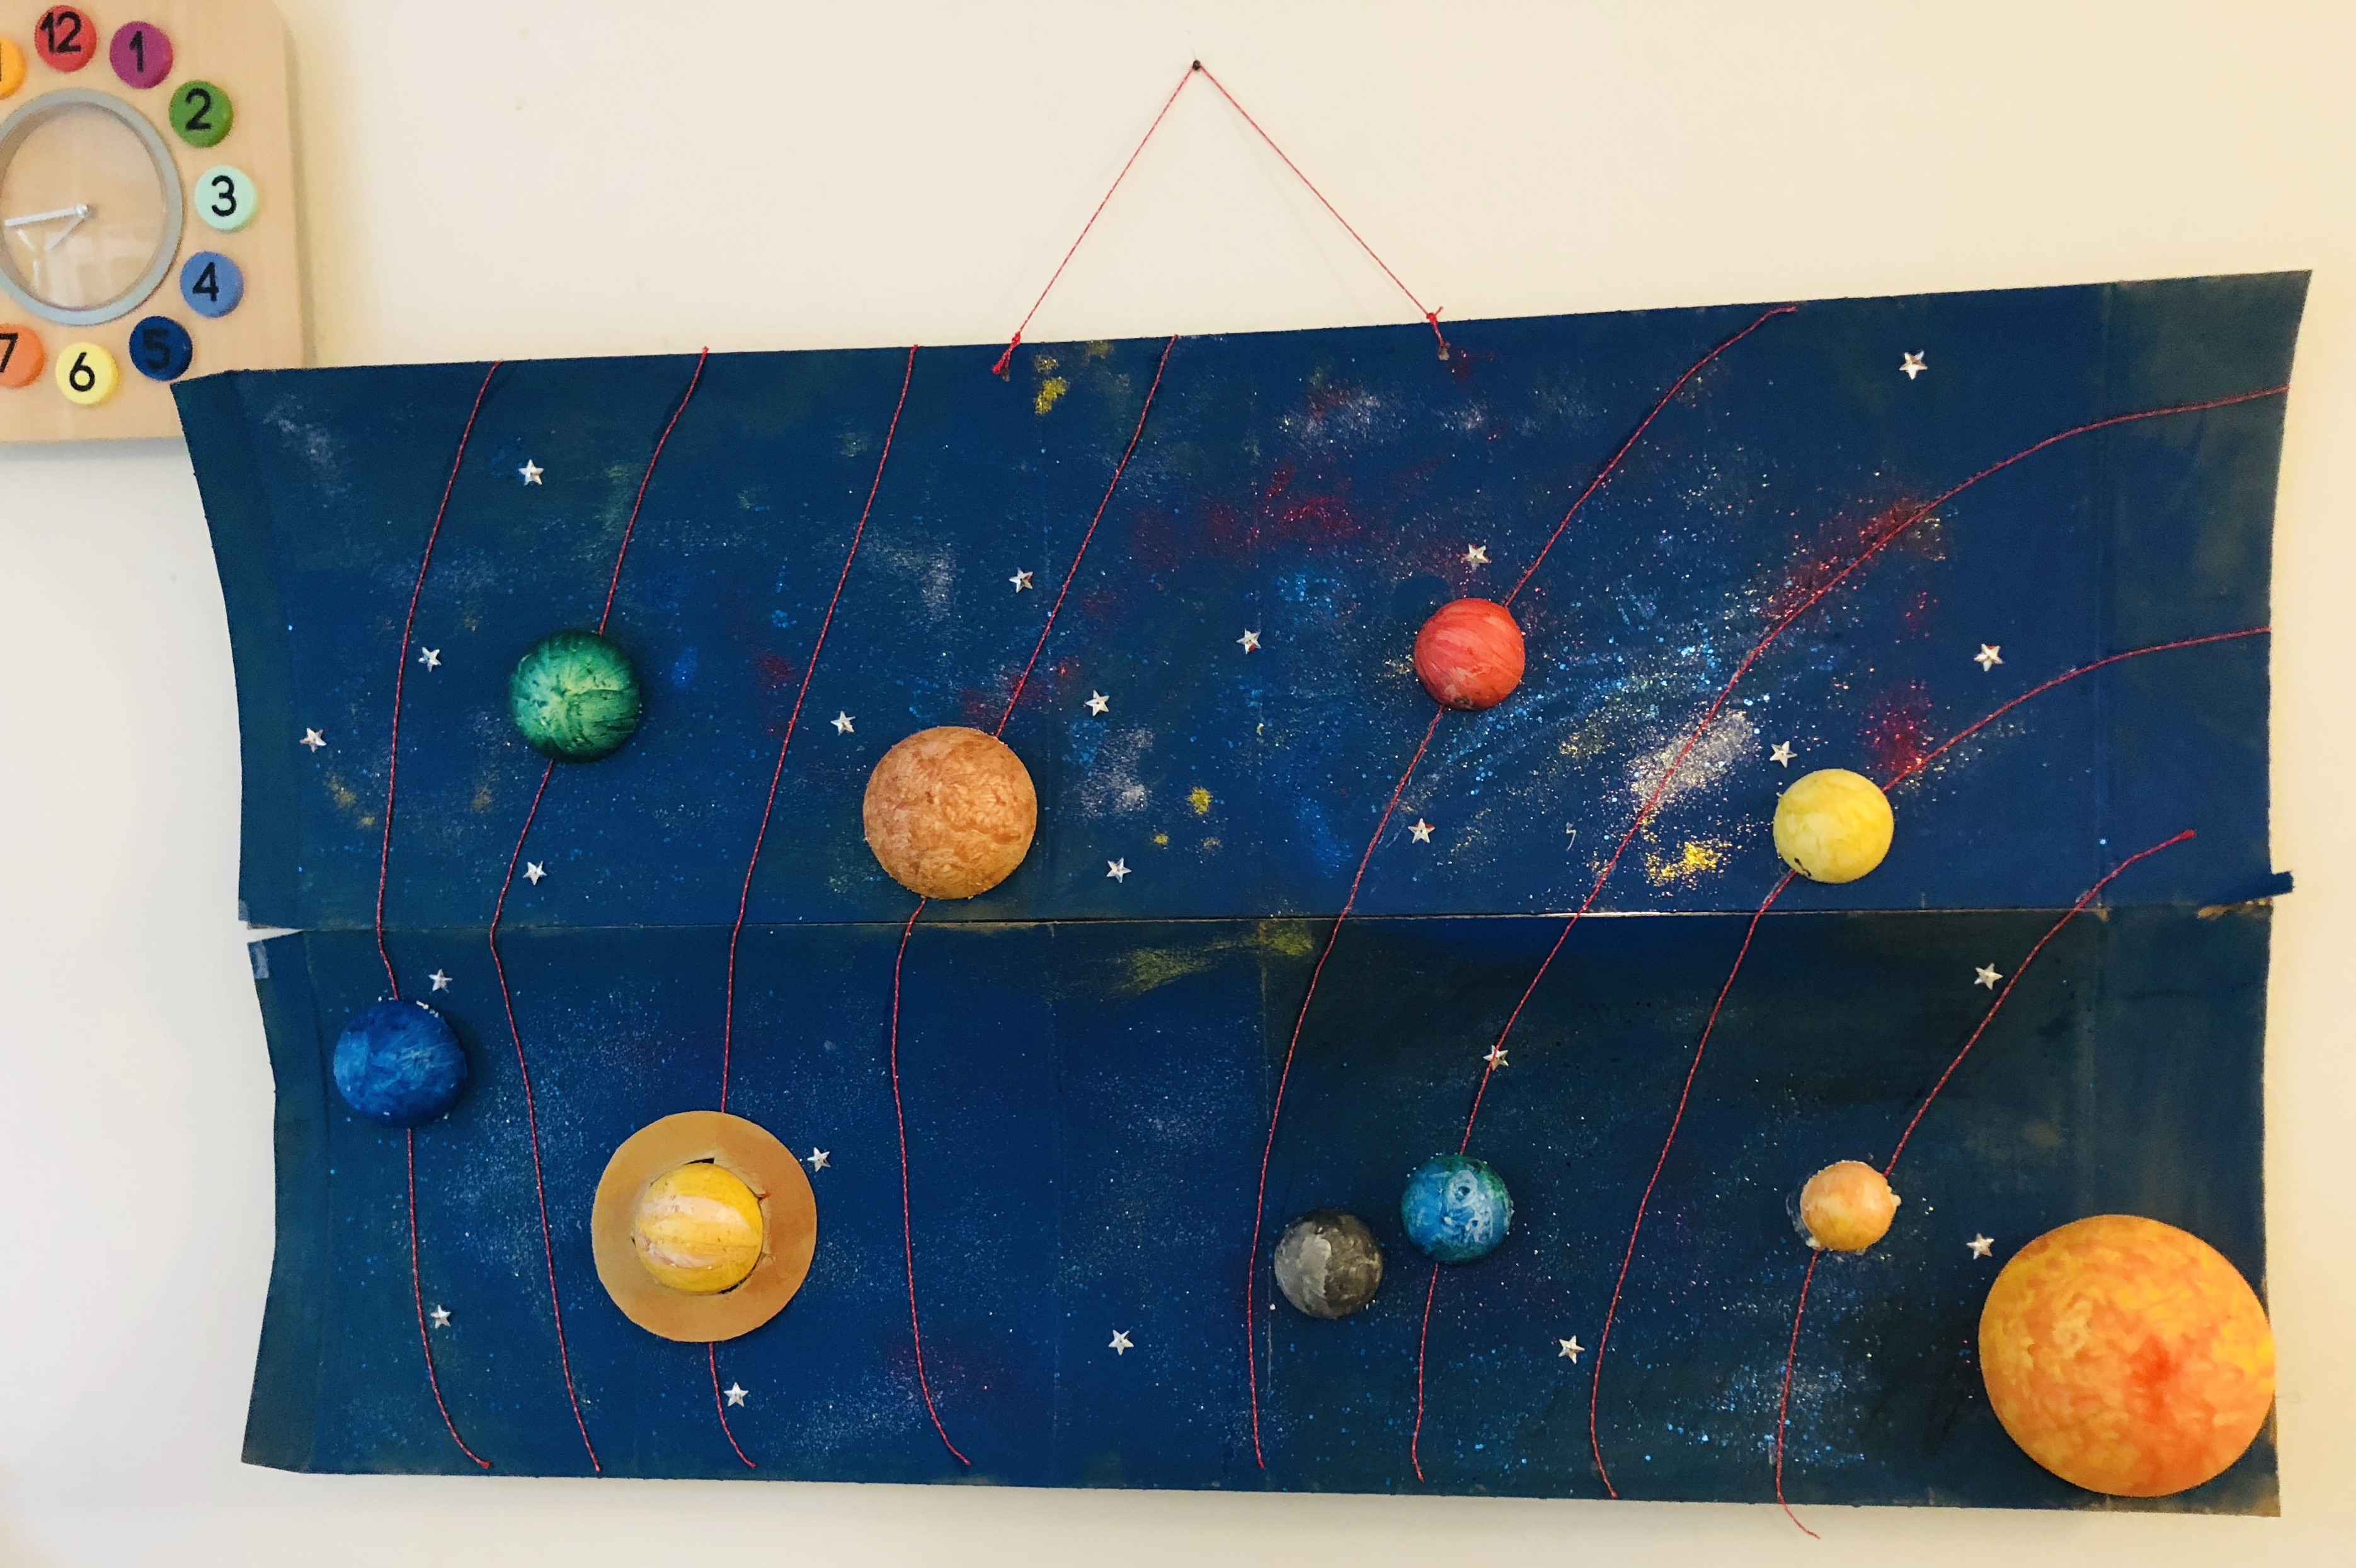
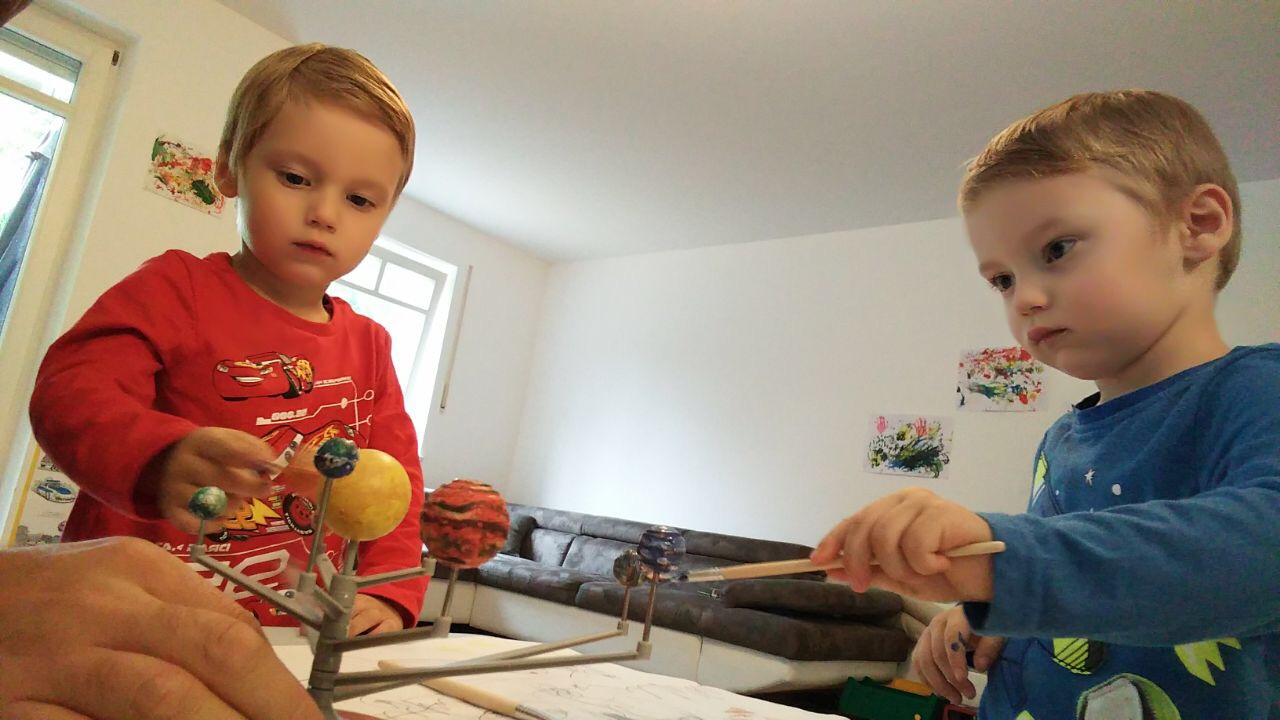
Learning through projects such as this one, helps children engage with the subject and create something. Such hands-on activities keep children immersed in what they are doing. After making this solar system model, our two space enthusiasts remembered so much about orbits and stars. Now, they know more than I did when I was almost four. Ok, they probably know more than I do now.
- Cardboard
- Strings or thread
- Balls (we used styrofoam. Next time it will be a more eco-friendly material)
- Paint (we used acrylic paint)
- Paintbrushes
- Scissors
- Glitter
- Tiny stars
Step 1.
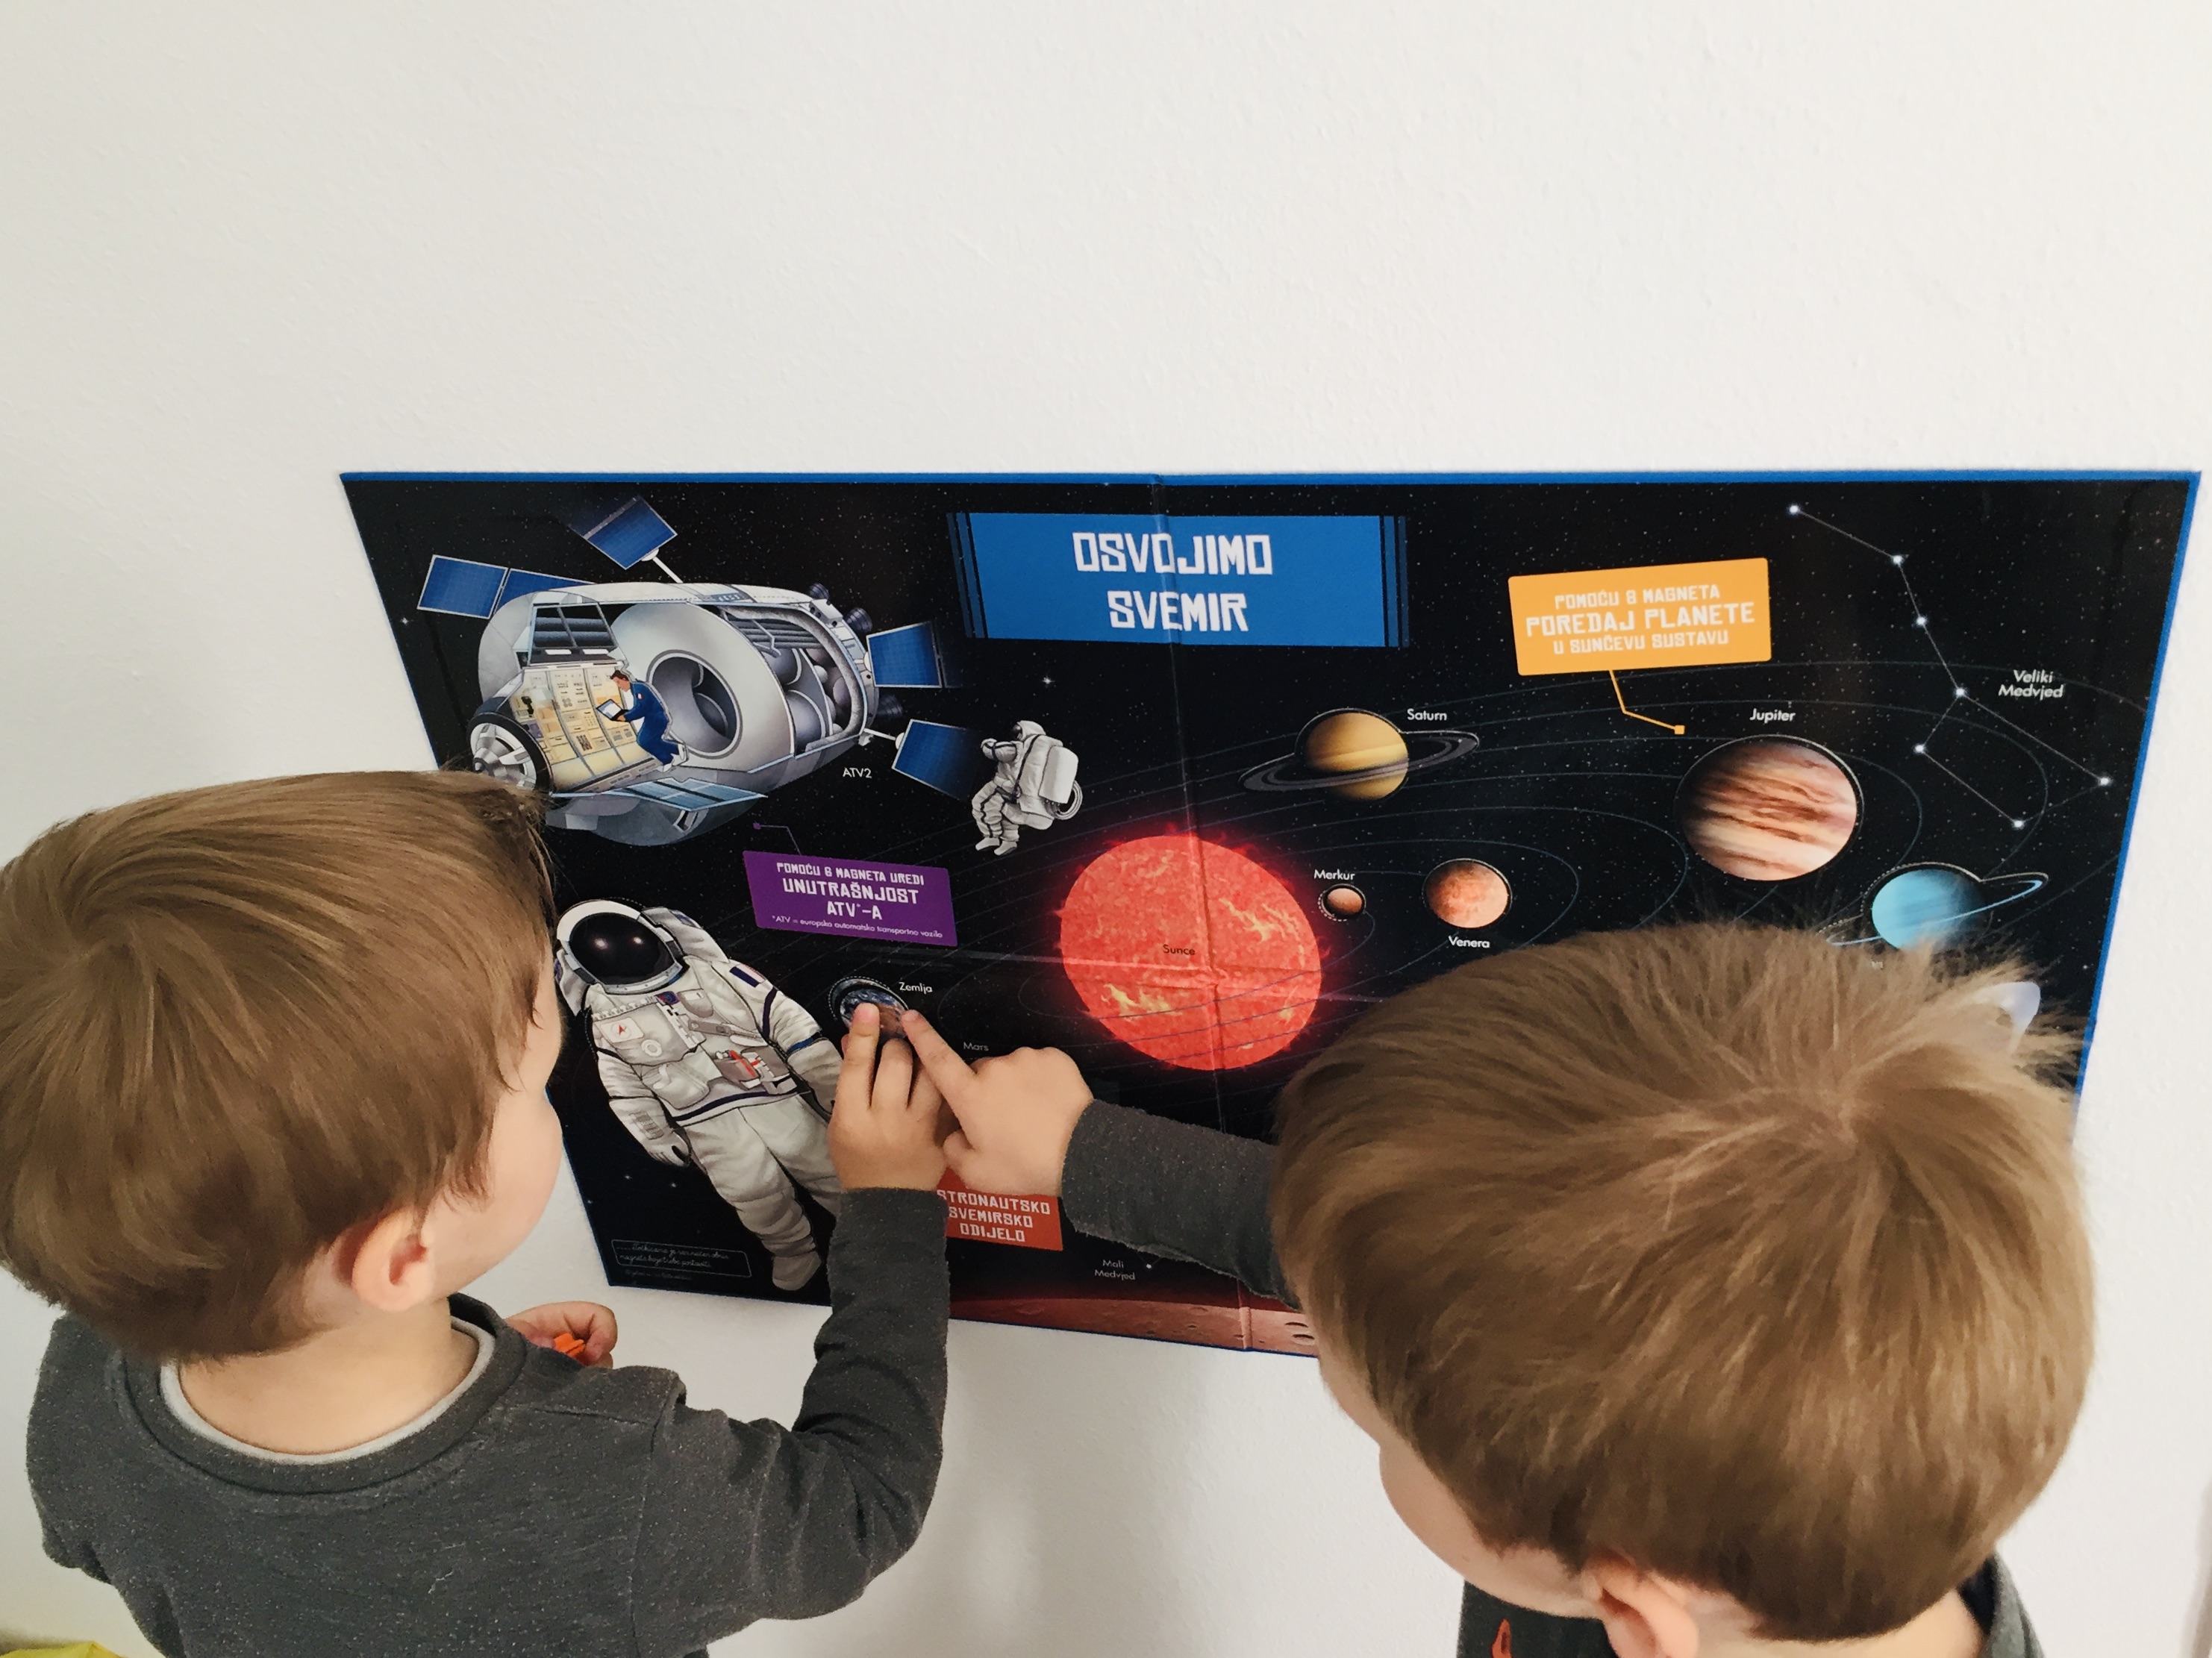
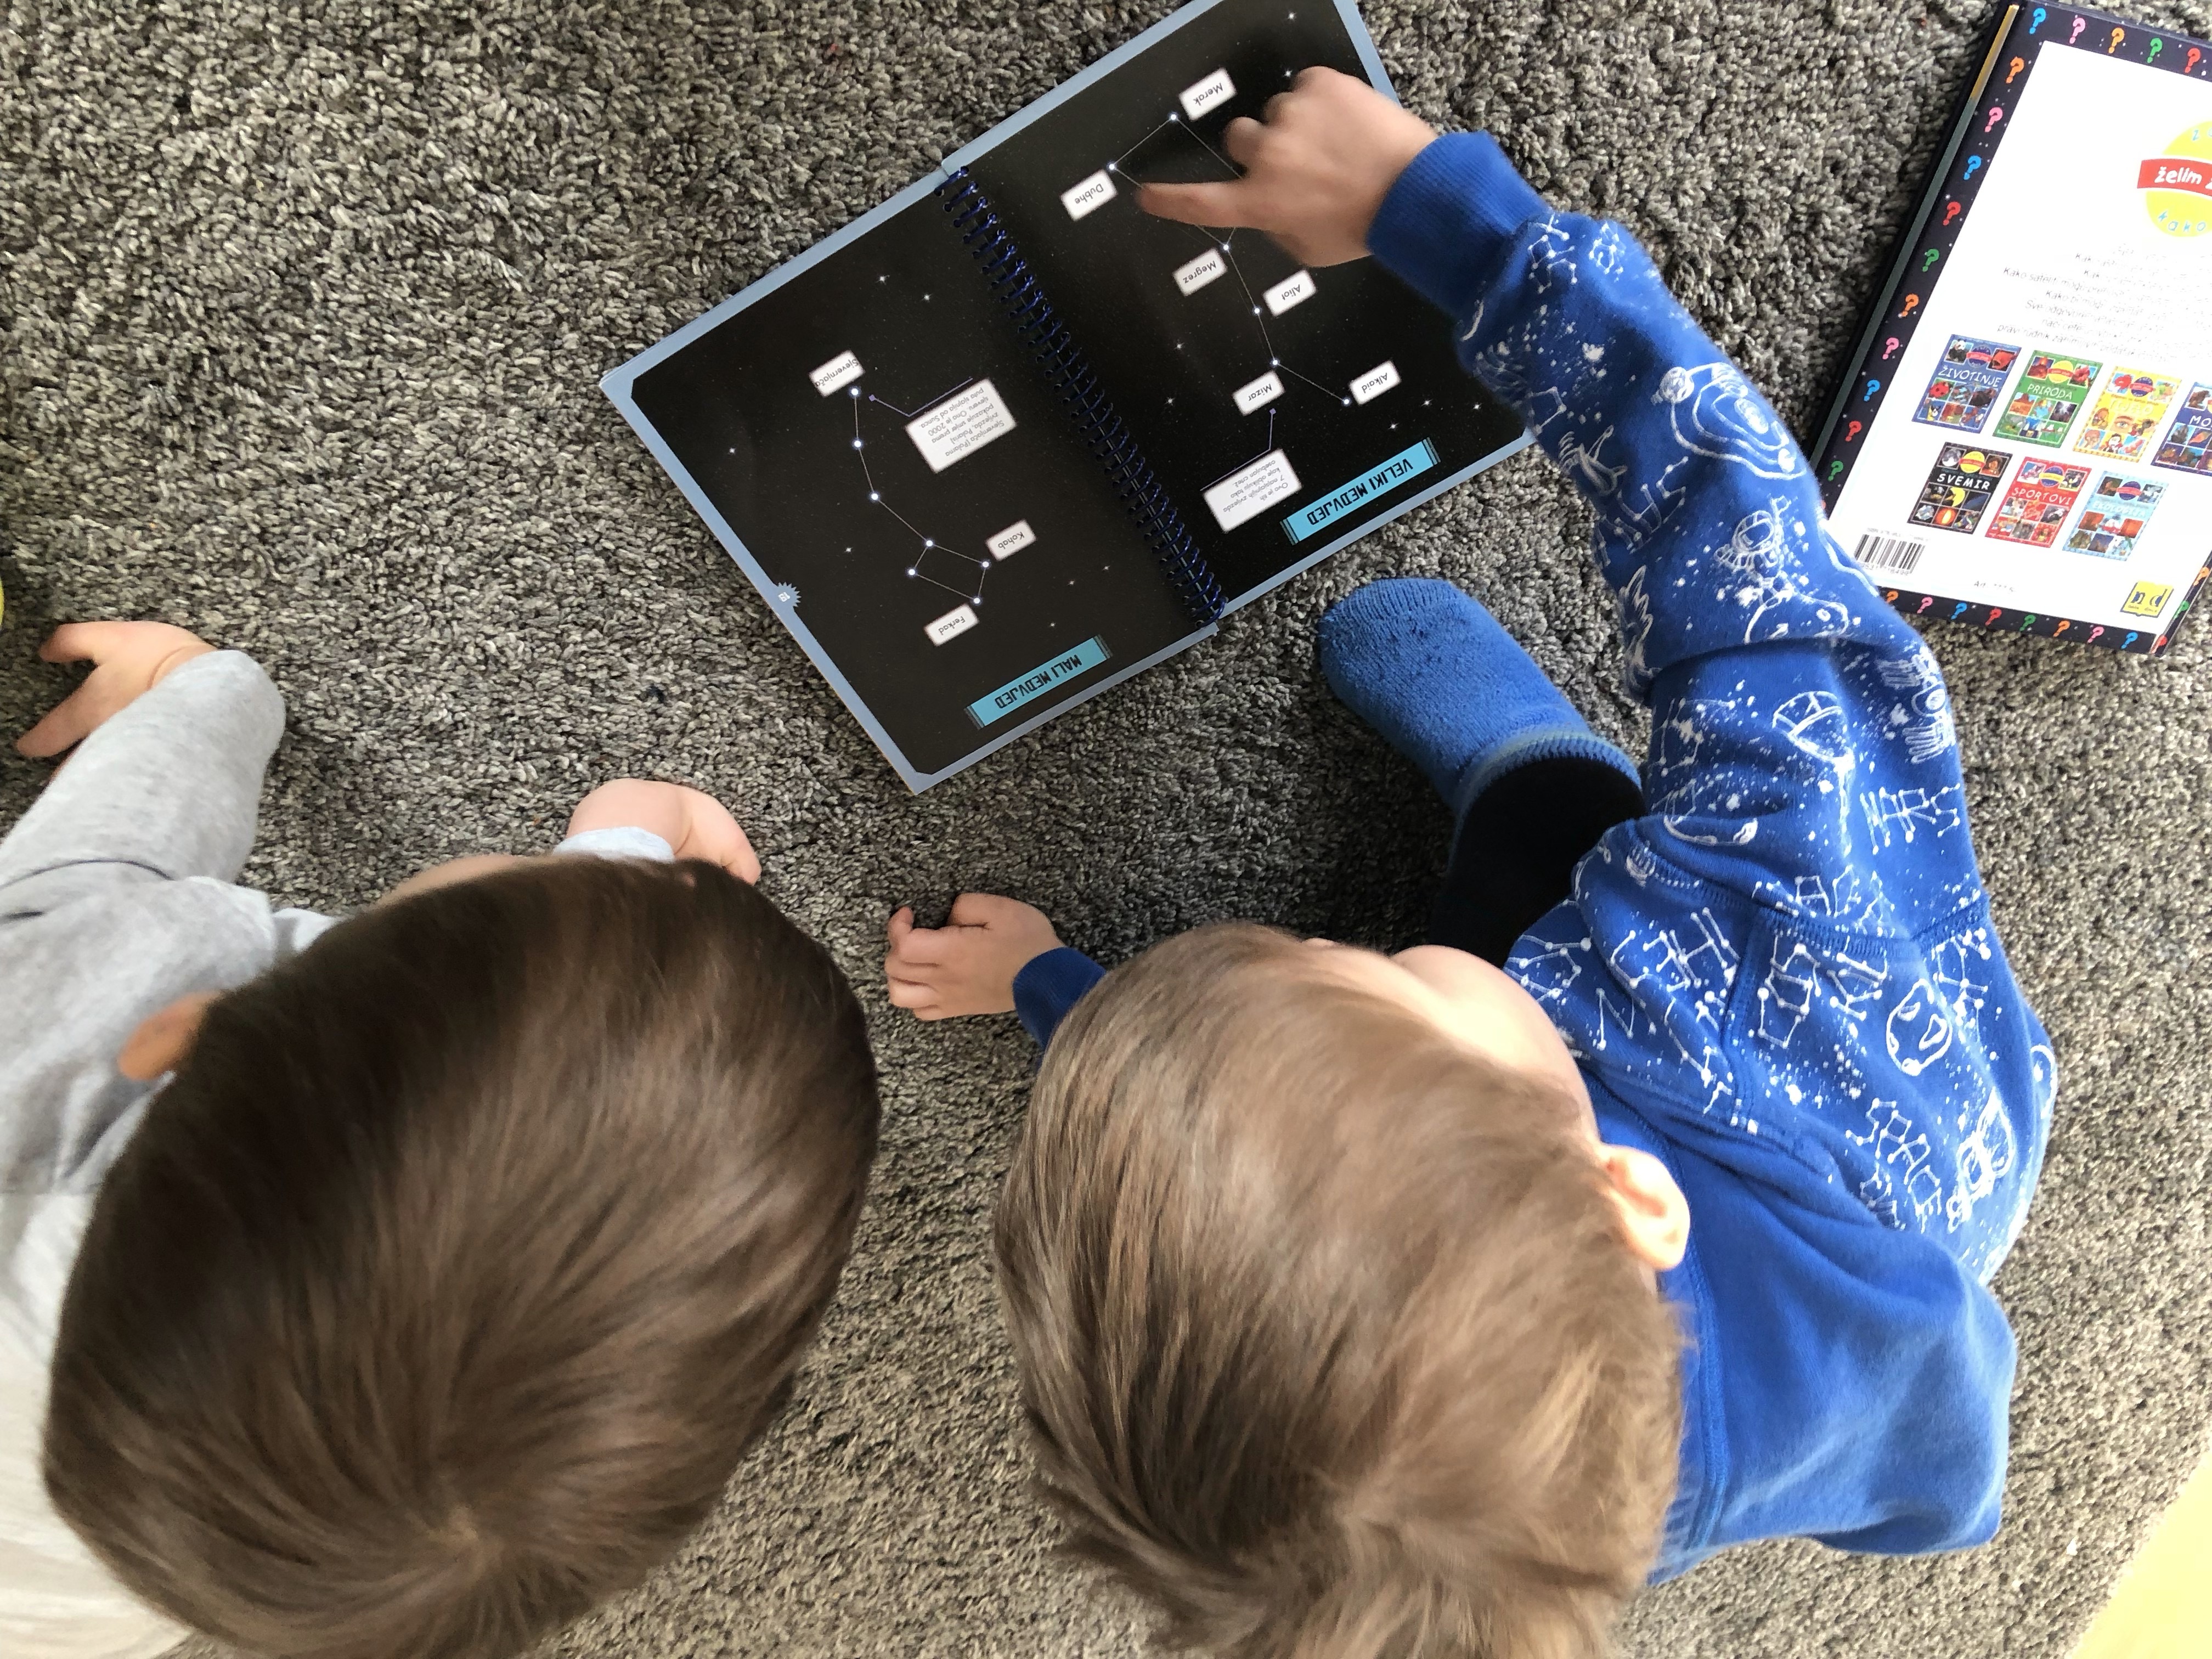
Studying. Our friend visited us when the our kids were around three years old, and he brought them a book about the Universe. There was also a poster with magnets. The more we read, the more questions they had. The Universe is pretty abstract to explain, so I decided to do a little project with them.
Step 2.
Preparation. Use this project as an opportunity to work on language skills as well. We talked about the materials we might need, colours of the planets and the Universe, things we could use to make the planets. What colour is Earth? What is green, and what is blue? Which is the biggest planet? What colour?
Step 3.
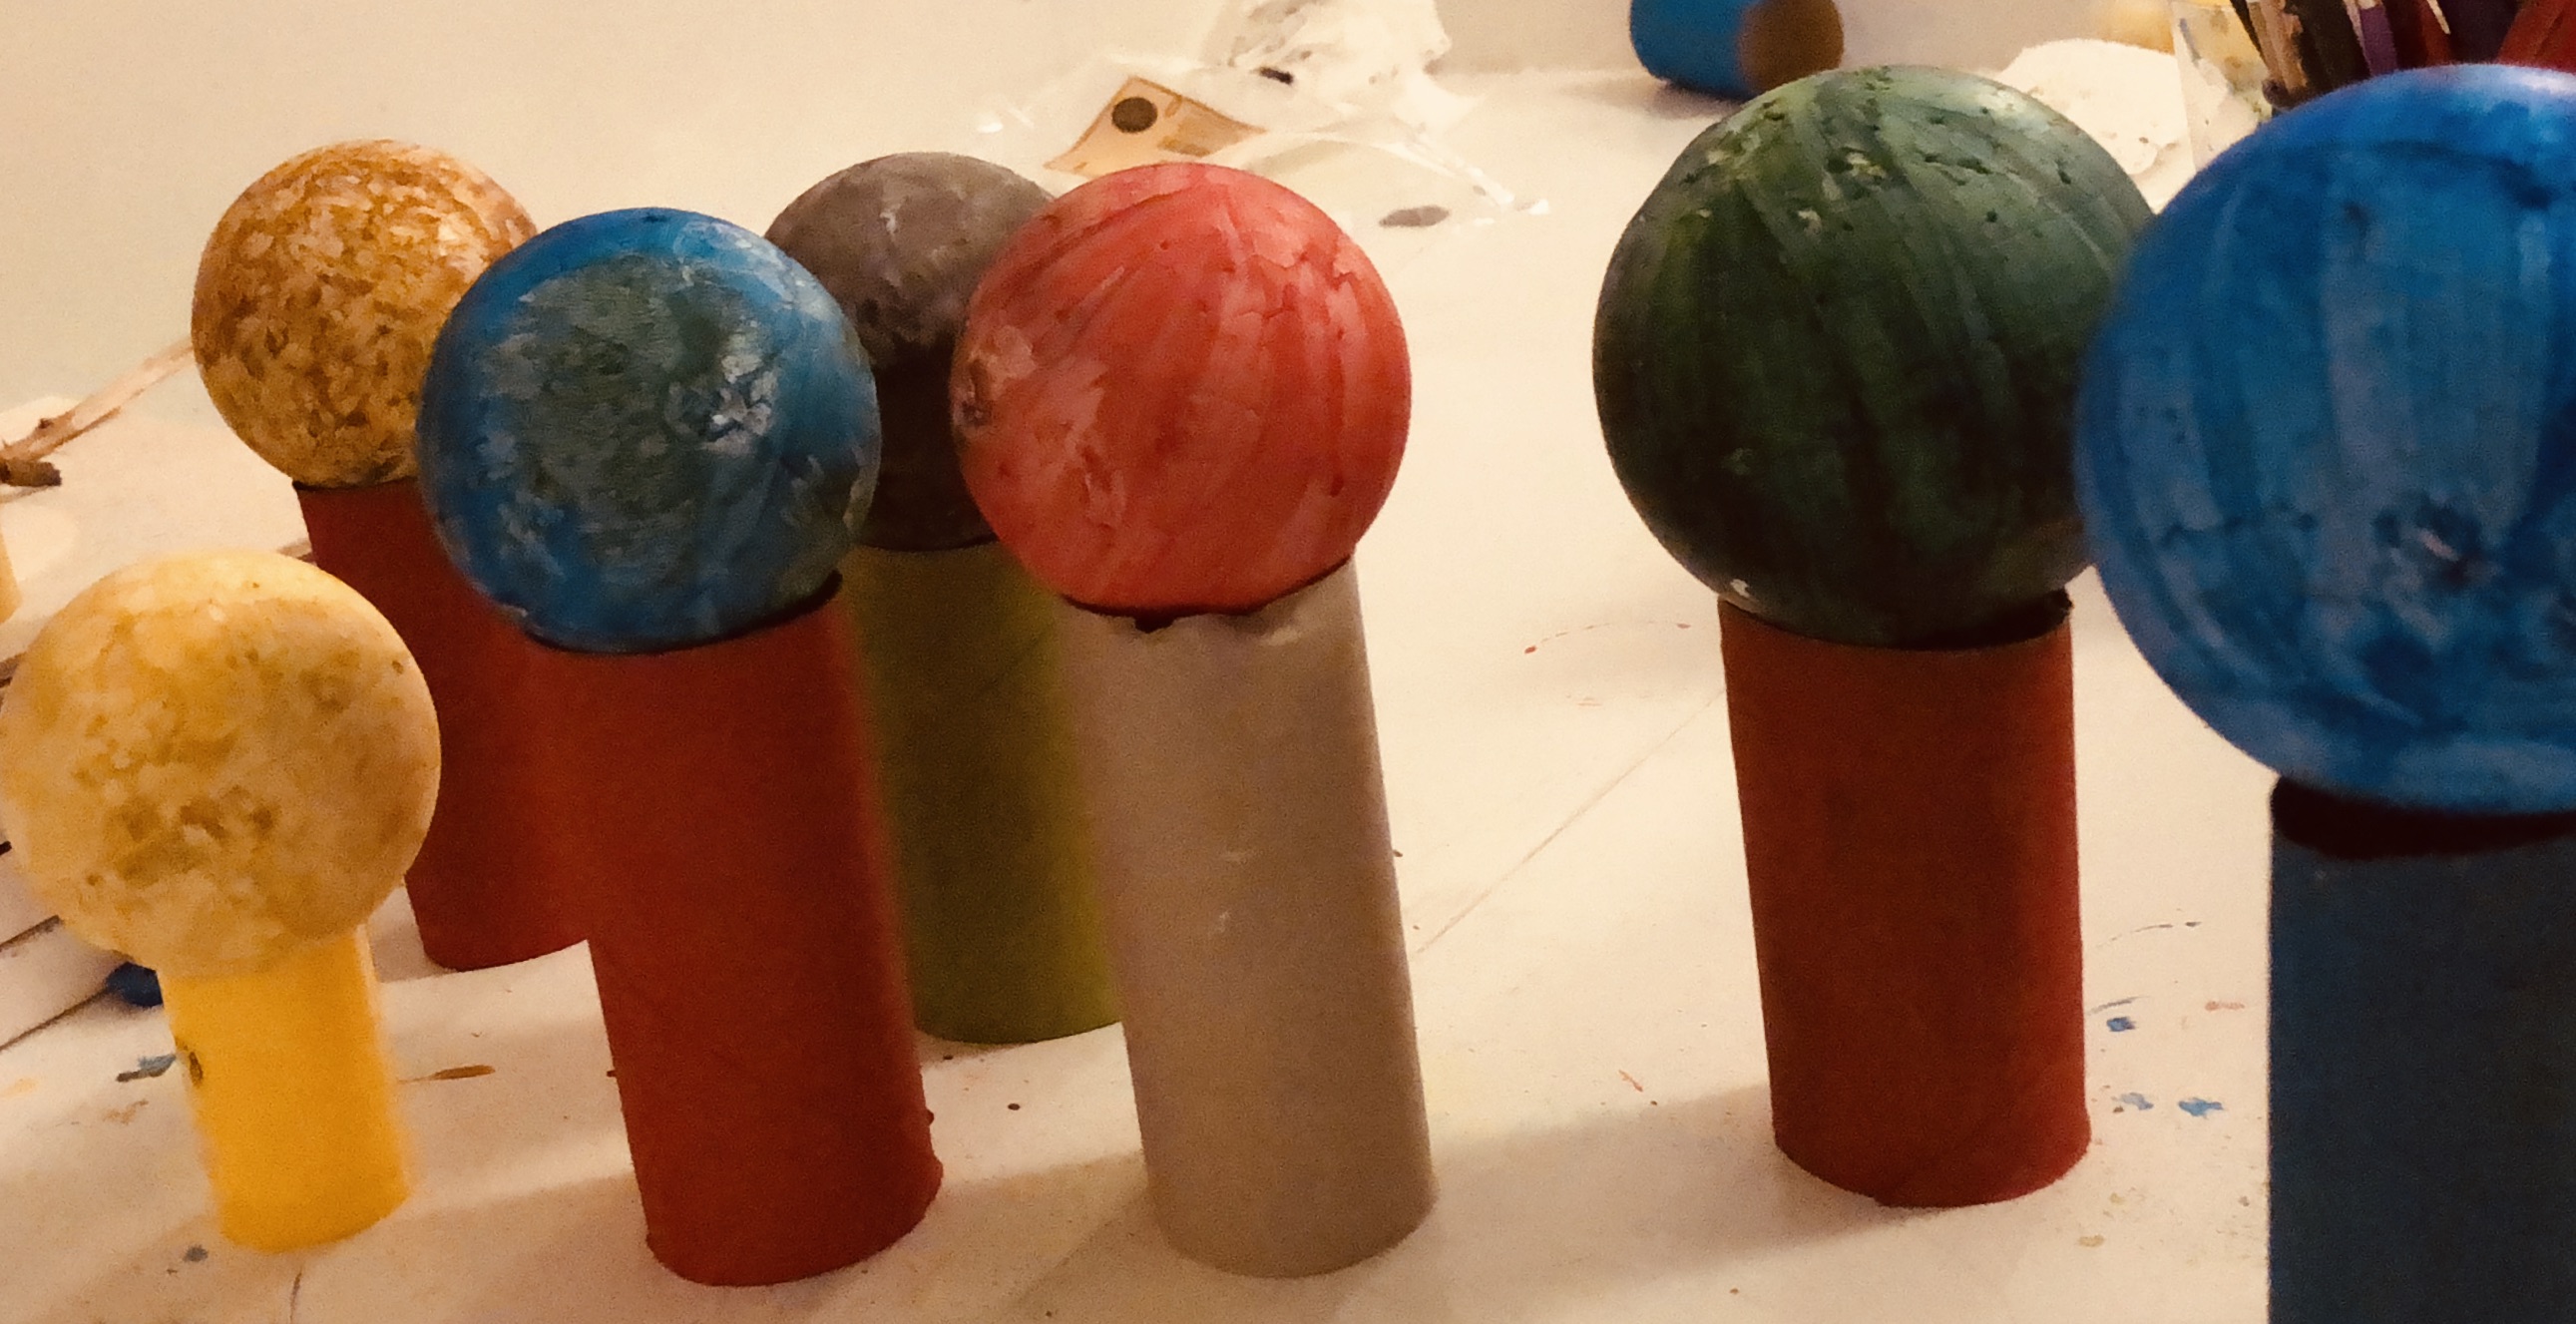
Planets. Make sure that your kids put on either old clothes or protective aprons. Painting can get really messy. Let them prepare the paint you bought, paintbrushes, and everything you plan to use.
We painted the planets first. I used toilet paper rolls as holders.
Step 4.
Step 5.
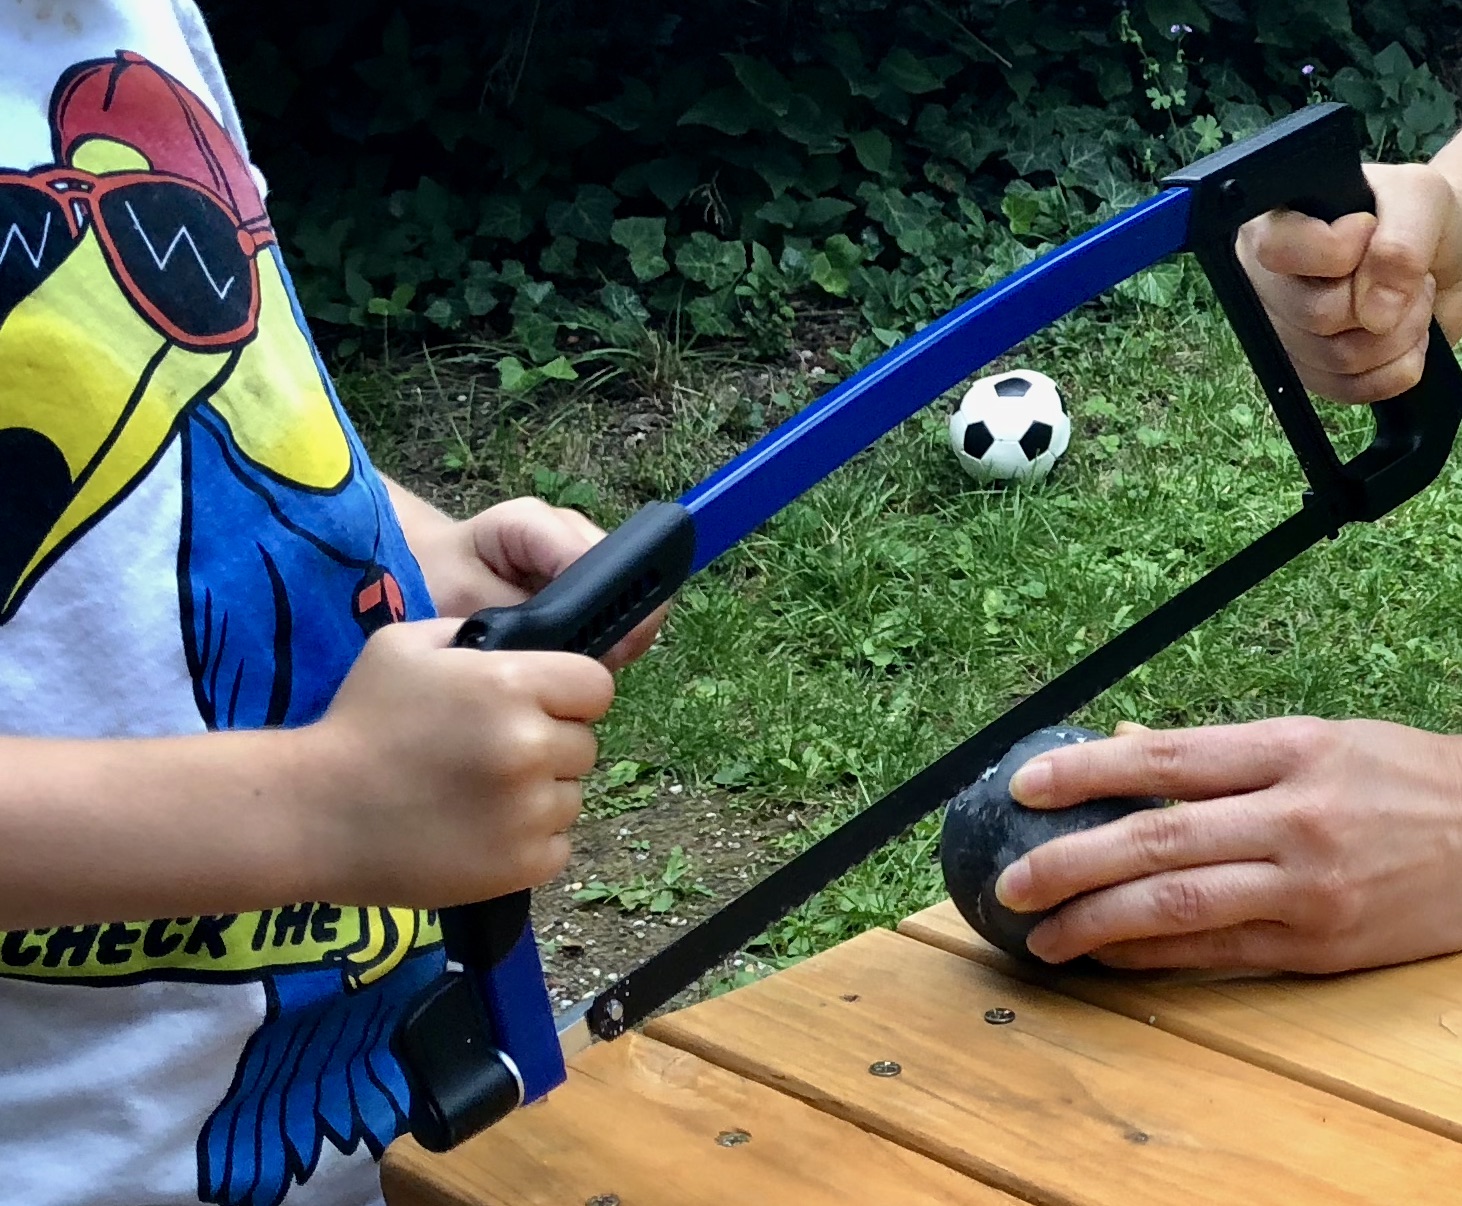
Halve the planets. This is more a task for grown-ups, but kids can participate. I decided to include them as well.
Step 6.
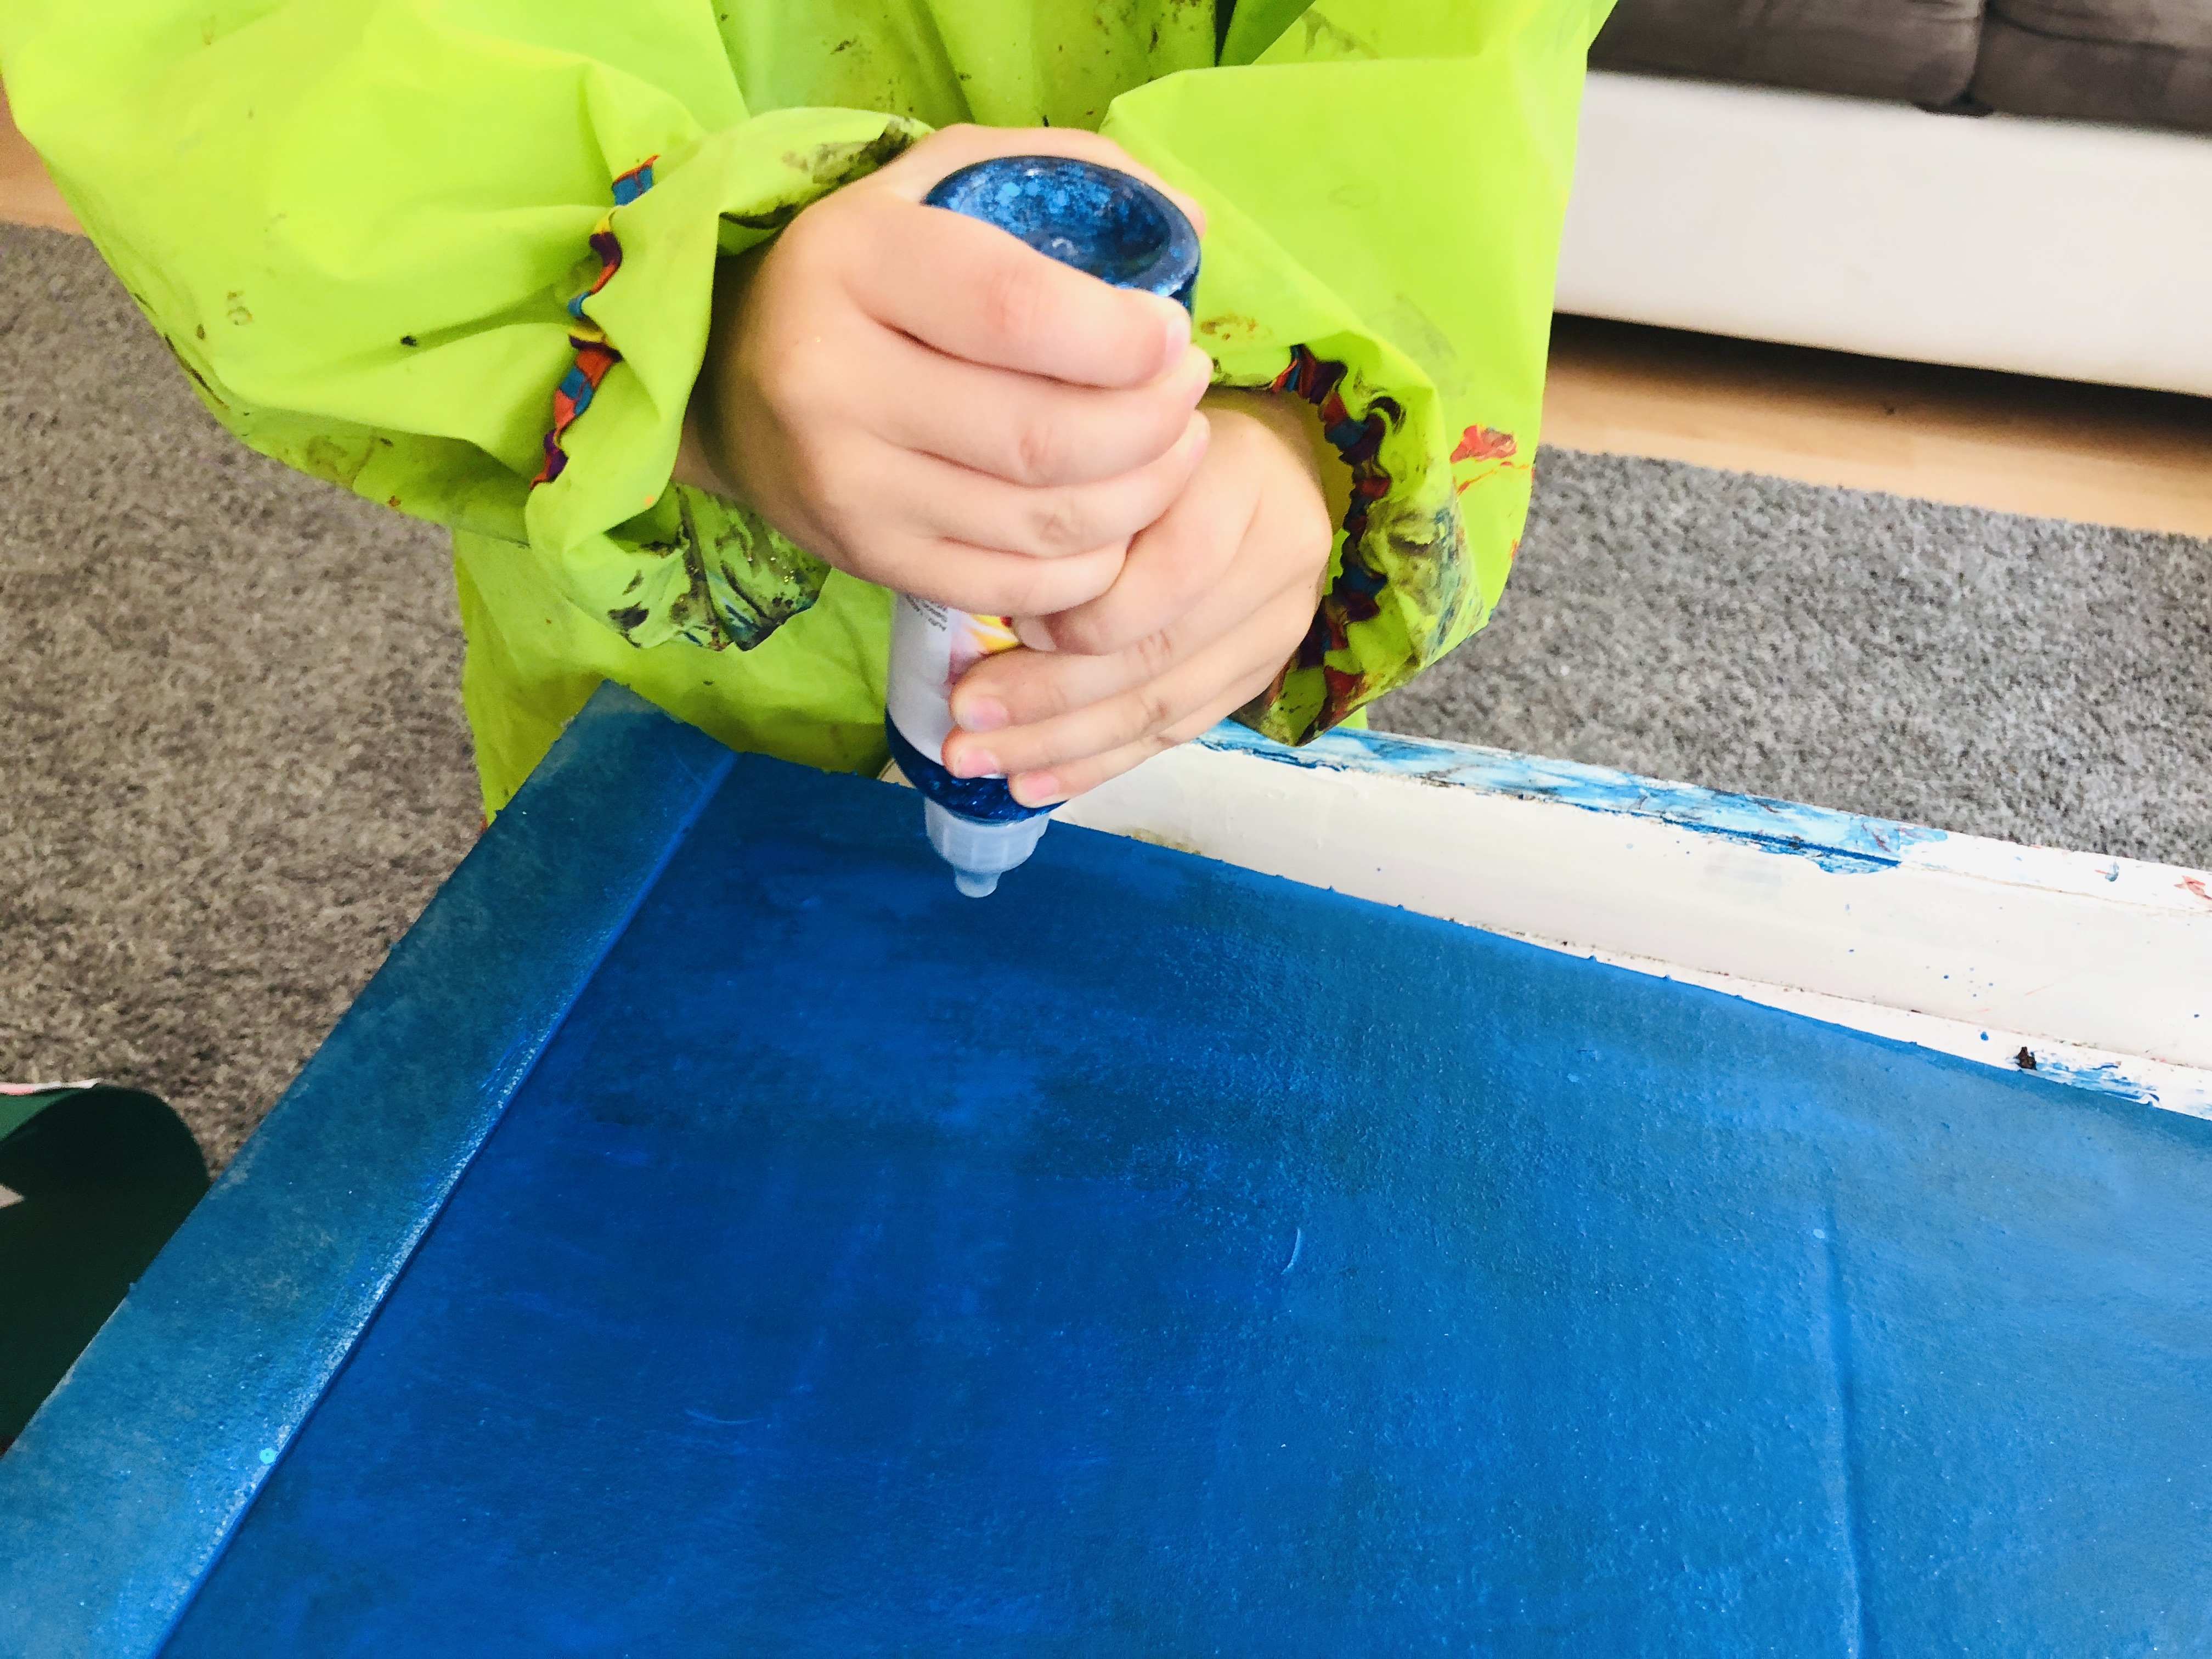
Paint the Universe (cardboard). I made a huge mistake here, and Einstein E didn`t fail to express his disappointment. “Mummy, why did you buy blue paint when we know that the Universe is black?”
Step 7.
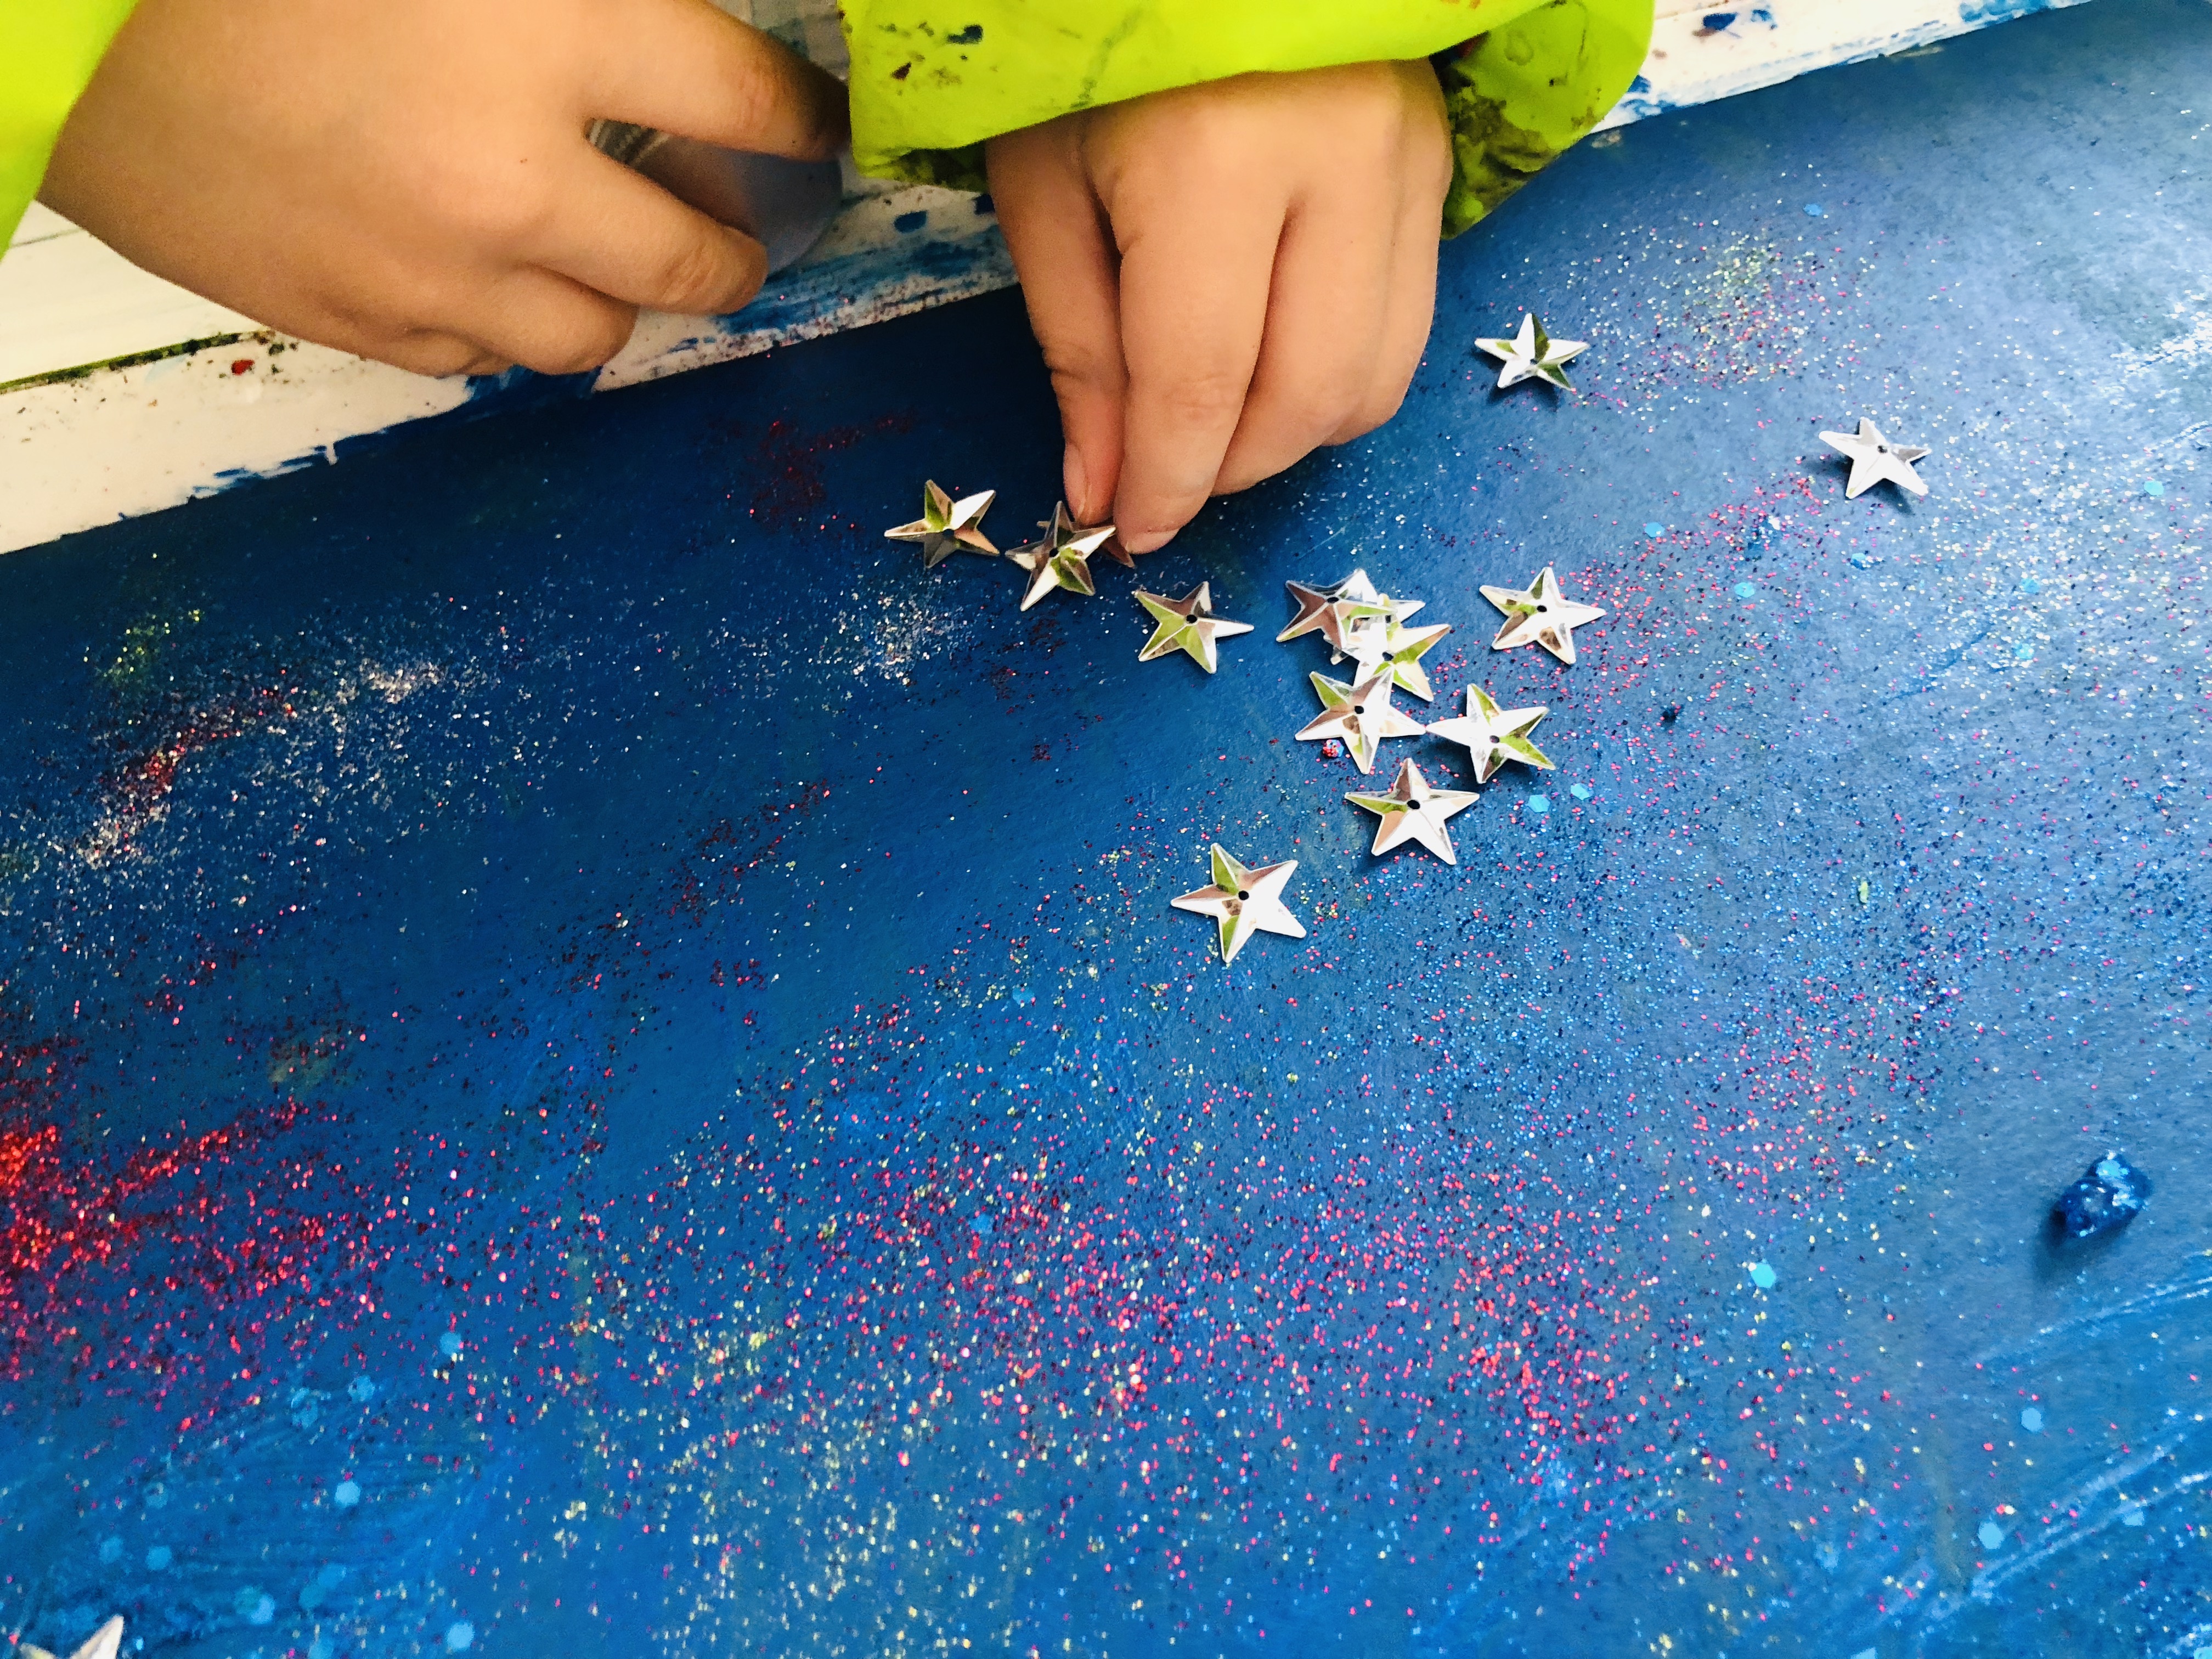
Stars and stardust. Glue a few decorative stars and put some glitter (stardust) onto the cardboard. Did you know that the star Betelgeuse in the constellation Orion has about 20 times the mass of the Sun and is 1,000 times larger? Even bigger is the monster VY Canis Majoris. This star is thought to be 1,800 times the size of the Sun!
However, our tiny stars were just as interesting for this project.
Step 8.
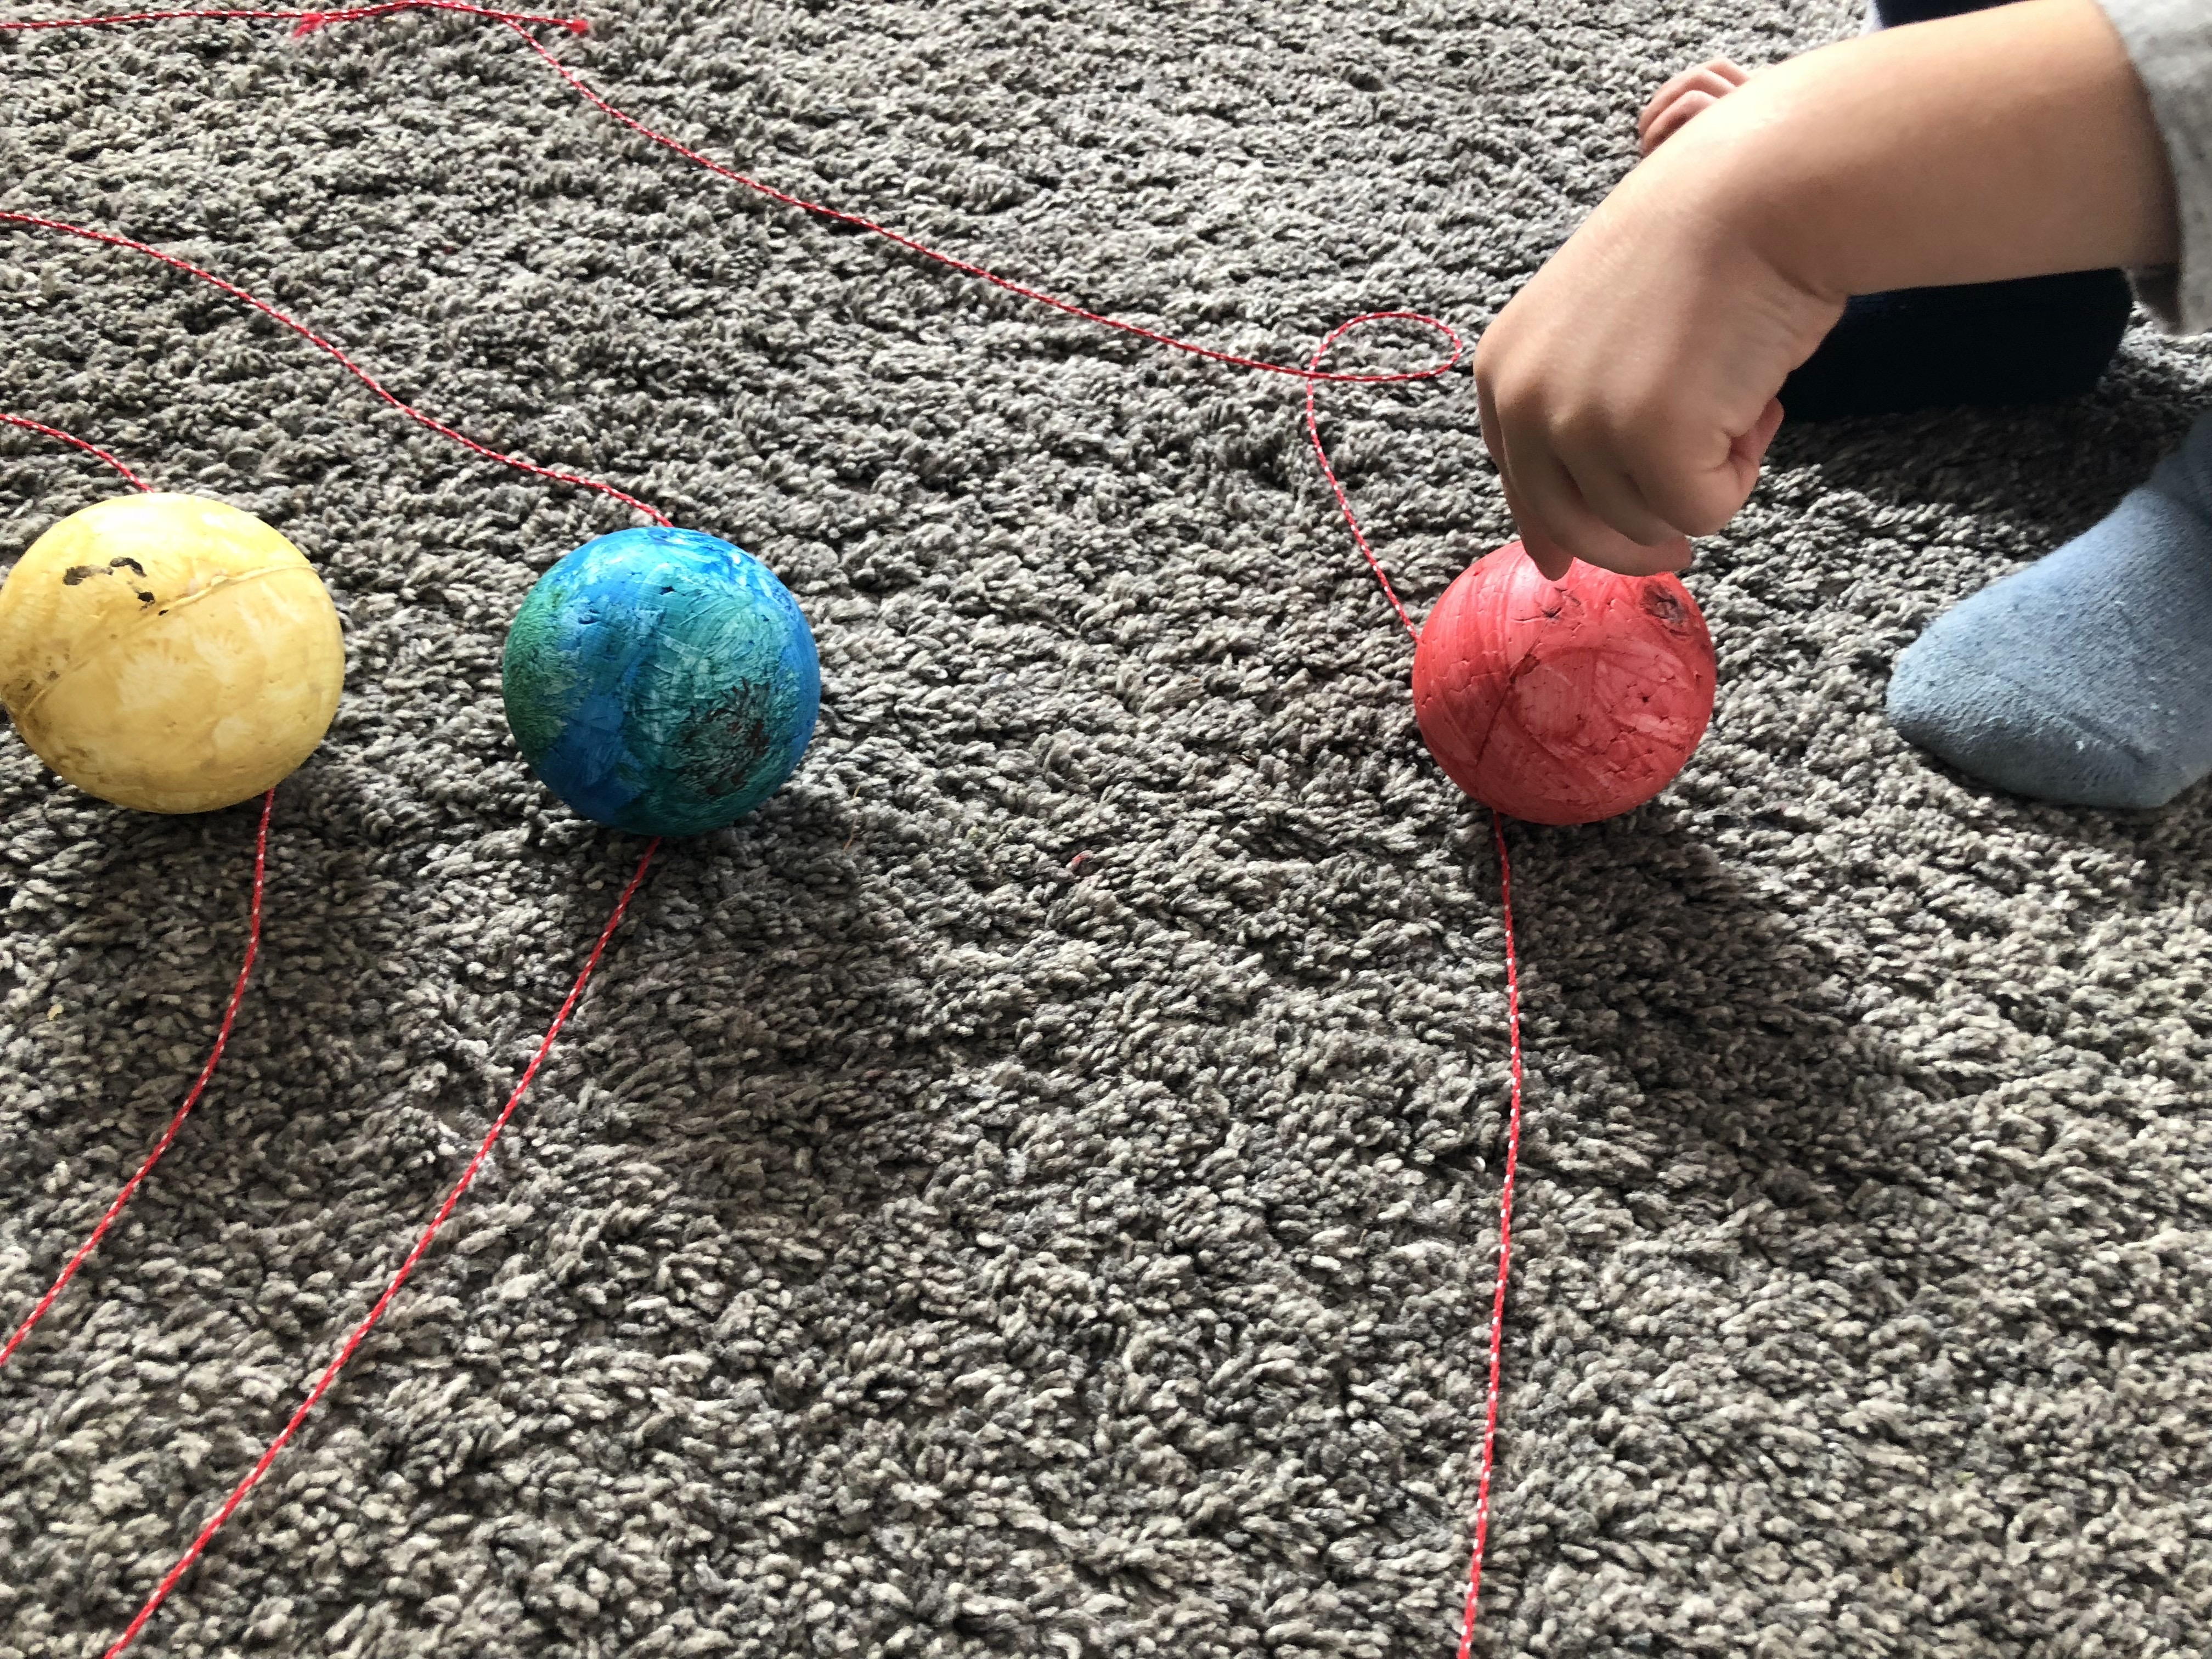
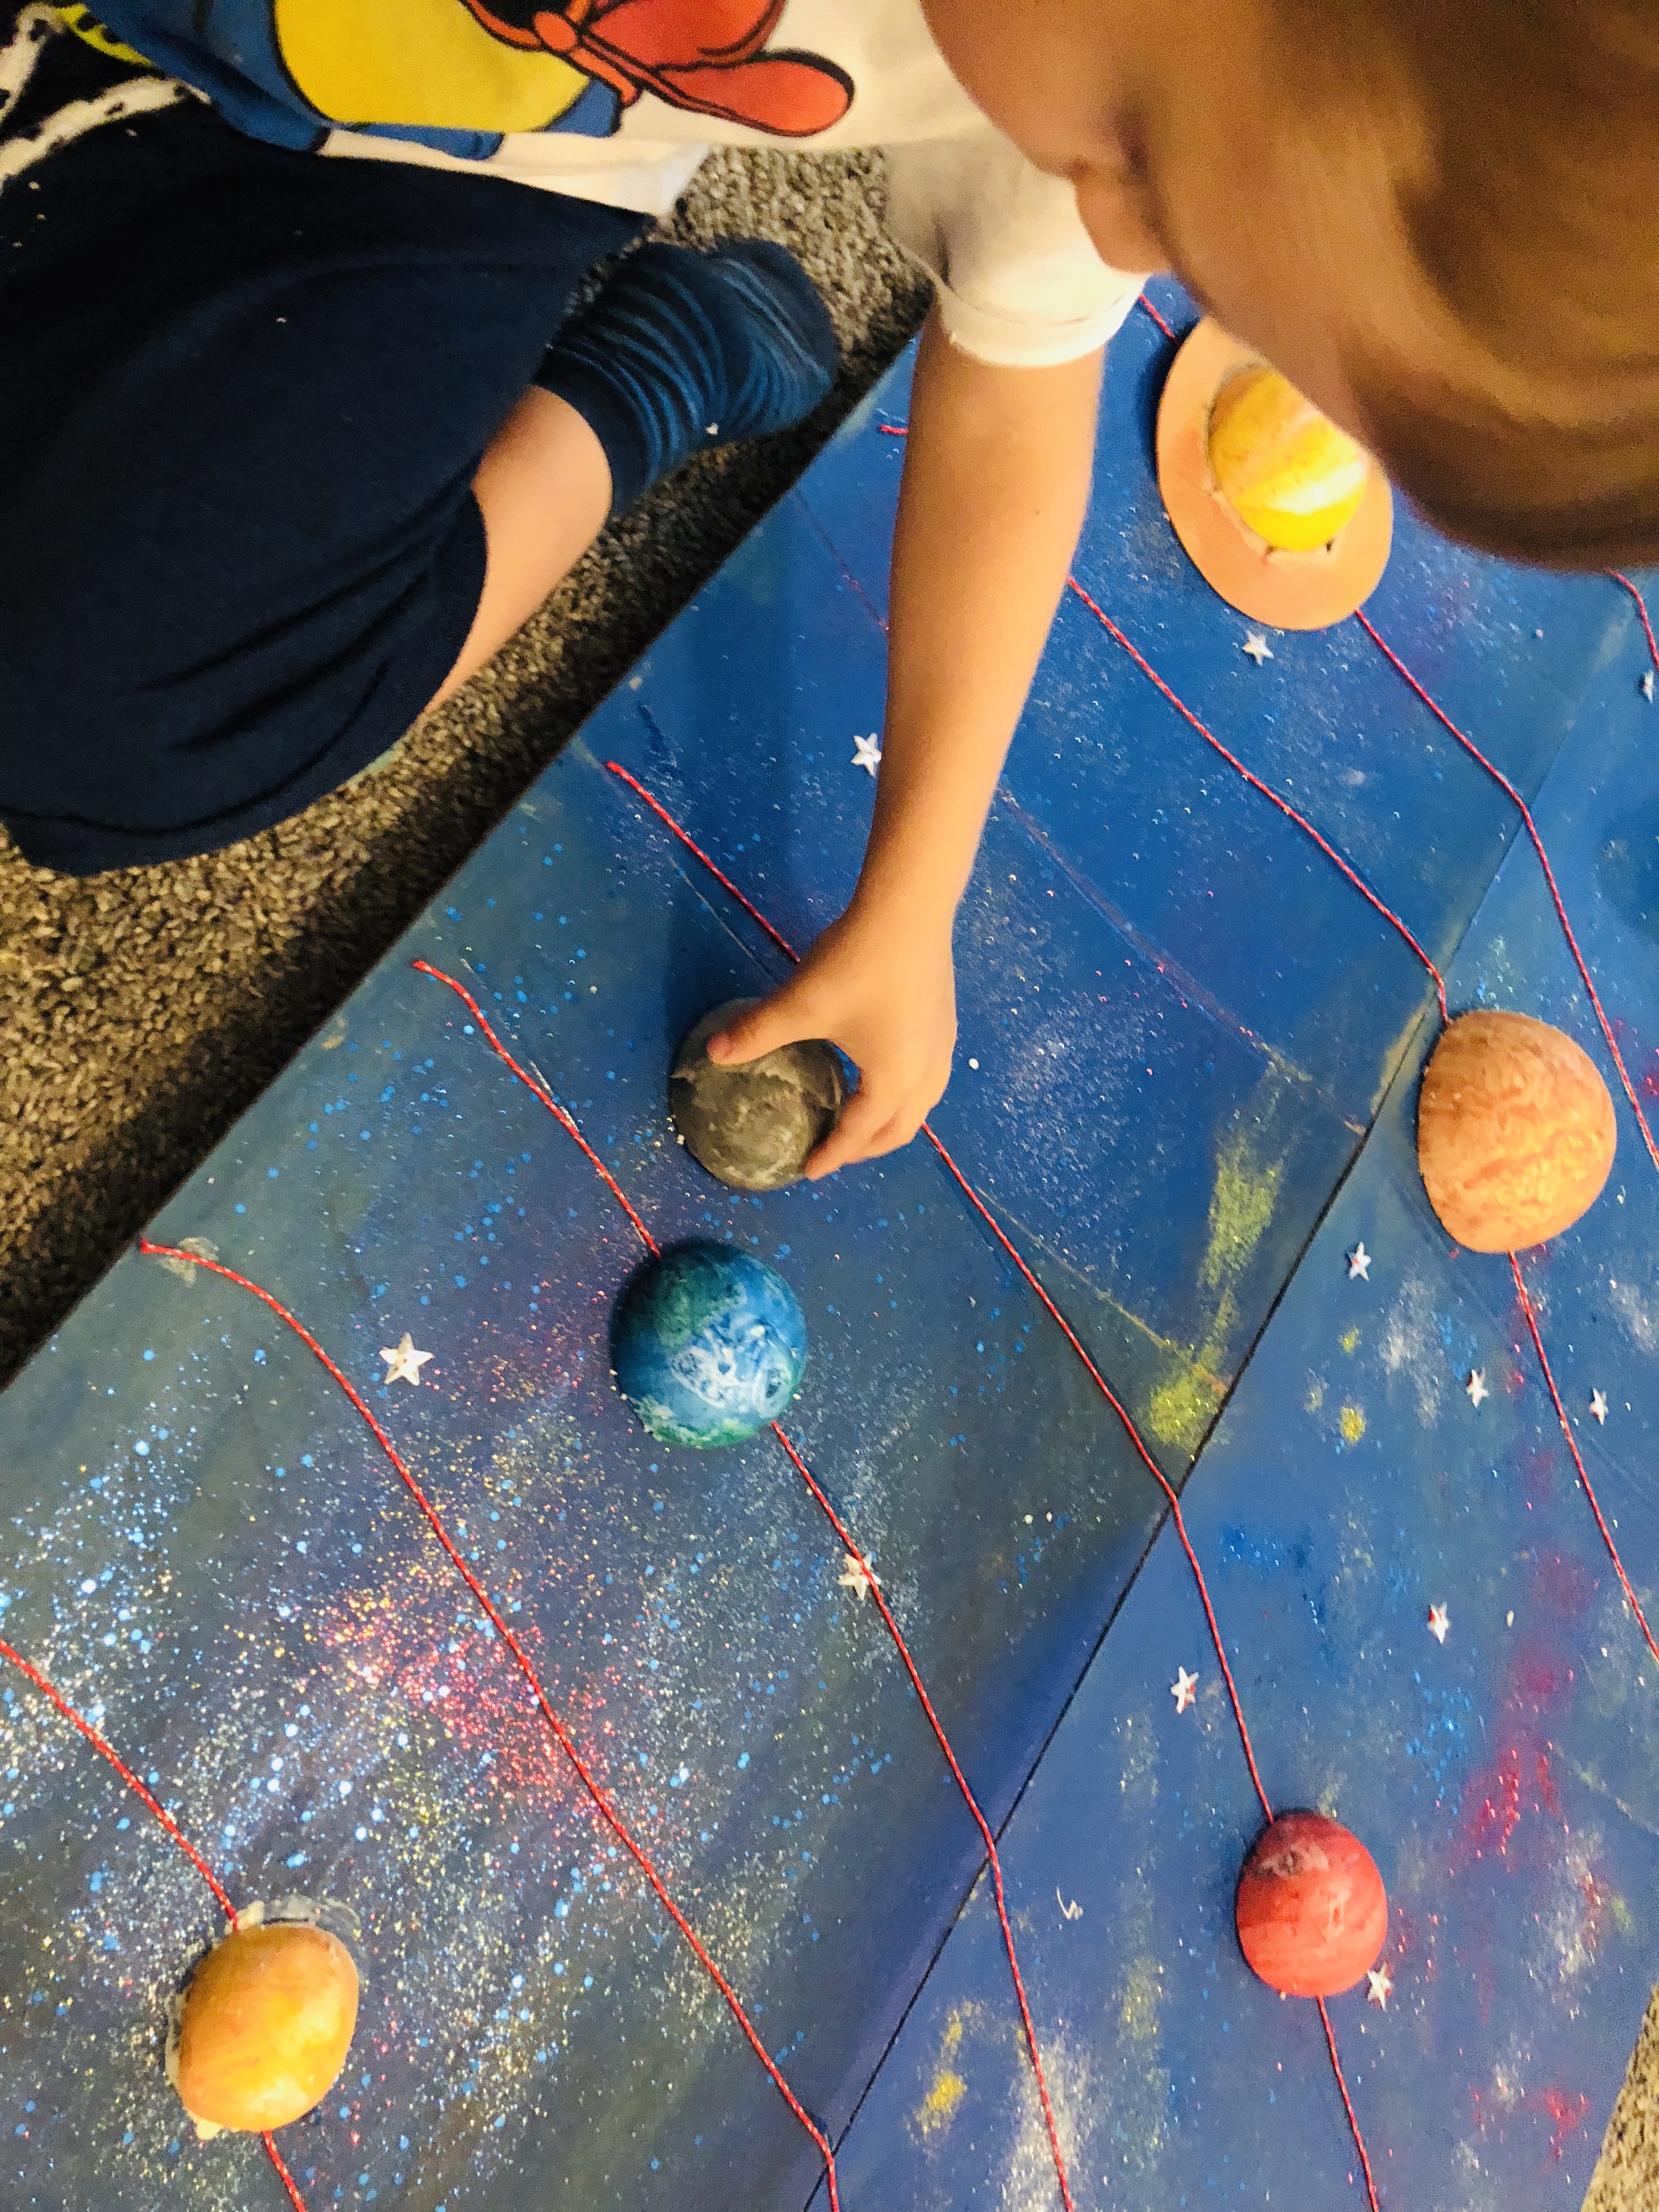
Planets and orbits. Glue the orbits (strings) onto the cardboard. Our planets were styrofoam balls, so we used glue for styrofoam. I have to think of some more eco-friendly materials.
Step 9.
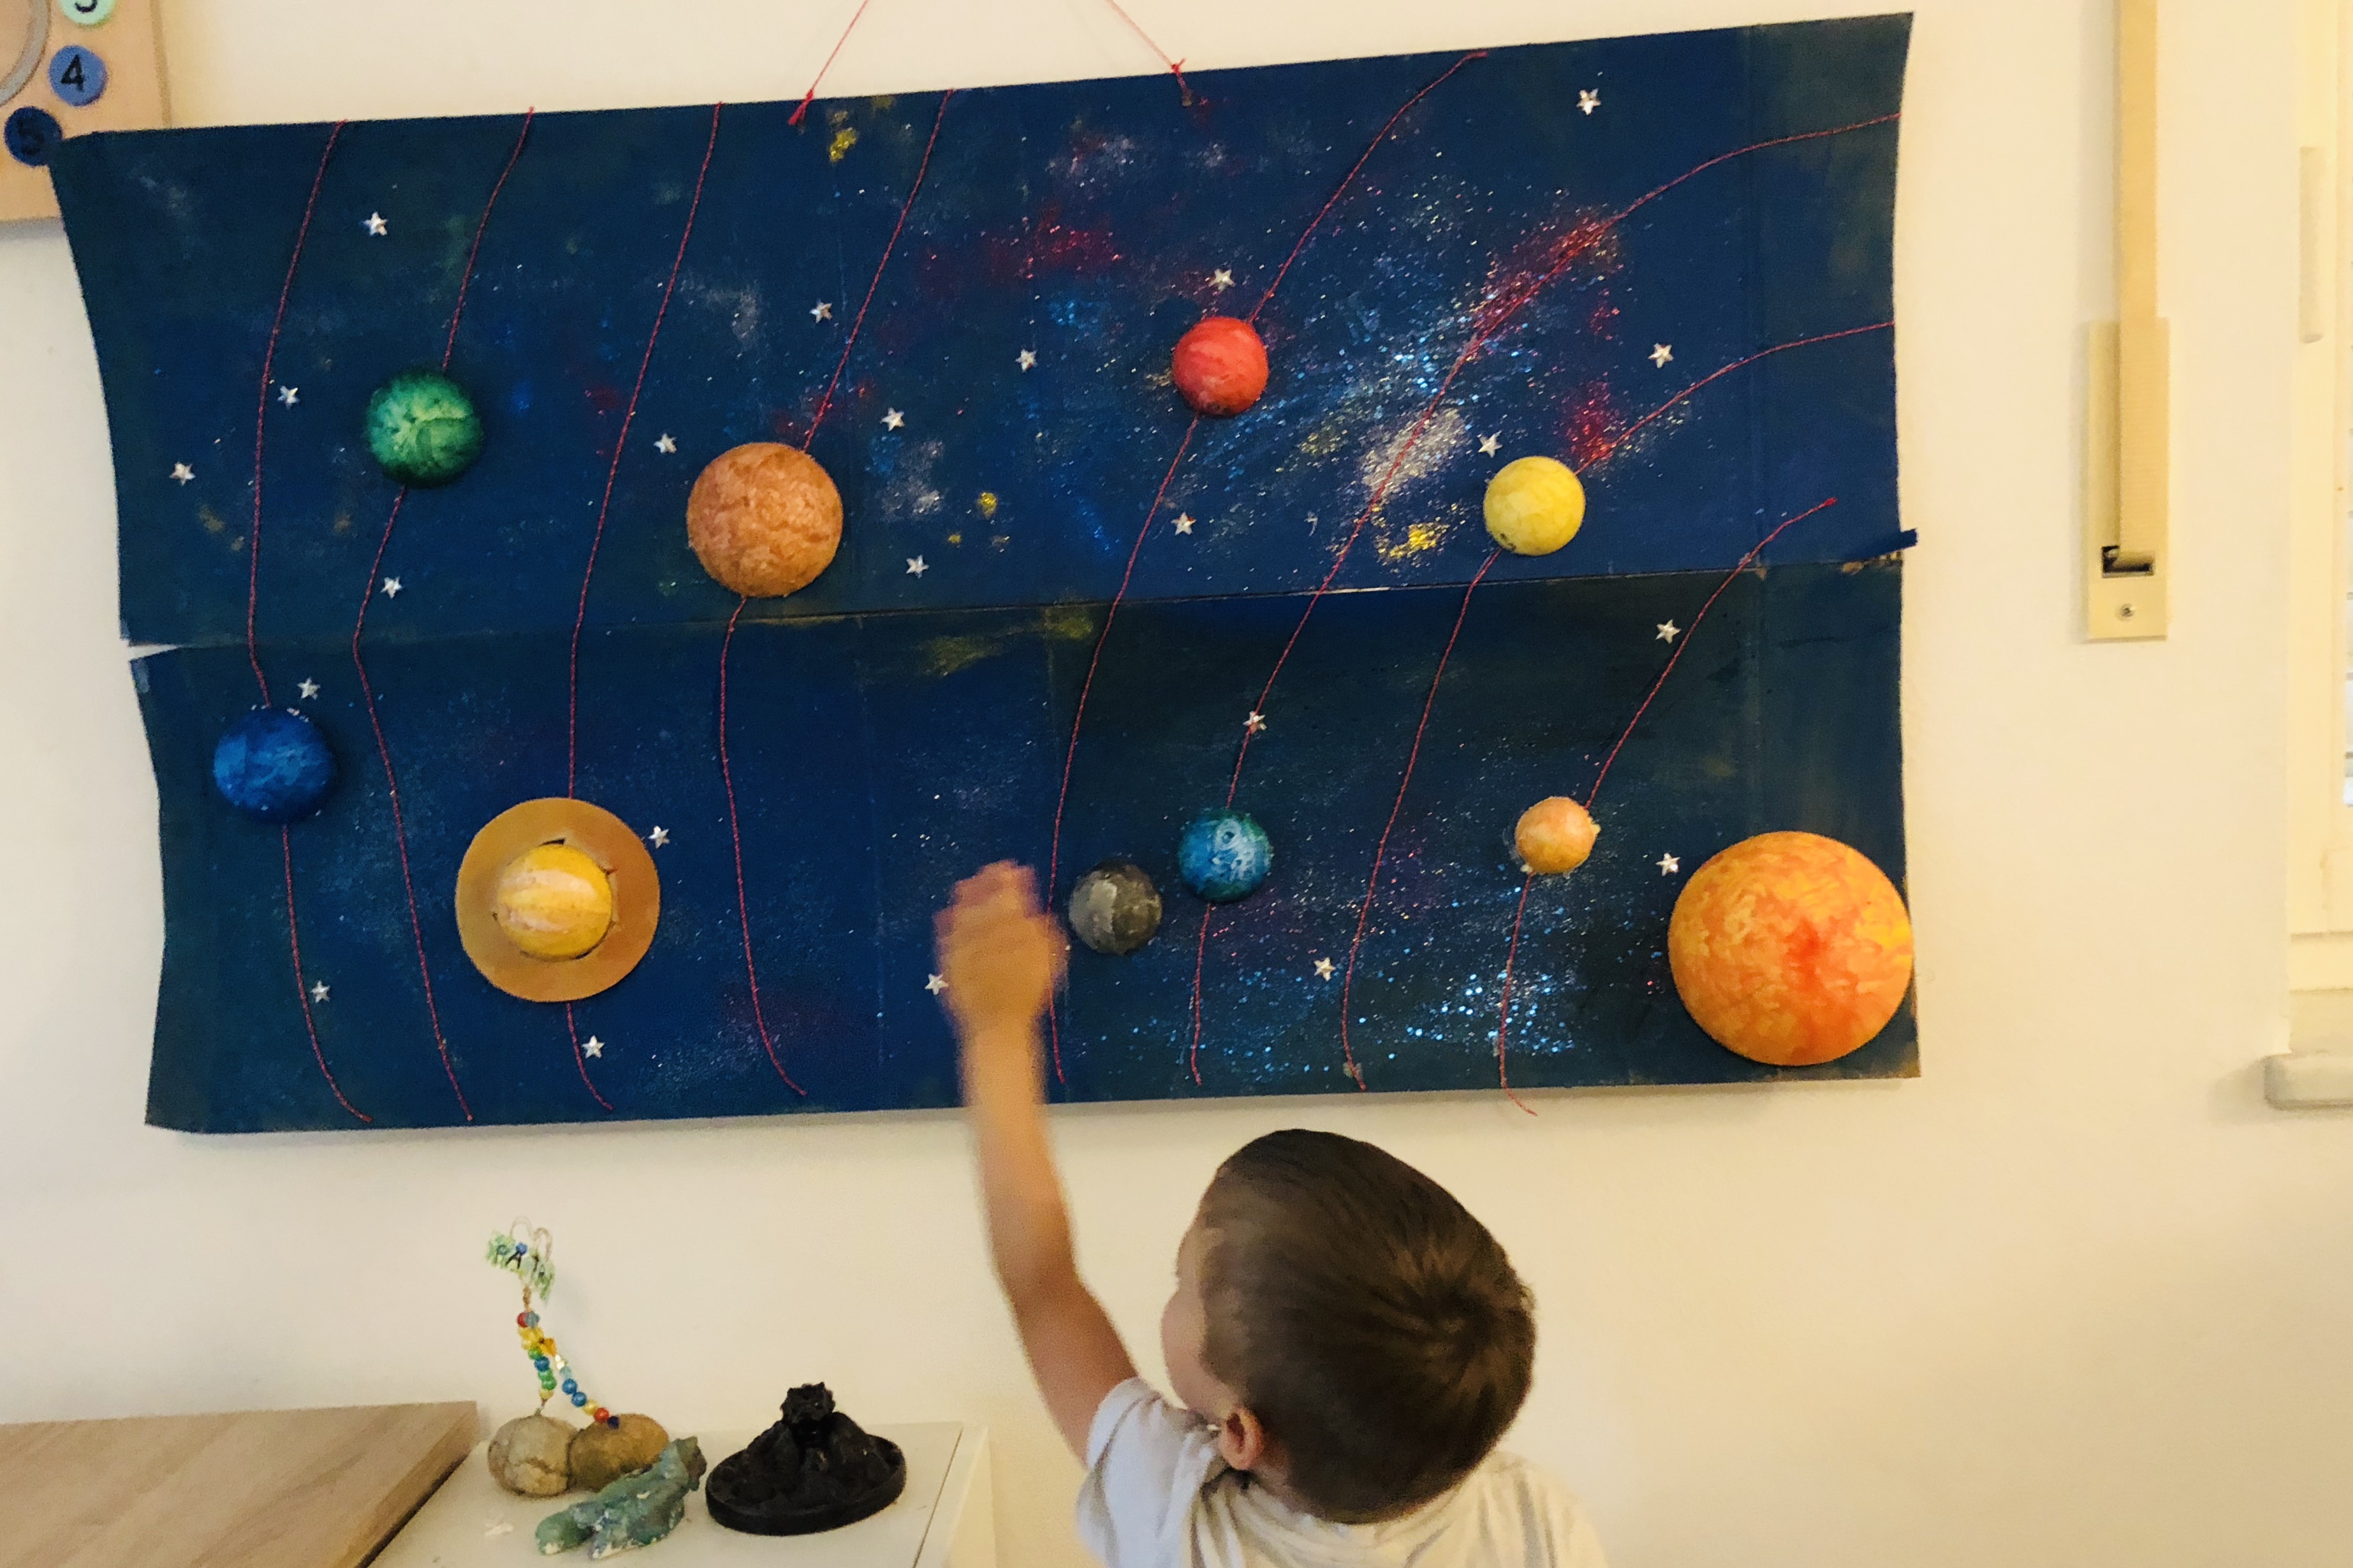
Display. This little project could also be considered art :)

Step 10.
Play.
Follow up.
After working on this project, Einstein E and Power P did a lot of other activities learning about the Universe. Some of those were:
- Books about the Universe
- Rocket models
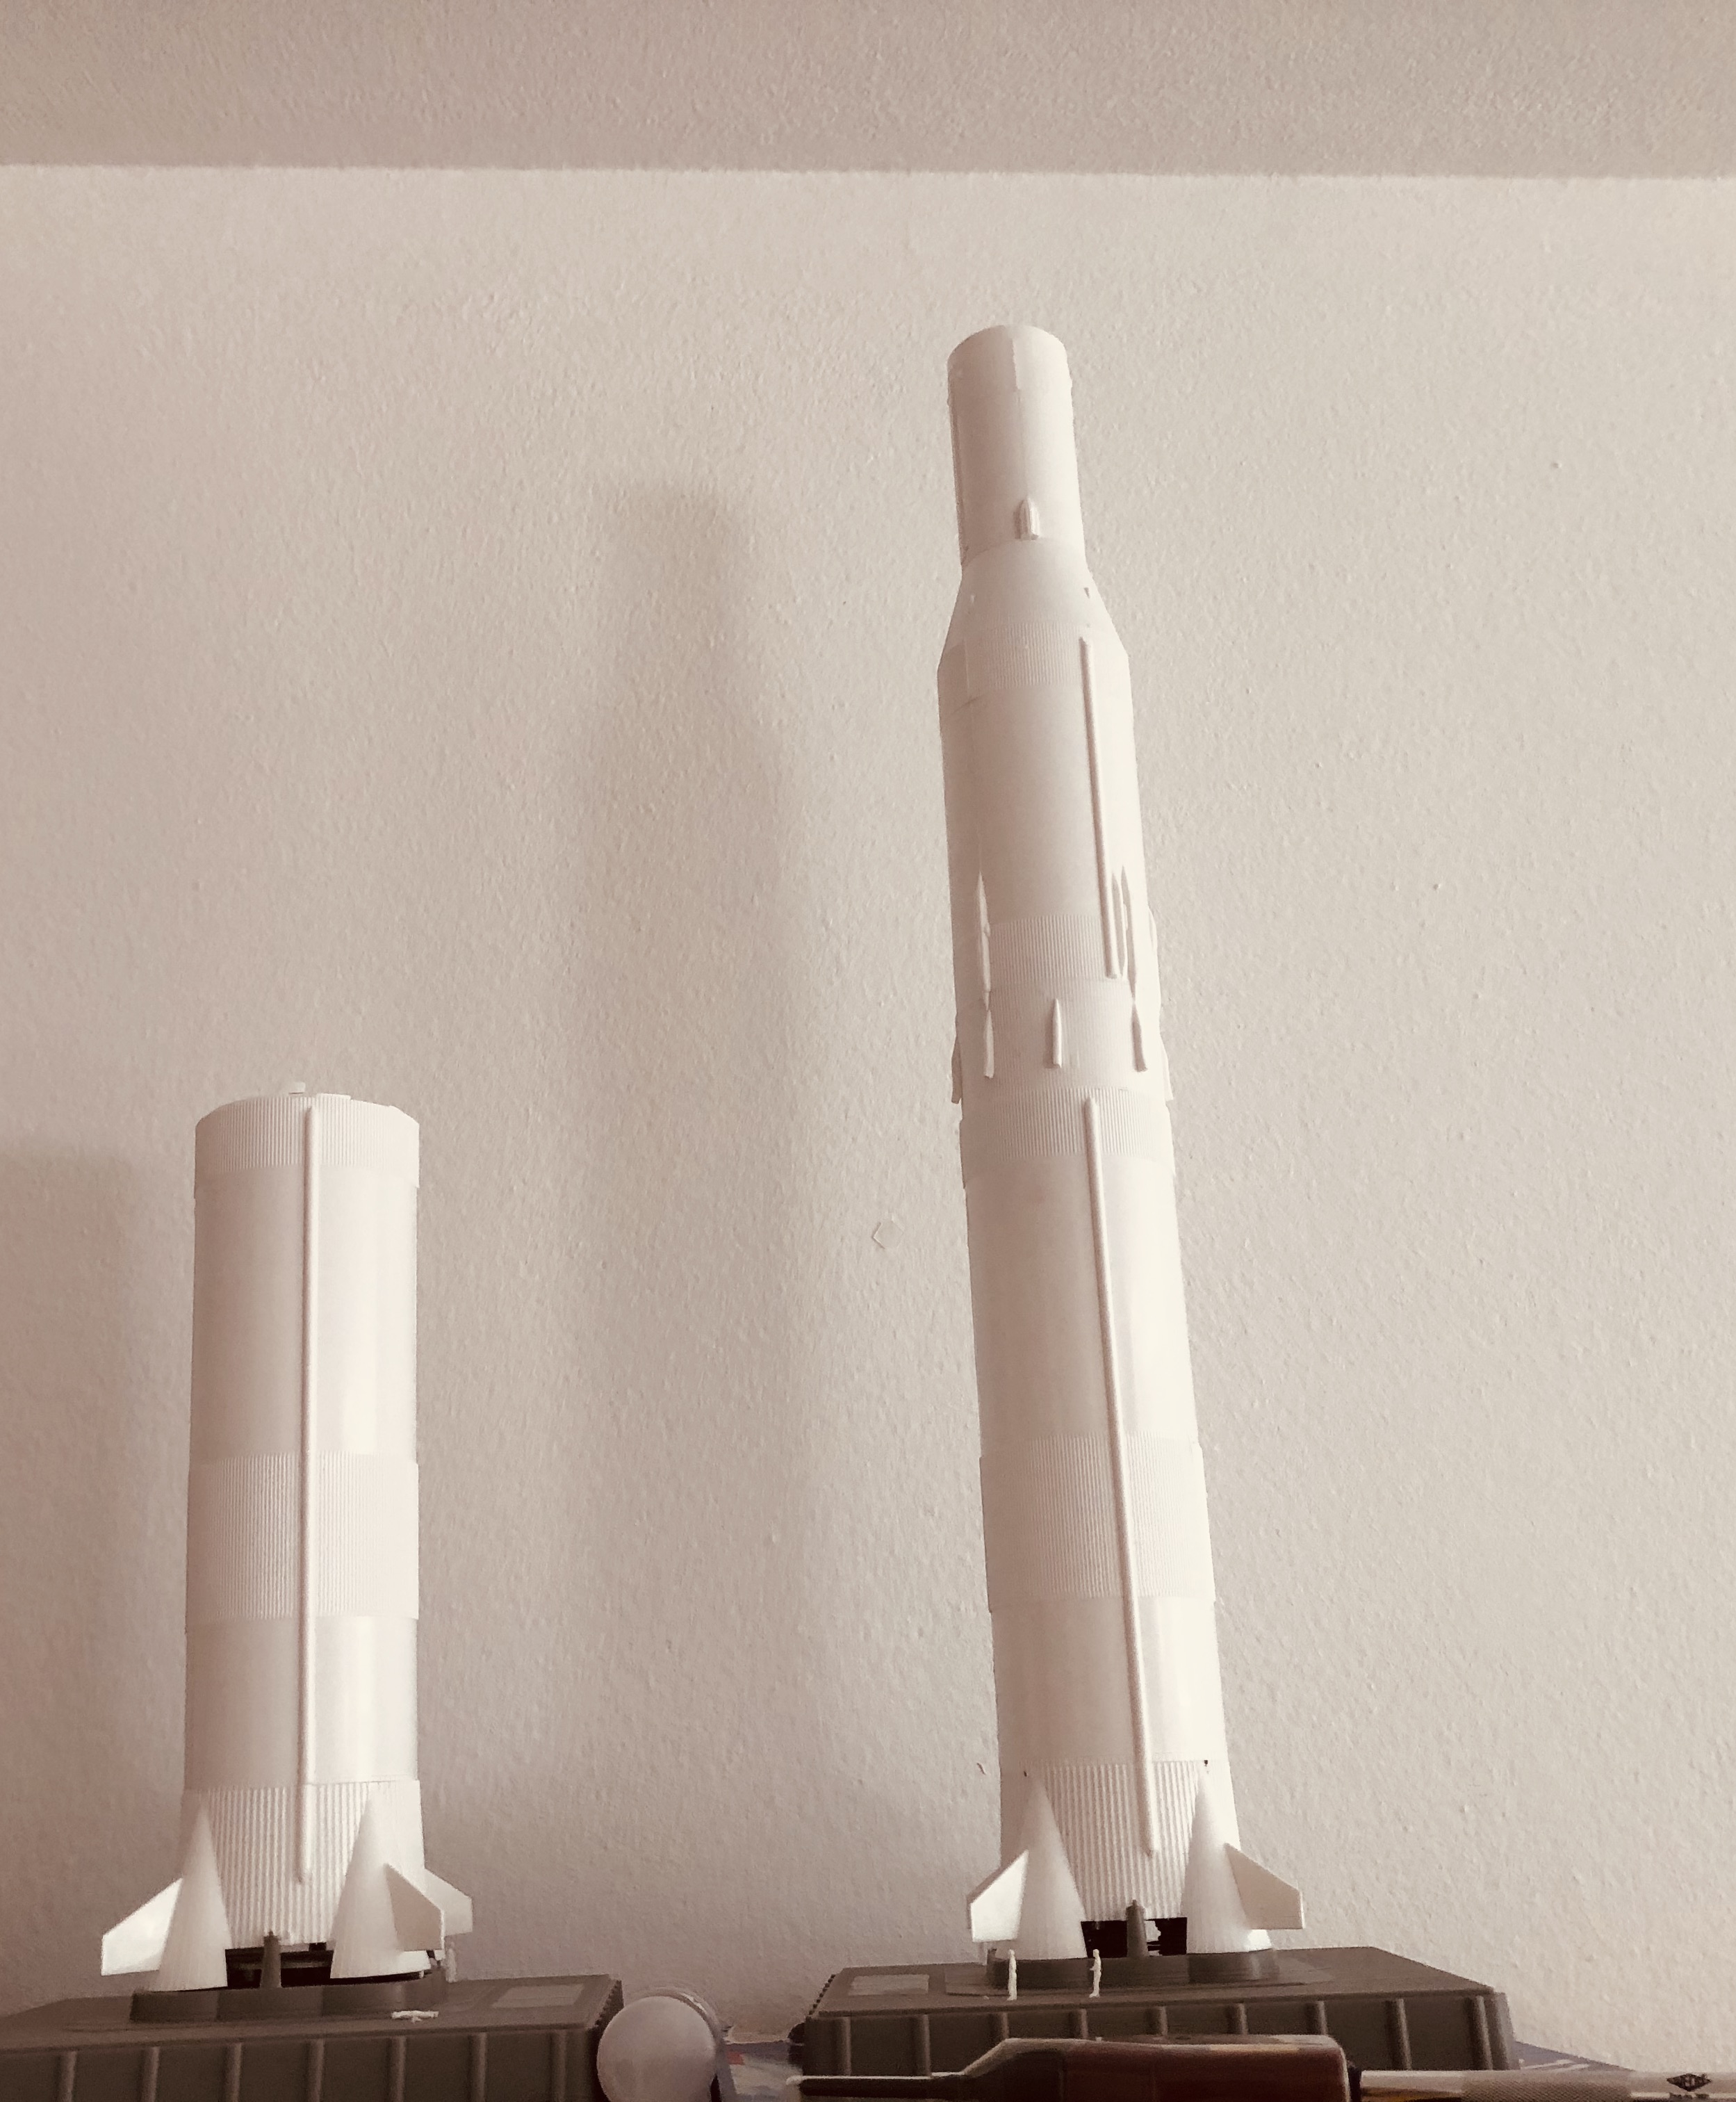
The next step could be flying to Mars :)