Picture frame

Are you looking for a unique hand-made gift or a creative way to re-use some old magazines? Picture frame!
Materials:
- old magazines
- pen, pencil or skewer as a rolling guide
- cardboard
- scalpel
- wool thread
- pipe cleaner (for the hook)
- paint and paintbrush (optional)
- embellishments (optional)
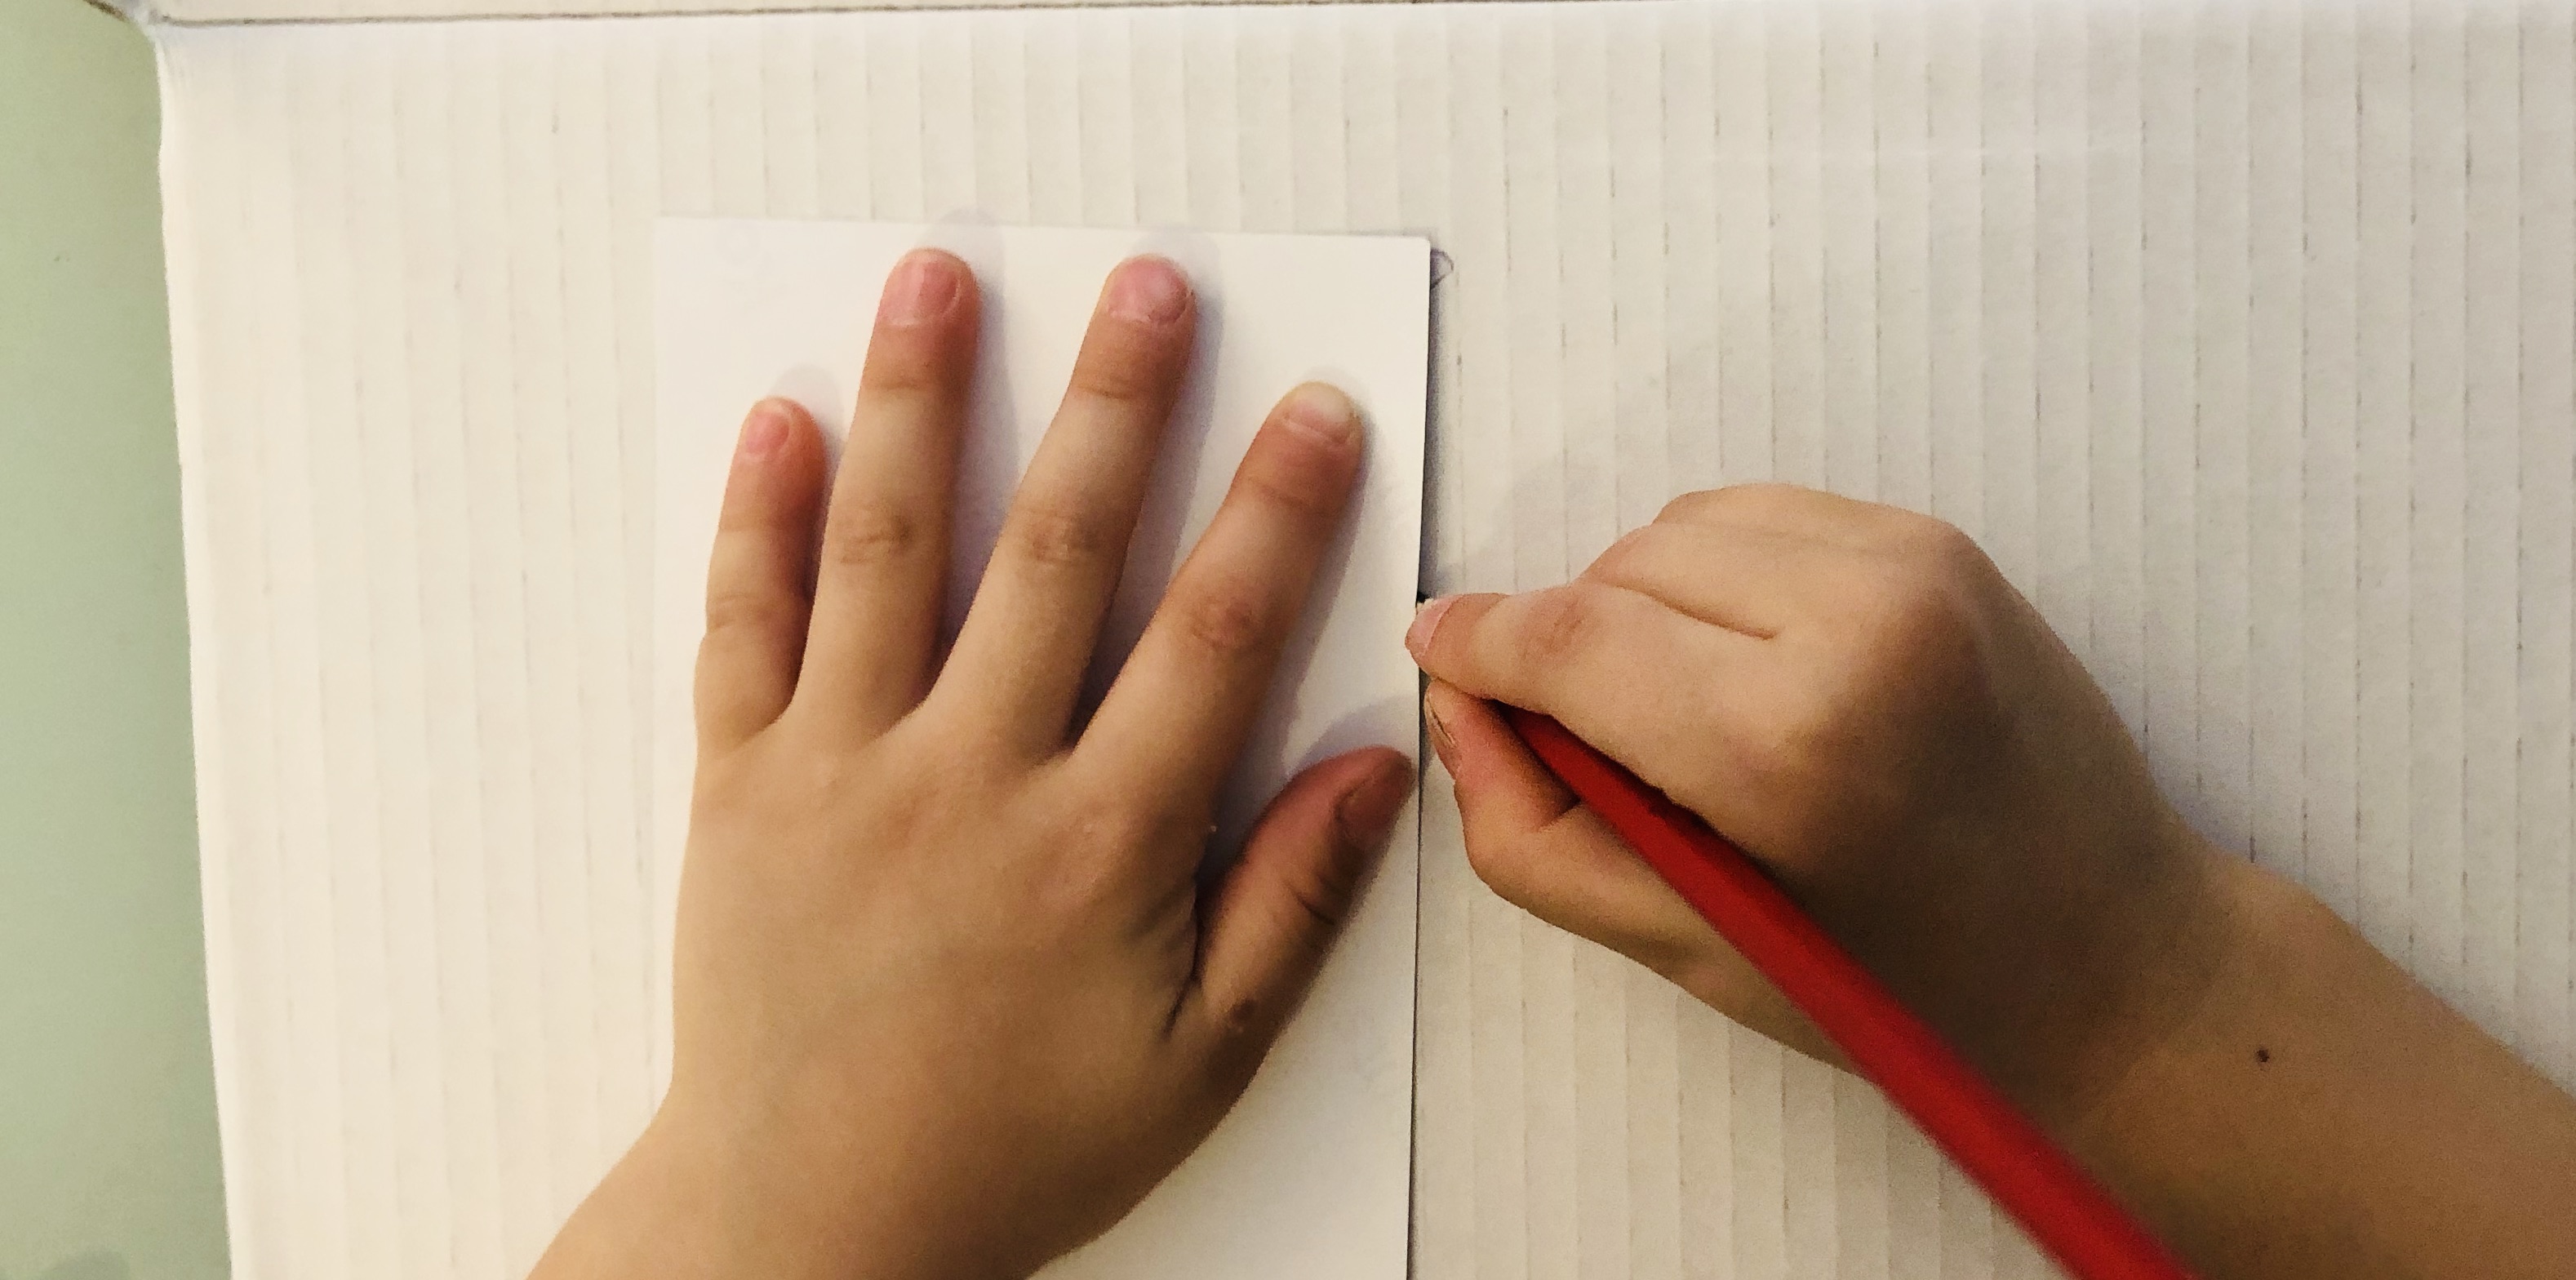
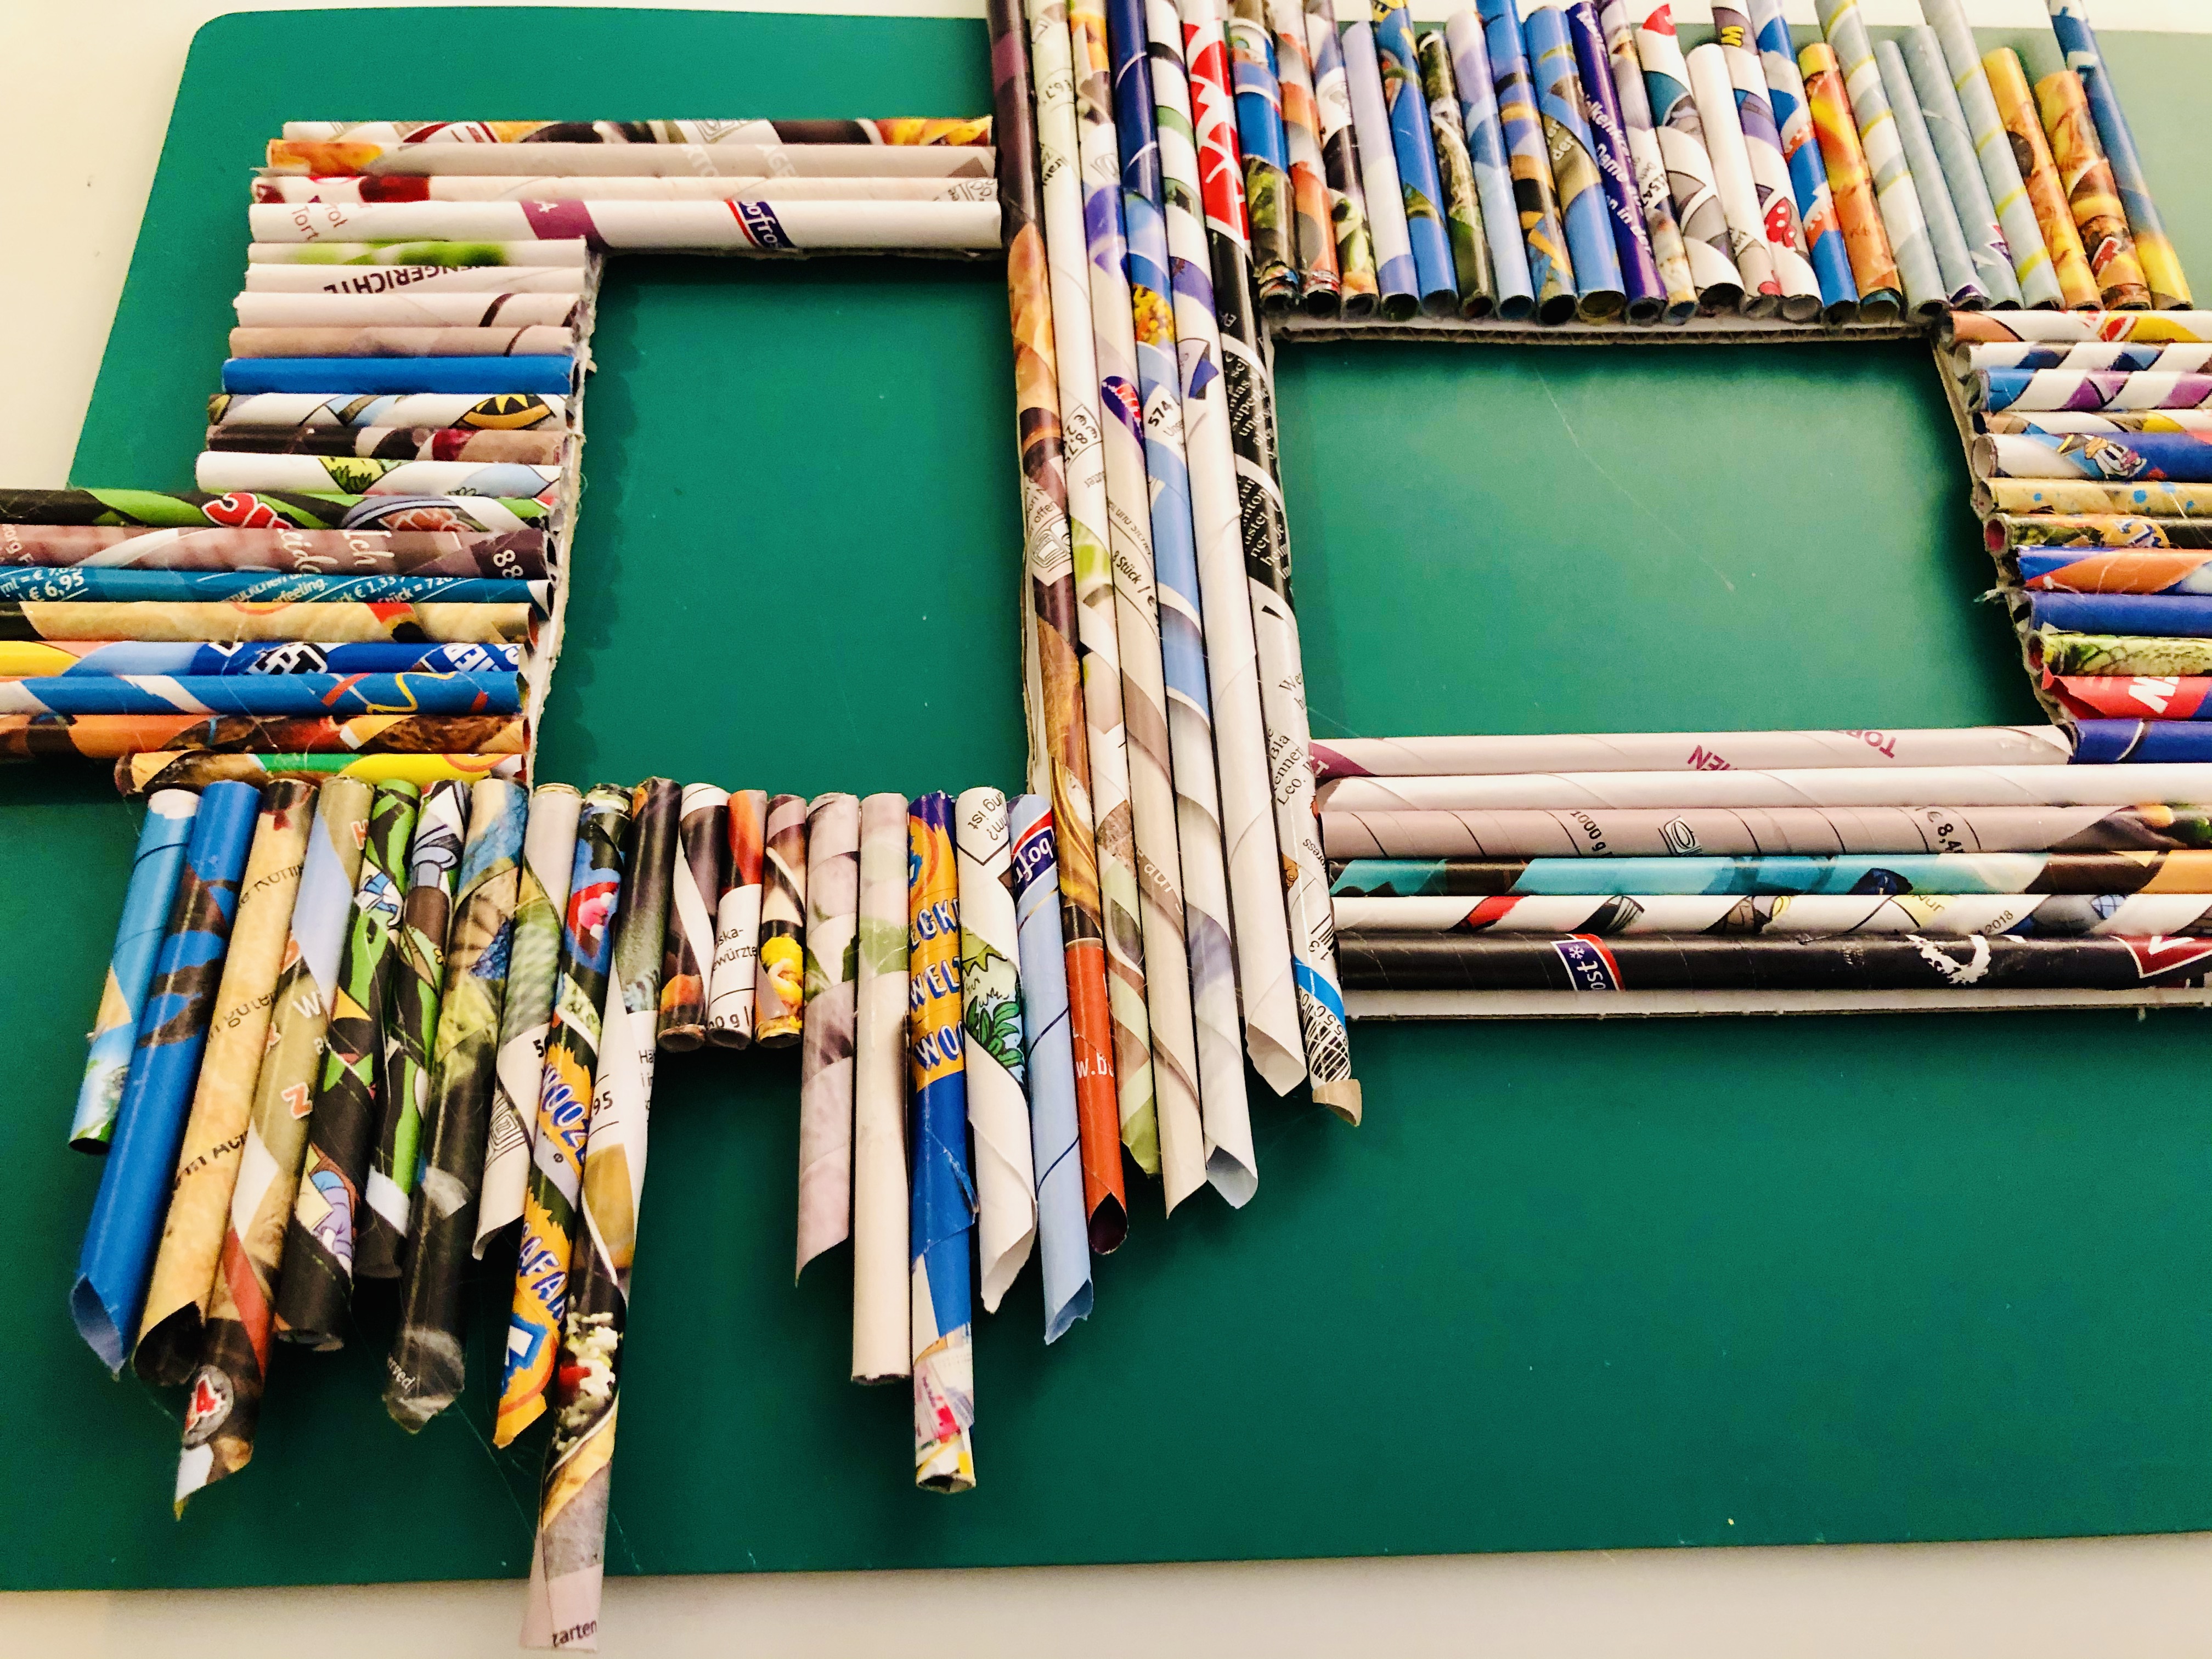
Step 1.
Take a piece of cardboard and mark the picture area. We decided to make one horizontal and one vertical.
Step 2.
Cut out the marked area using a scalpel. This is more of a task for grown-ups.
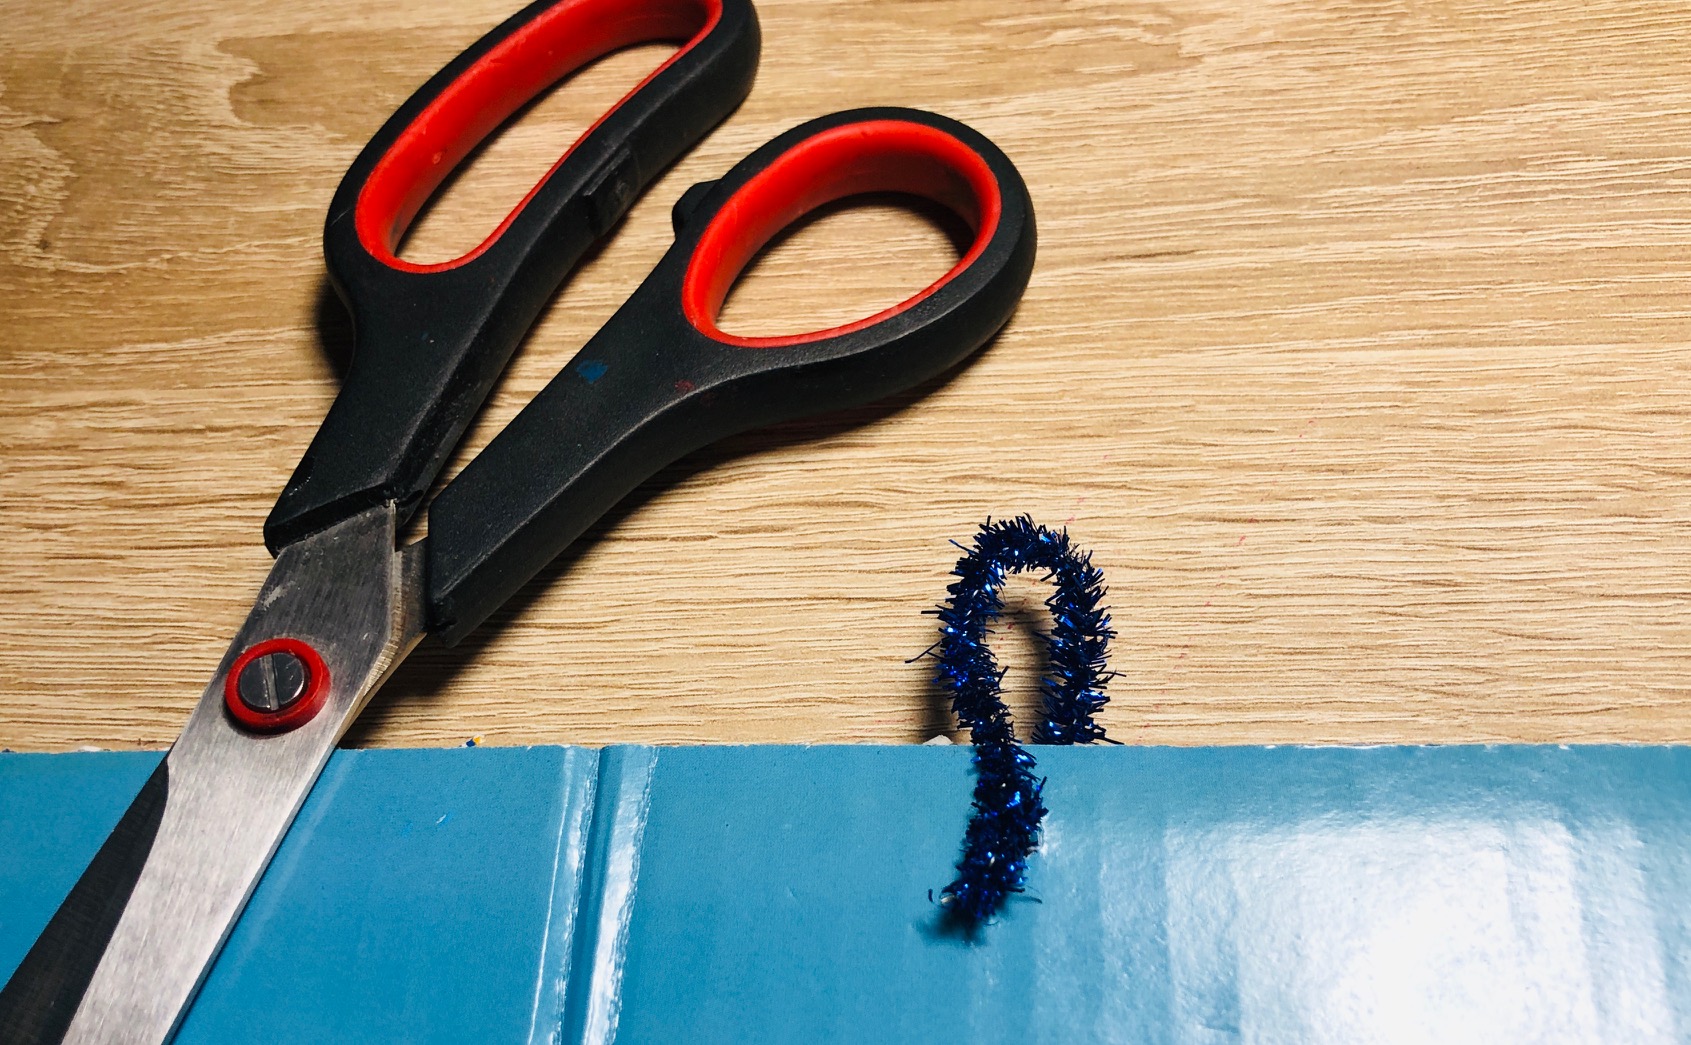
Step 3.
Along the upper line, find the middle, drill a little hole and make a hook. We used a pipe cleaner.
Step 4.
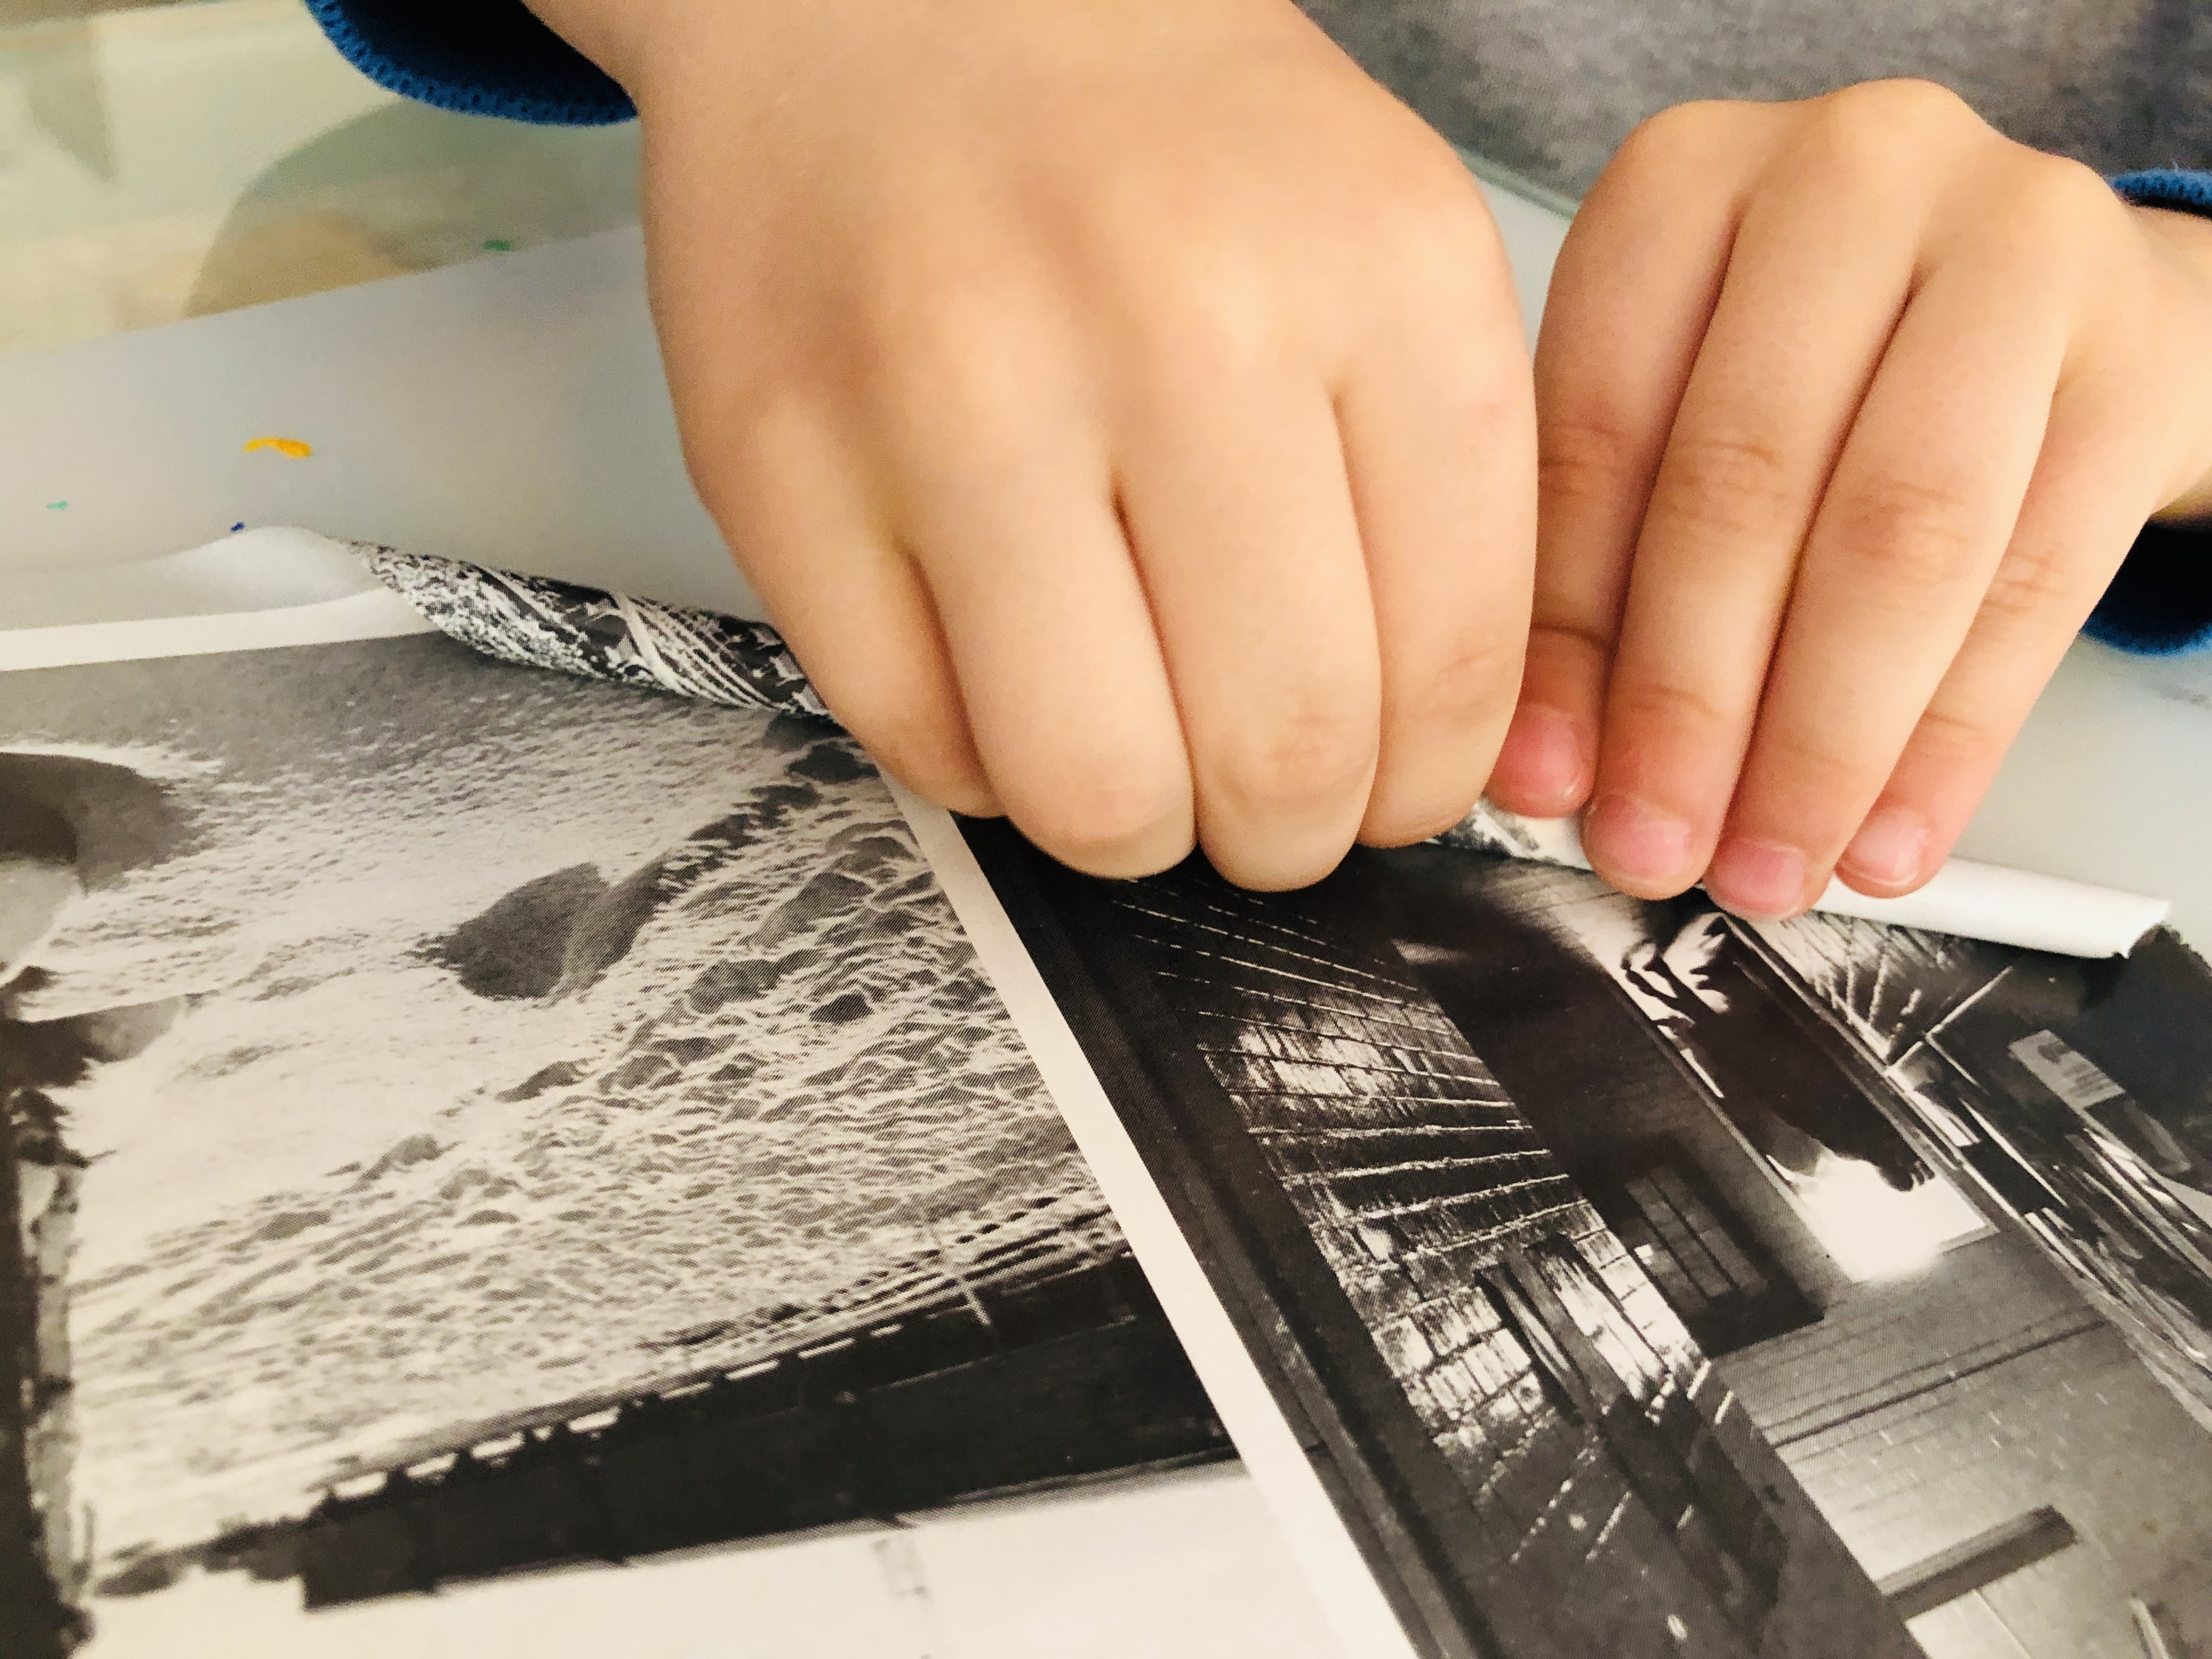
Use the magazine paper rolls you have or prepare new ones.
If you are making them, rip out pages of an old magazine first.
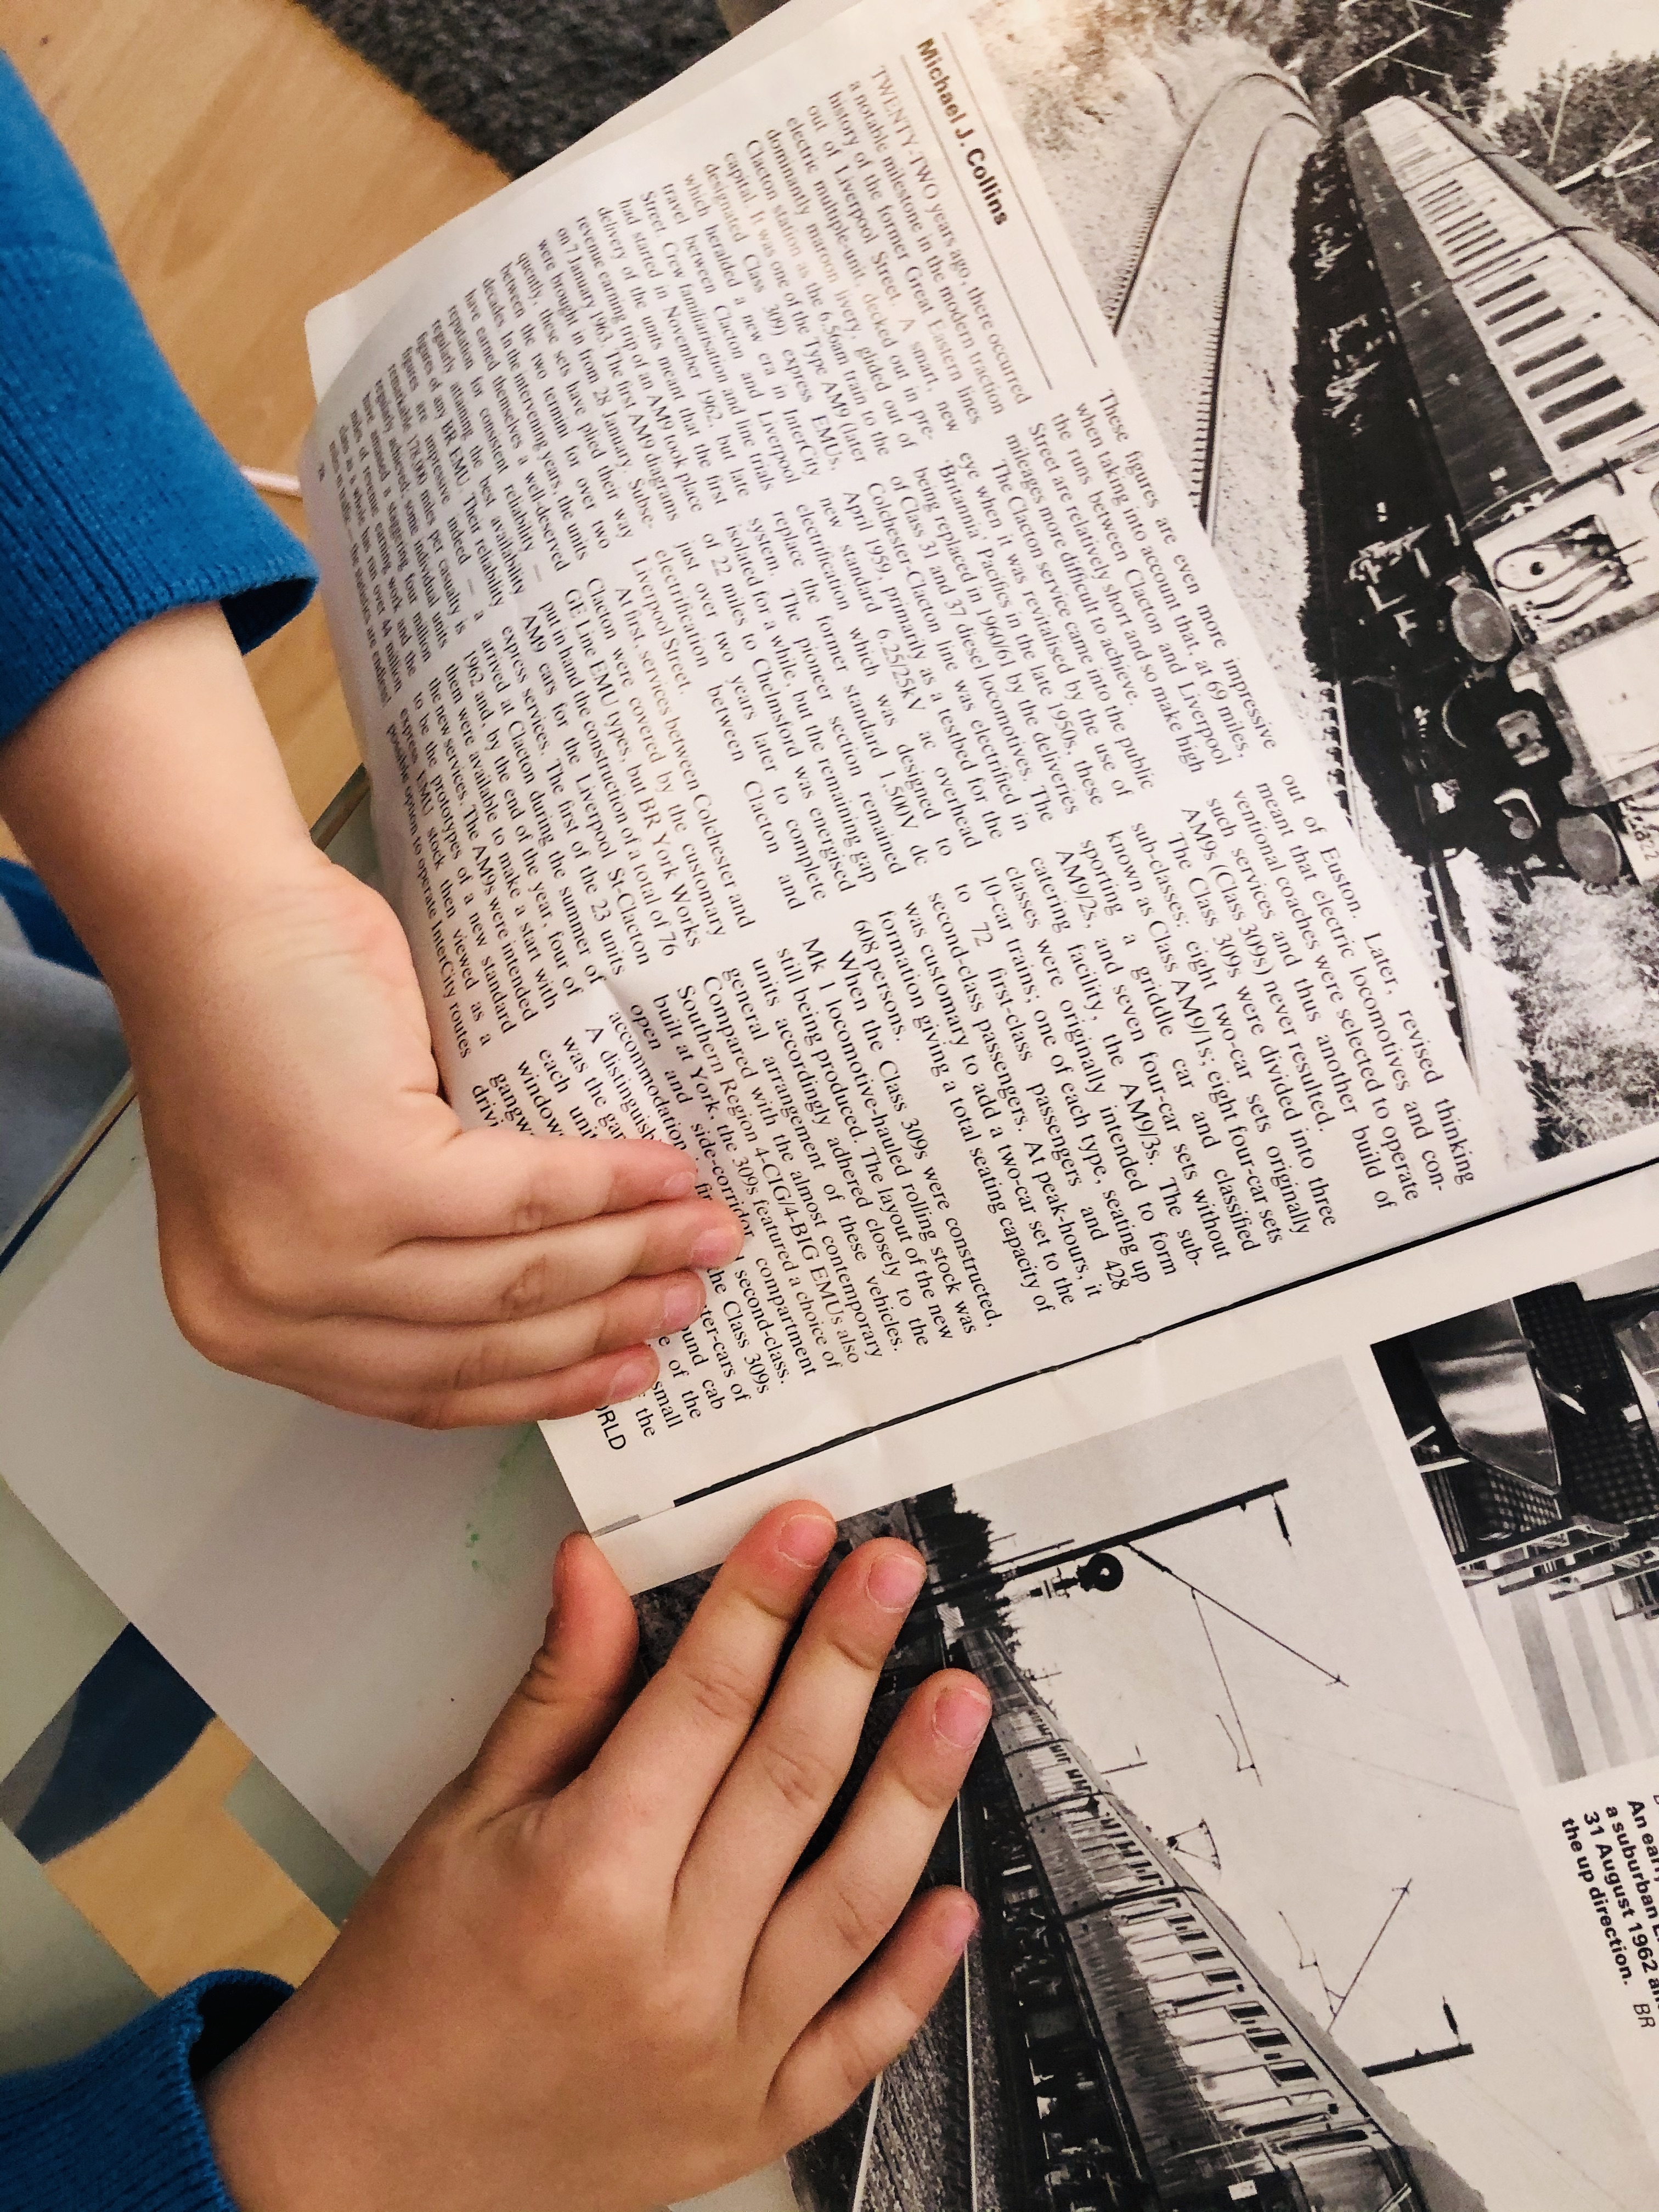
Begin to roll the magazine around a pencil or a skewer to create a tube shape.
This is an excellent activity for developing fine-motor skills.
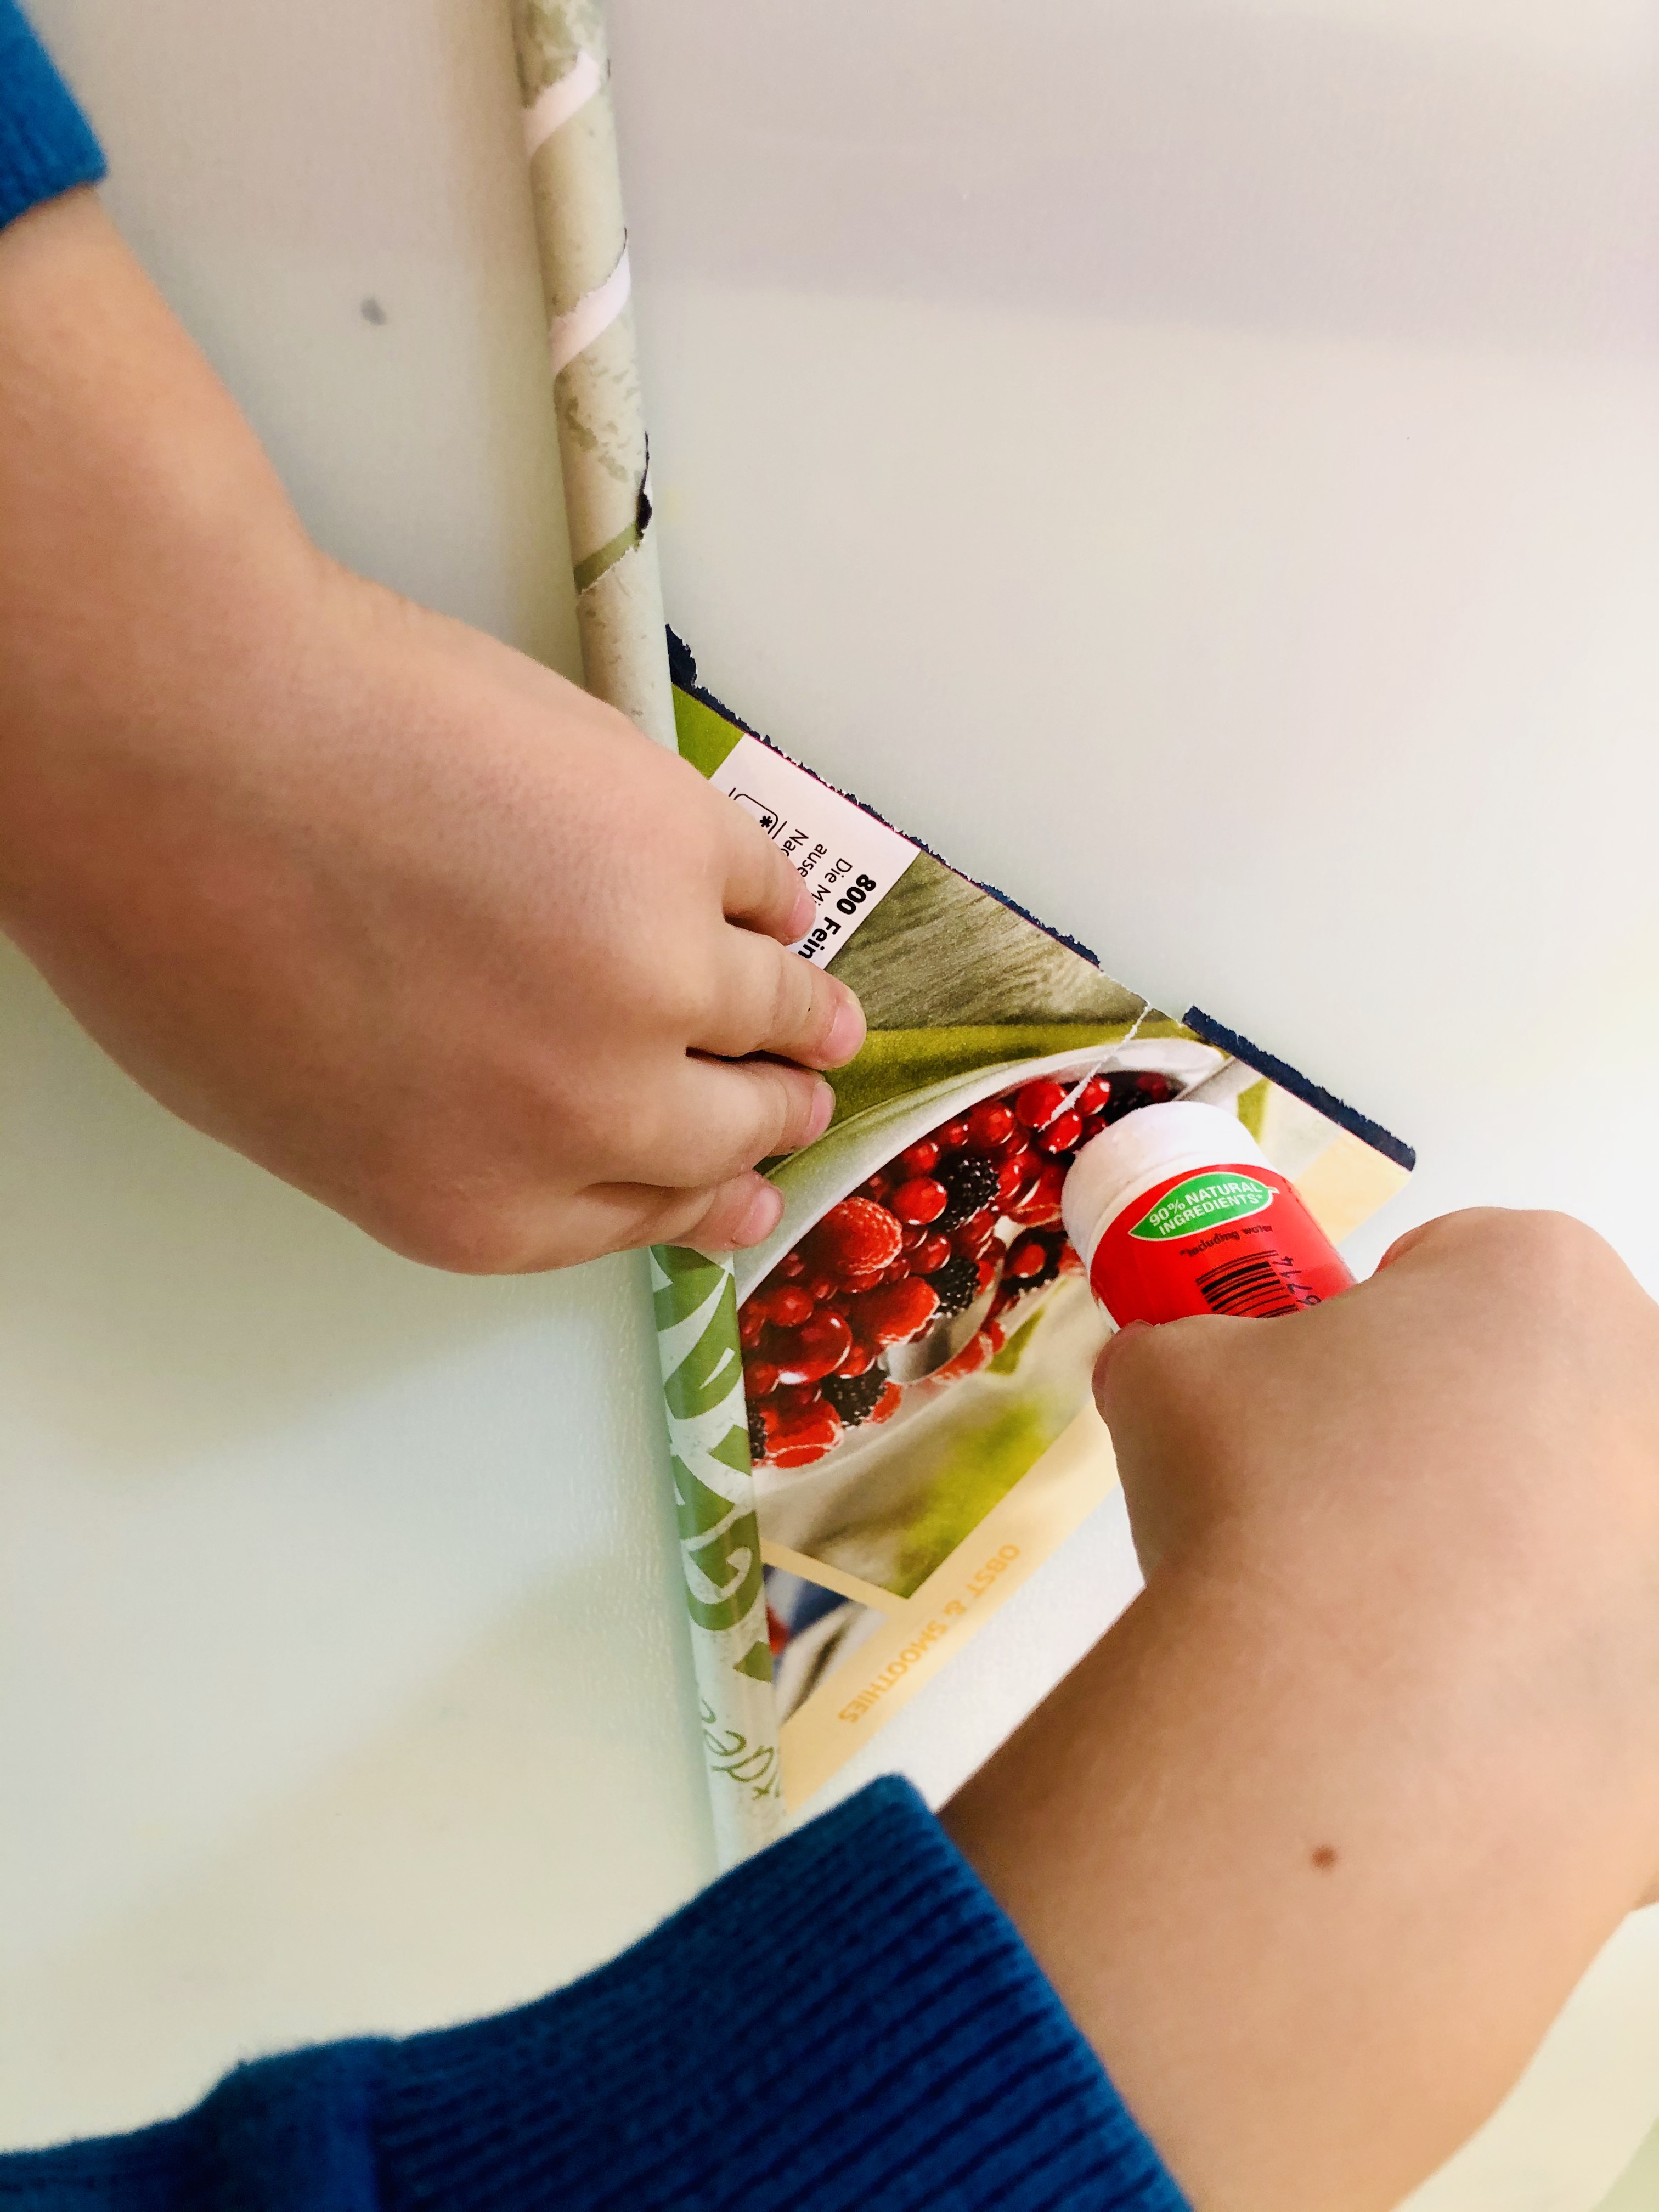
Step 6.
When you reach the end, put some glue on the corner and wrap it around the tube to secure it in place.
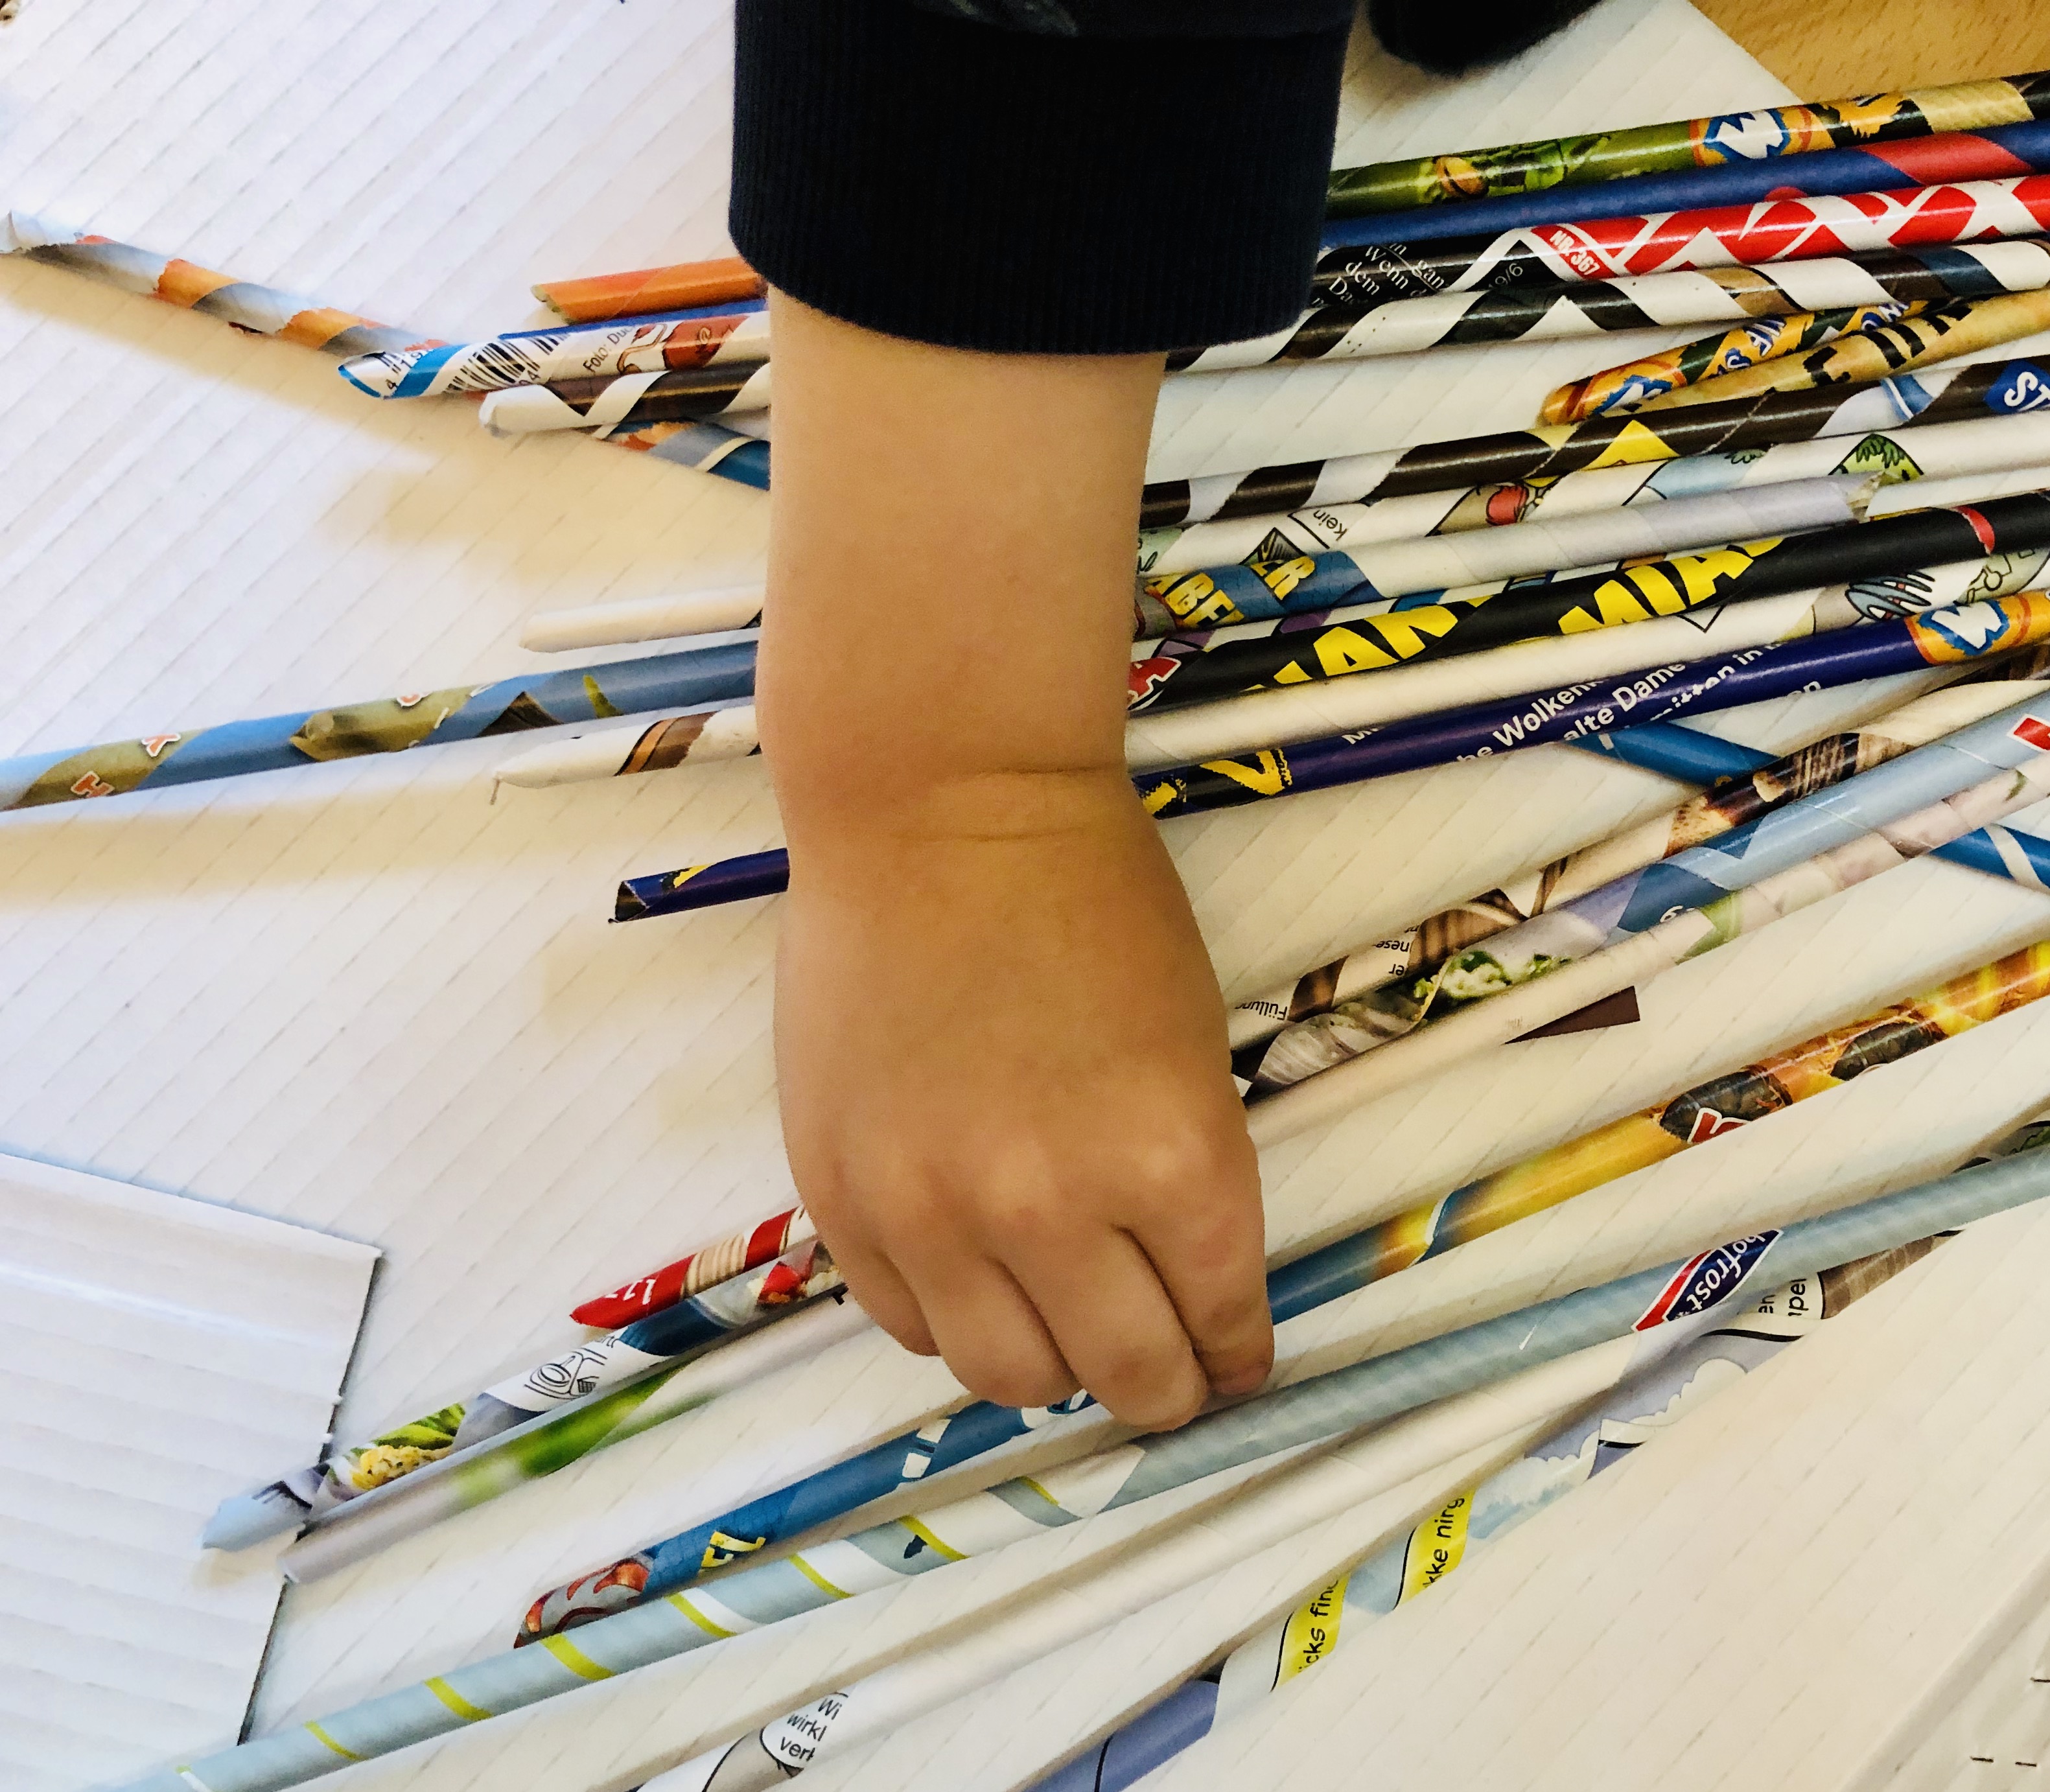
Make as many as you can. You can always use them for other projects.
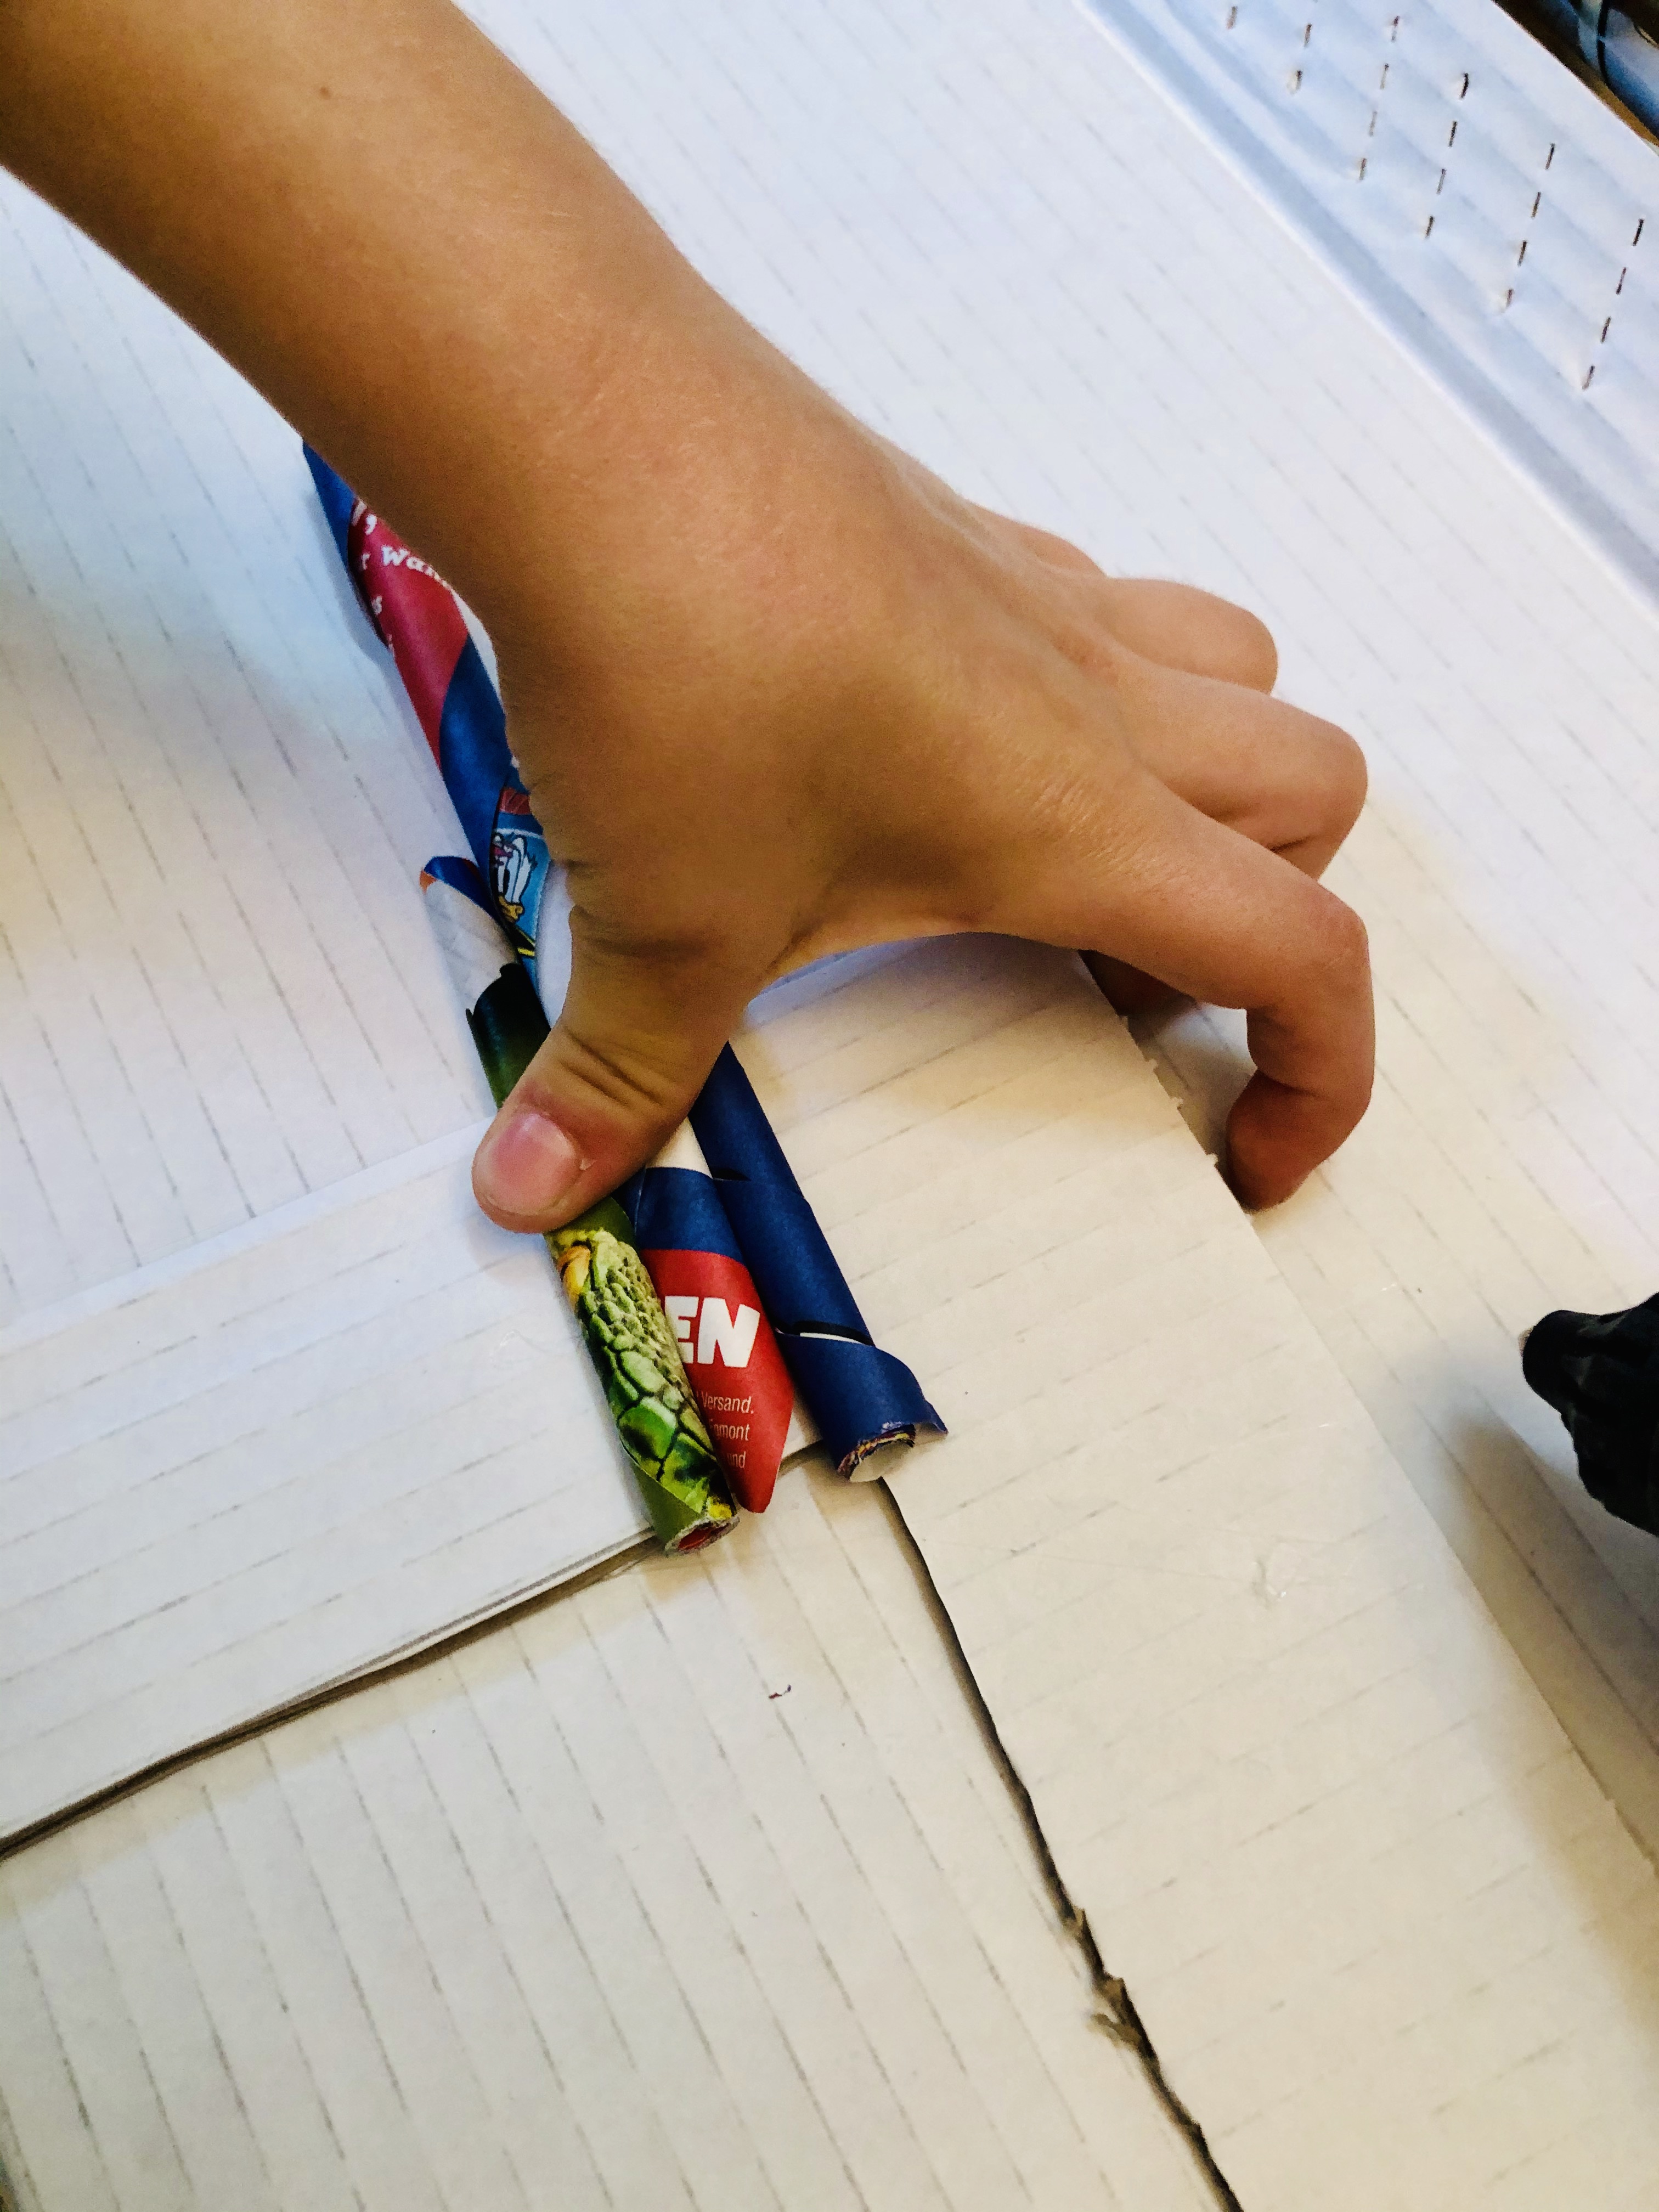
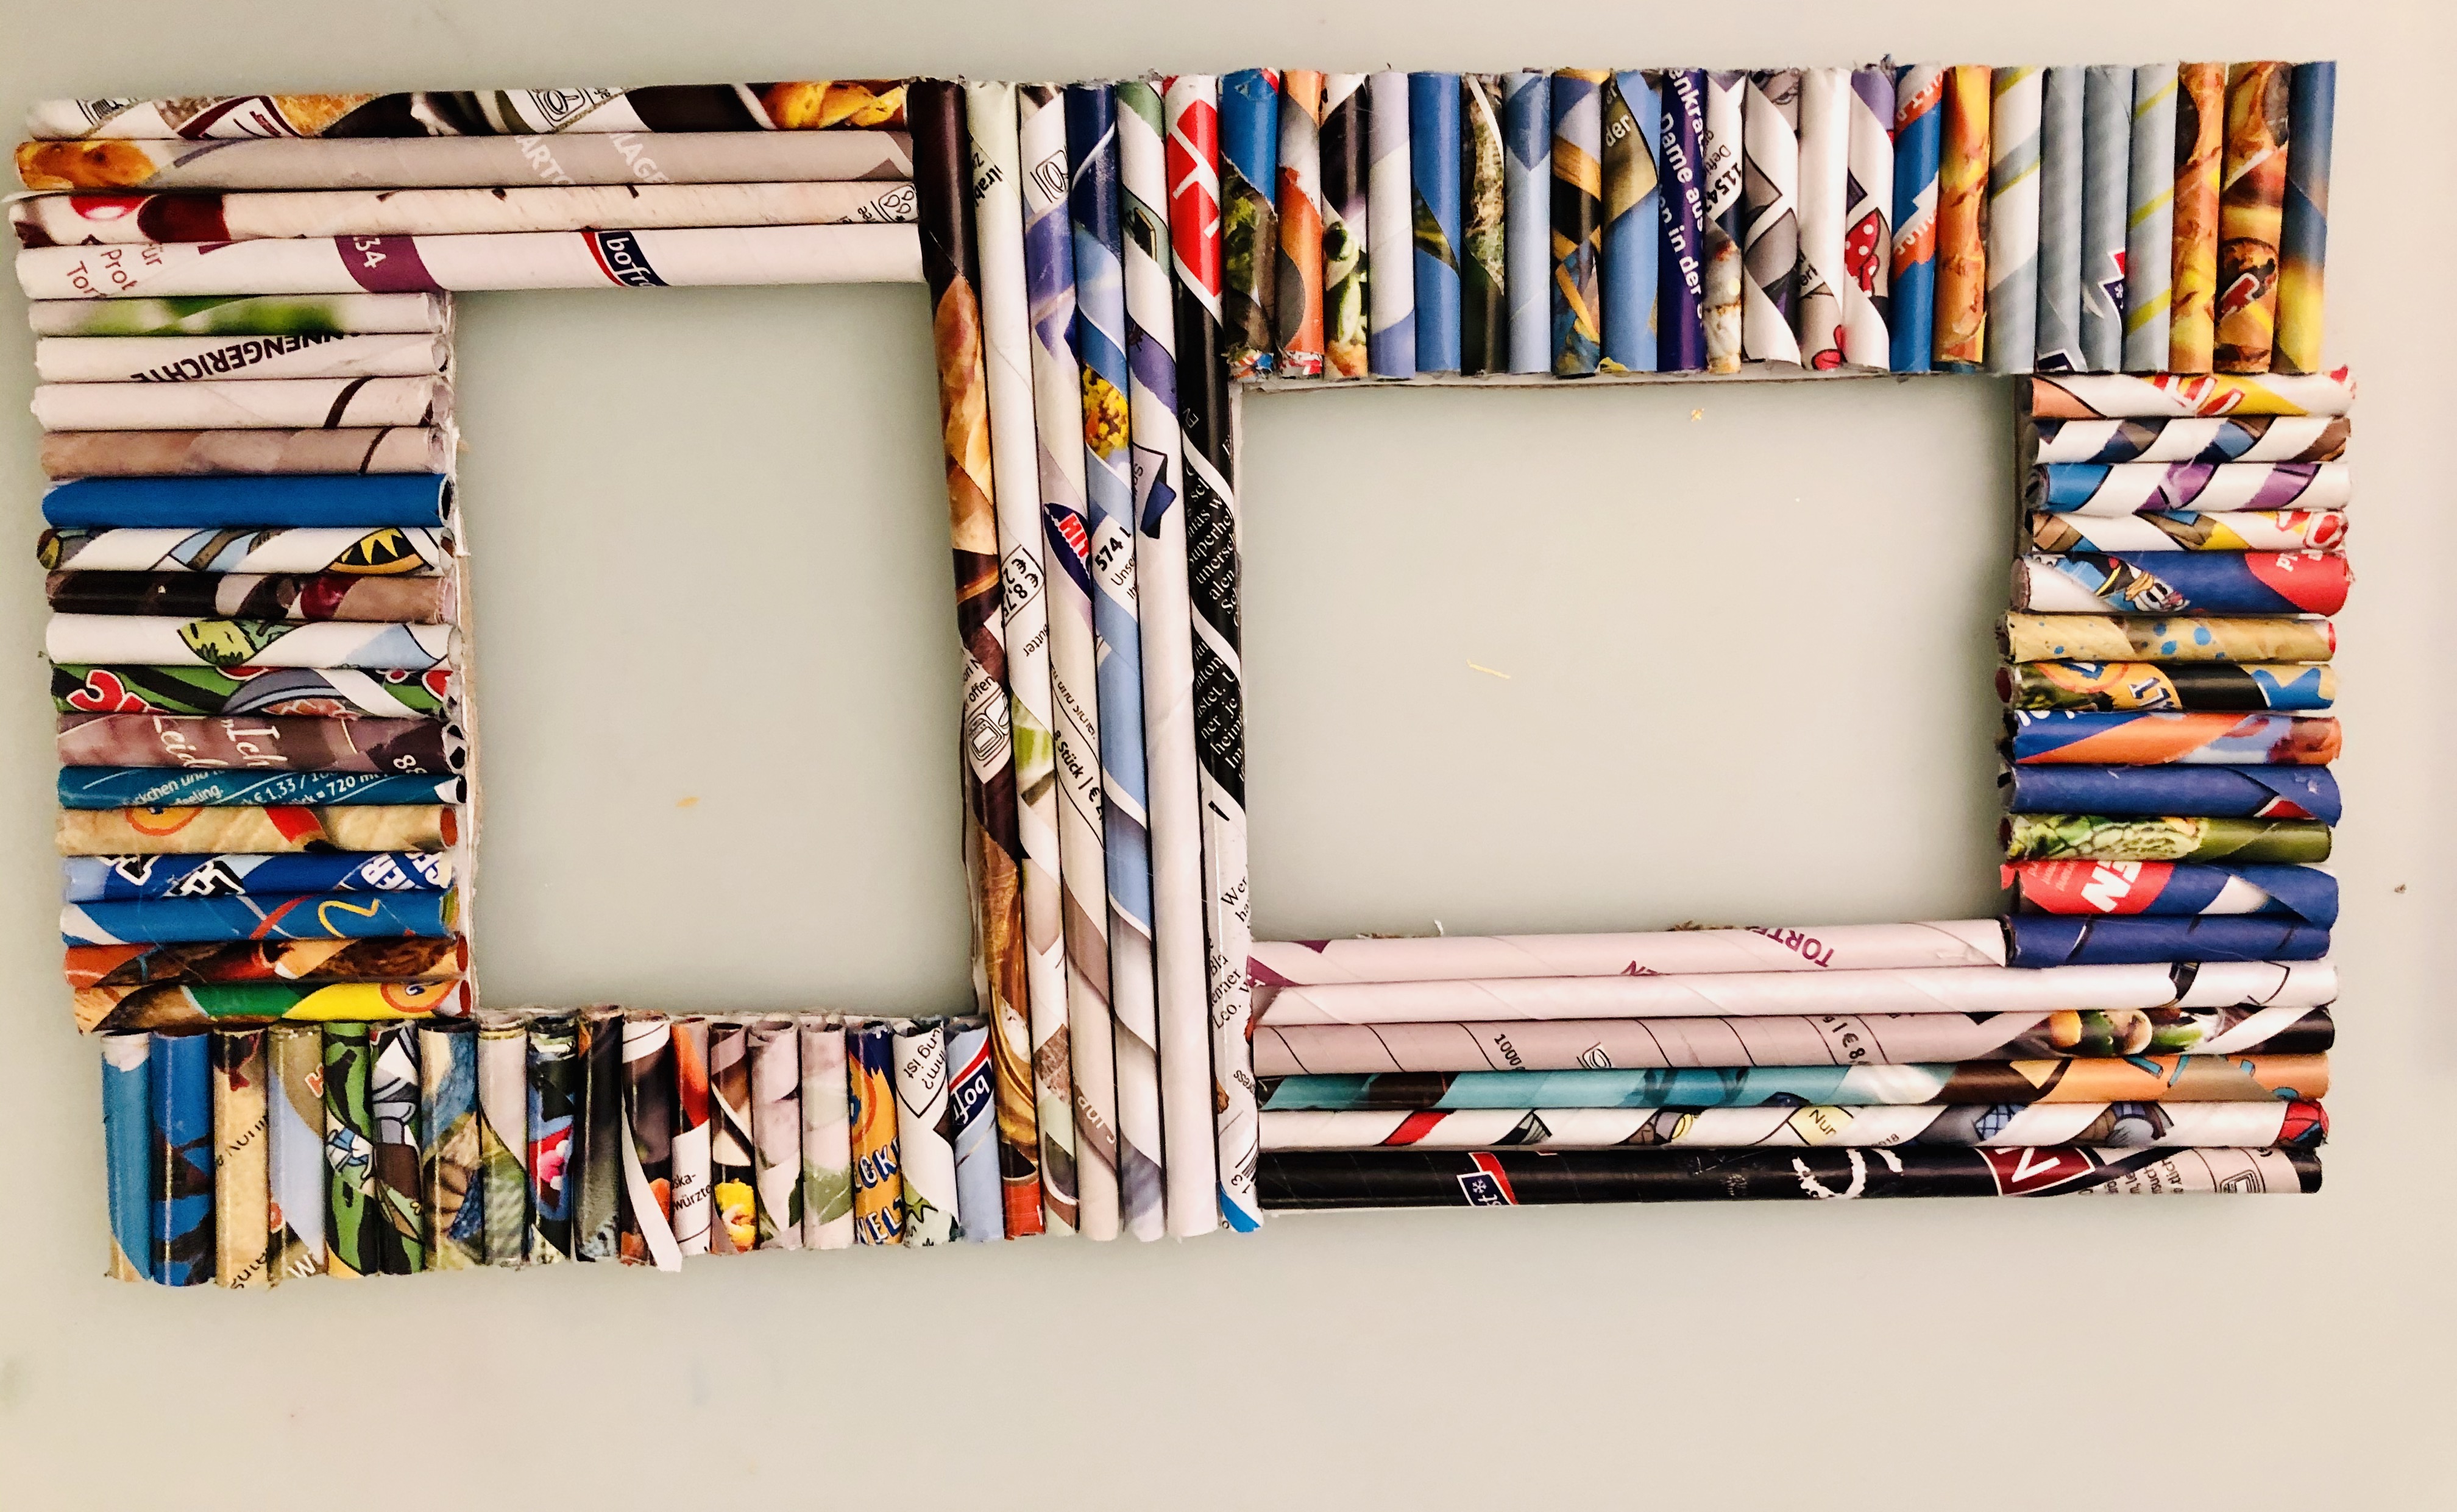
Step 7.
Glue the paper rolls on the cardboard. If you are using a hot glue gun, be cautious and pay attention to what you're doing to avoid burning yourself or your kid's fingers.
Step 8.
If you like your frame colourful, your project can end here.
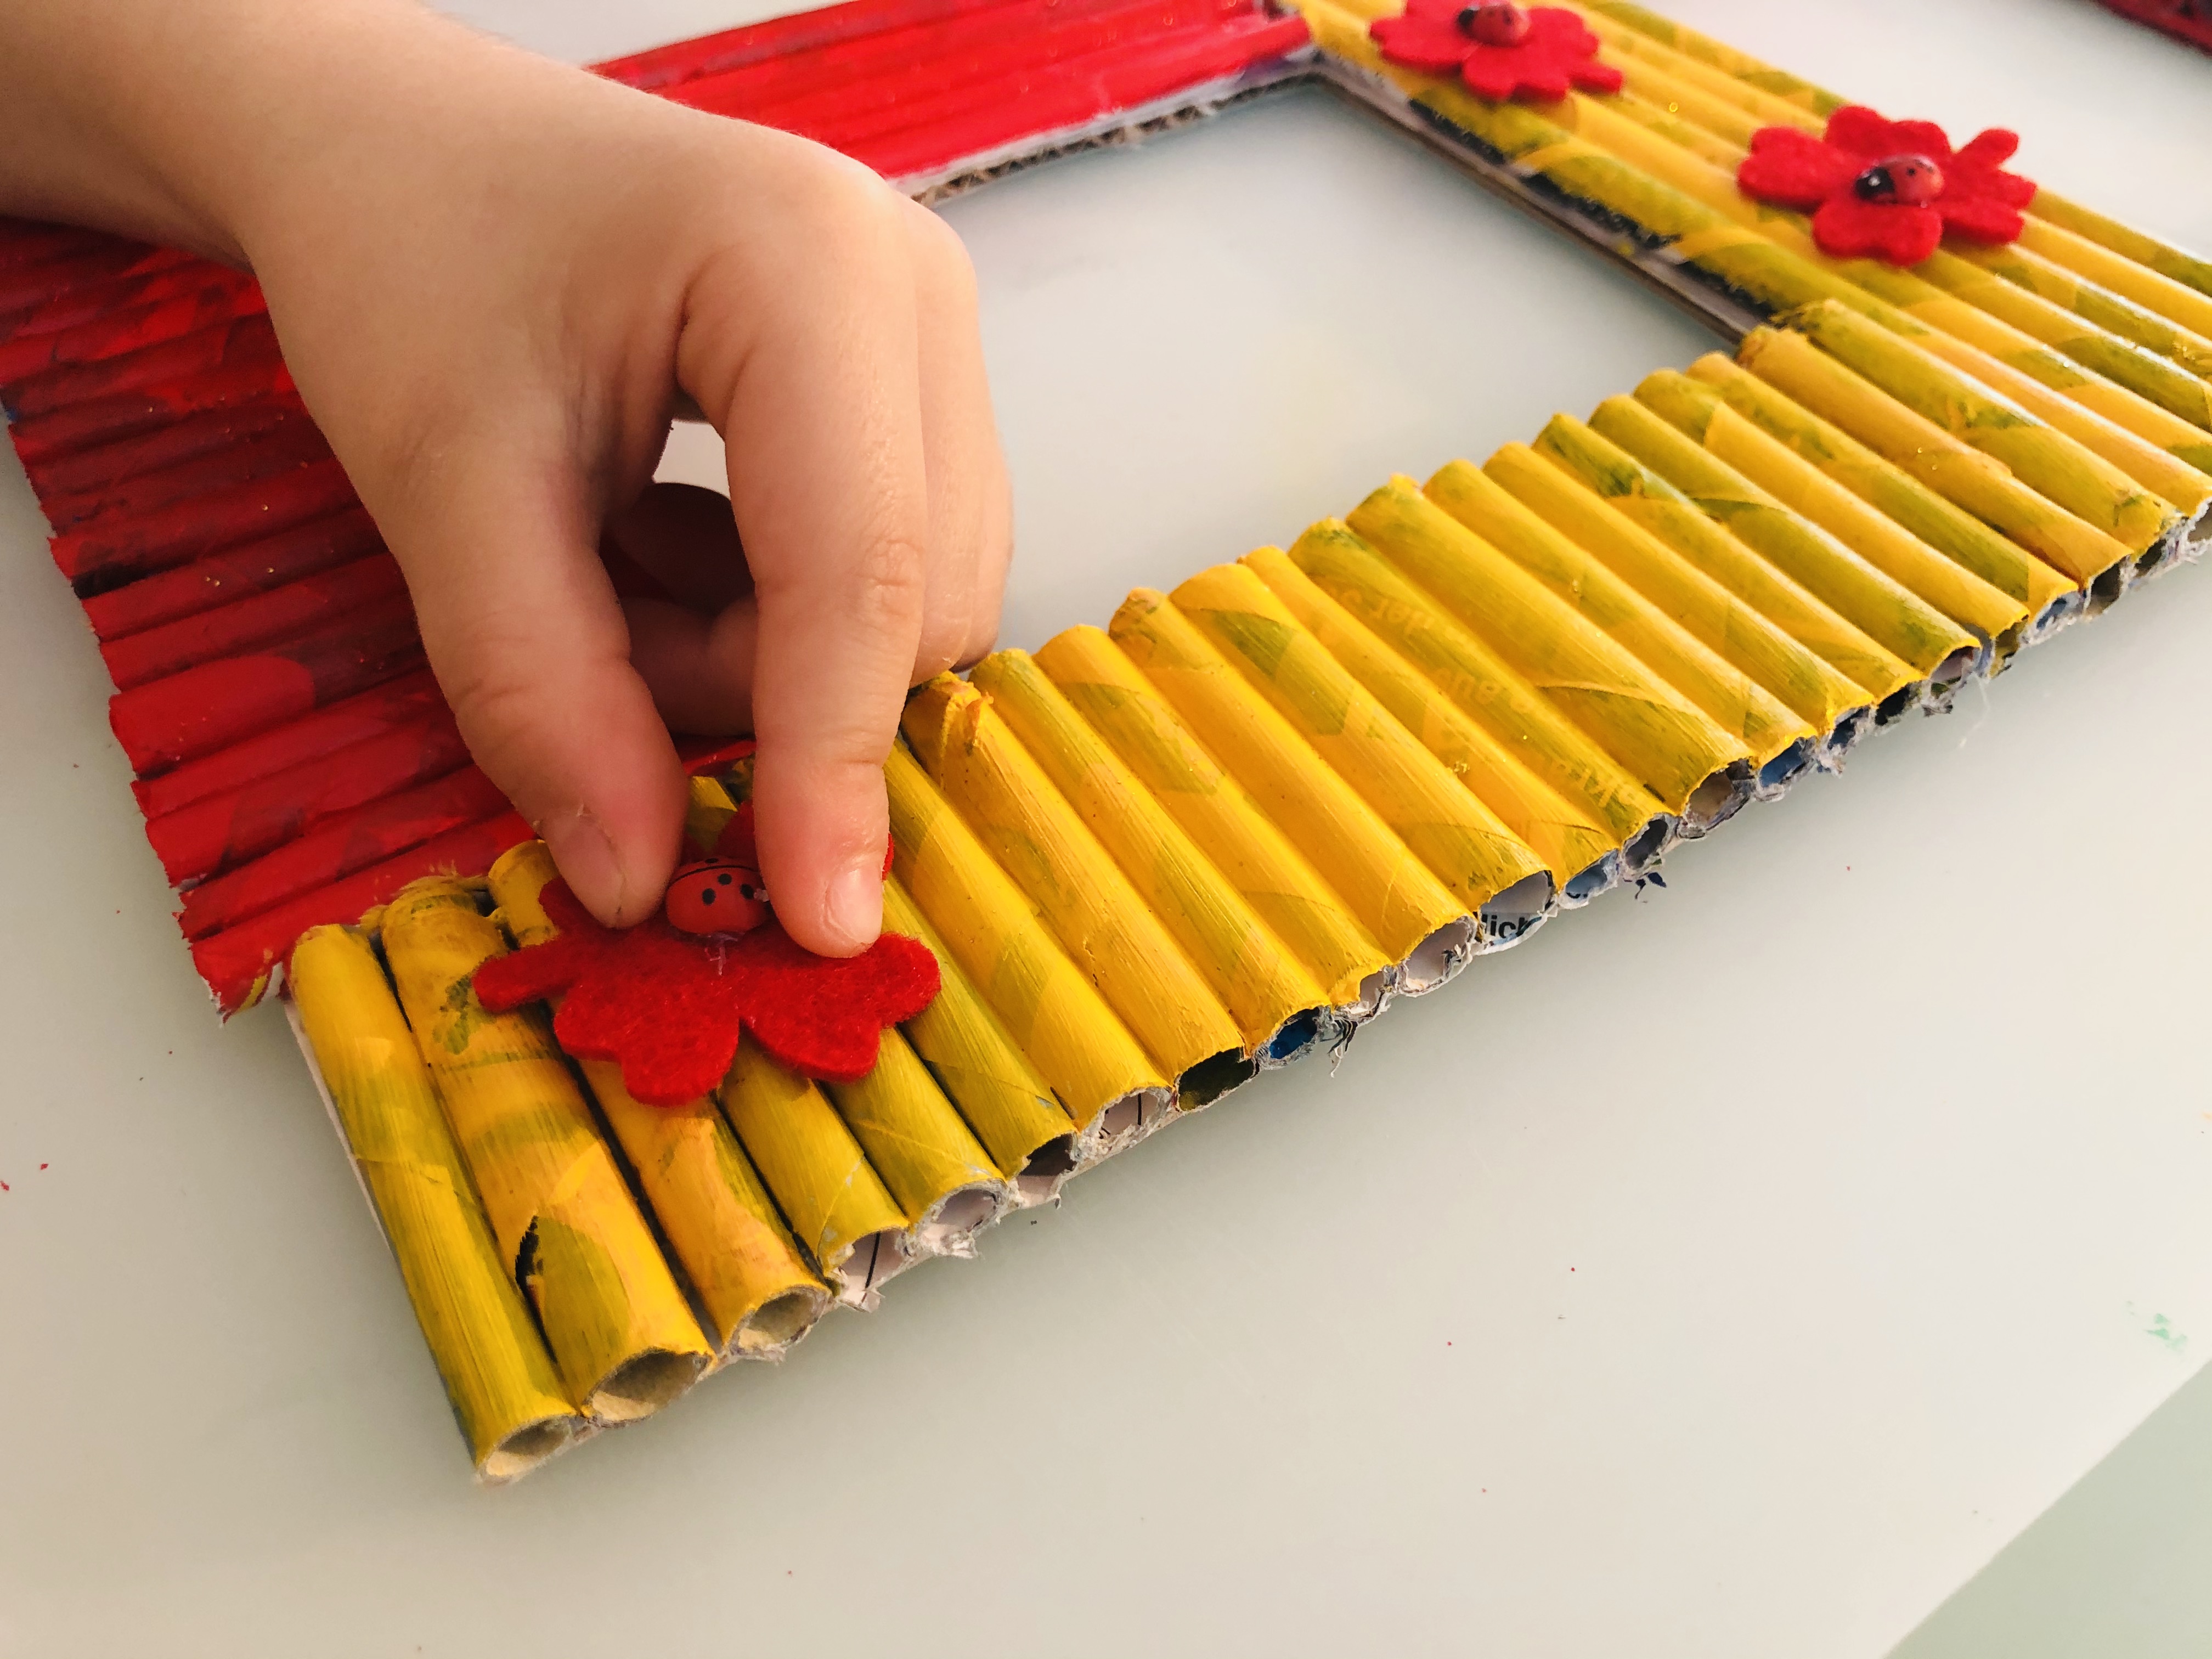
Step 9.
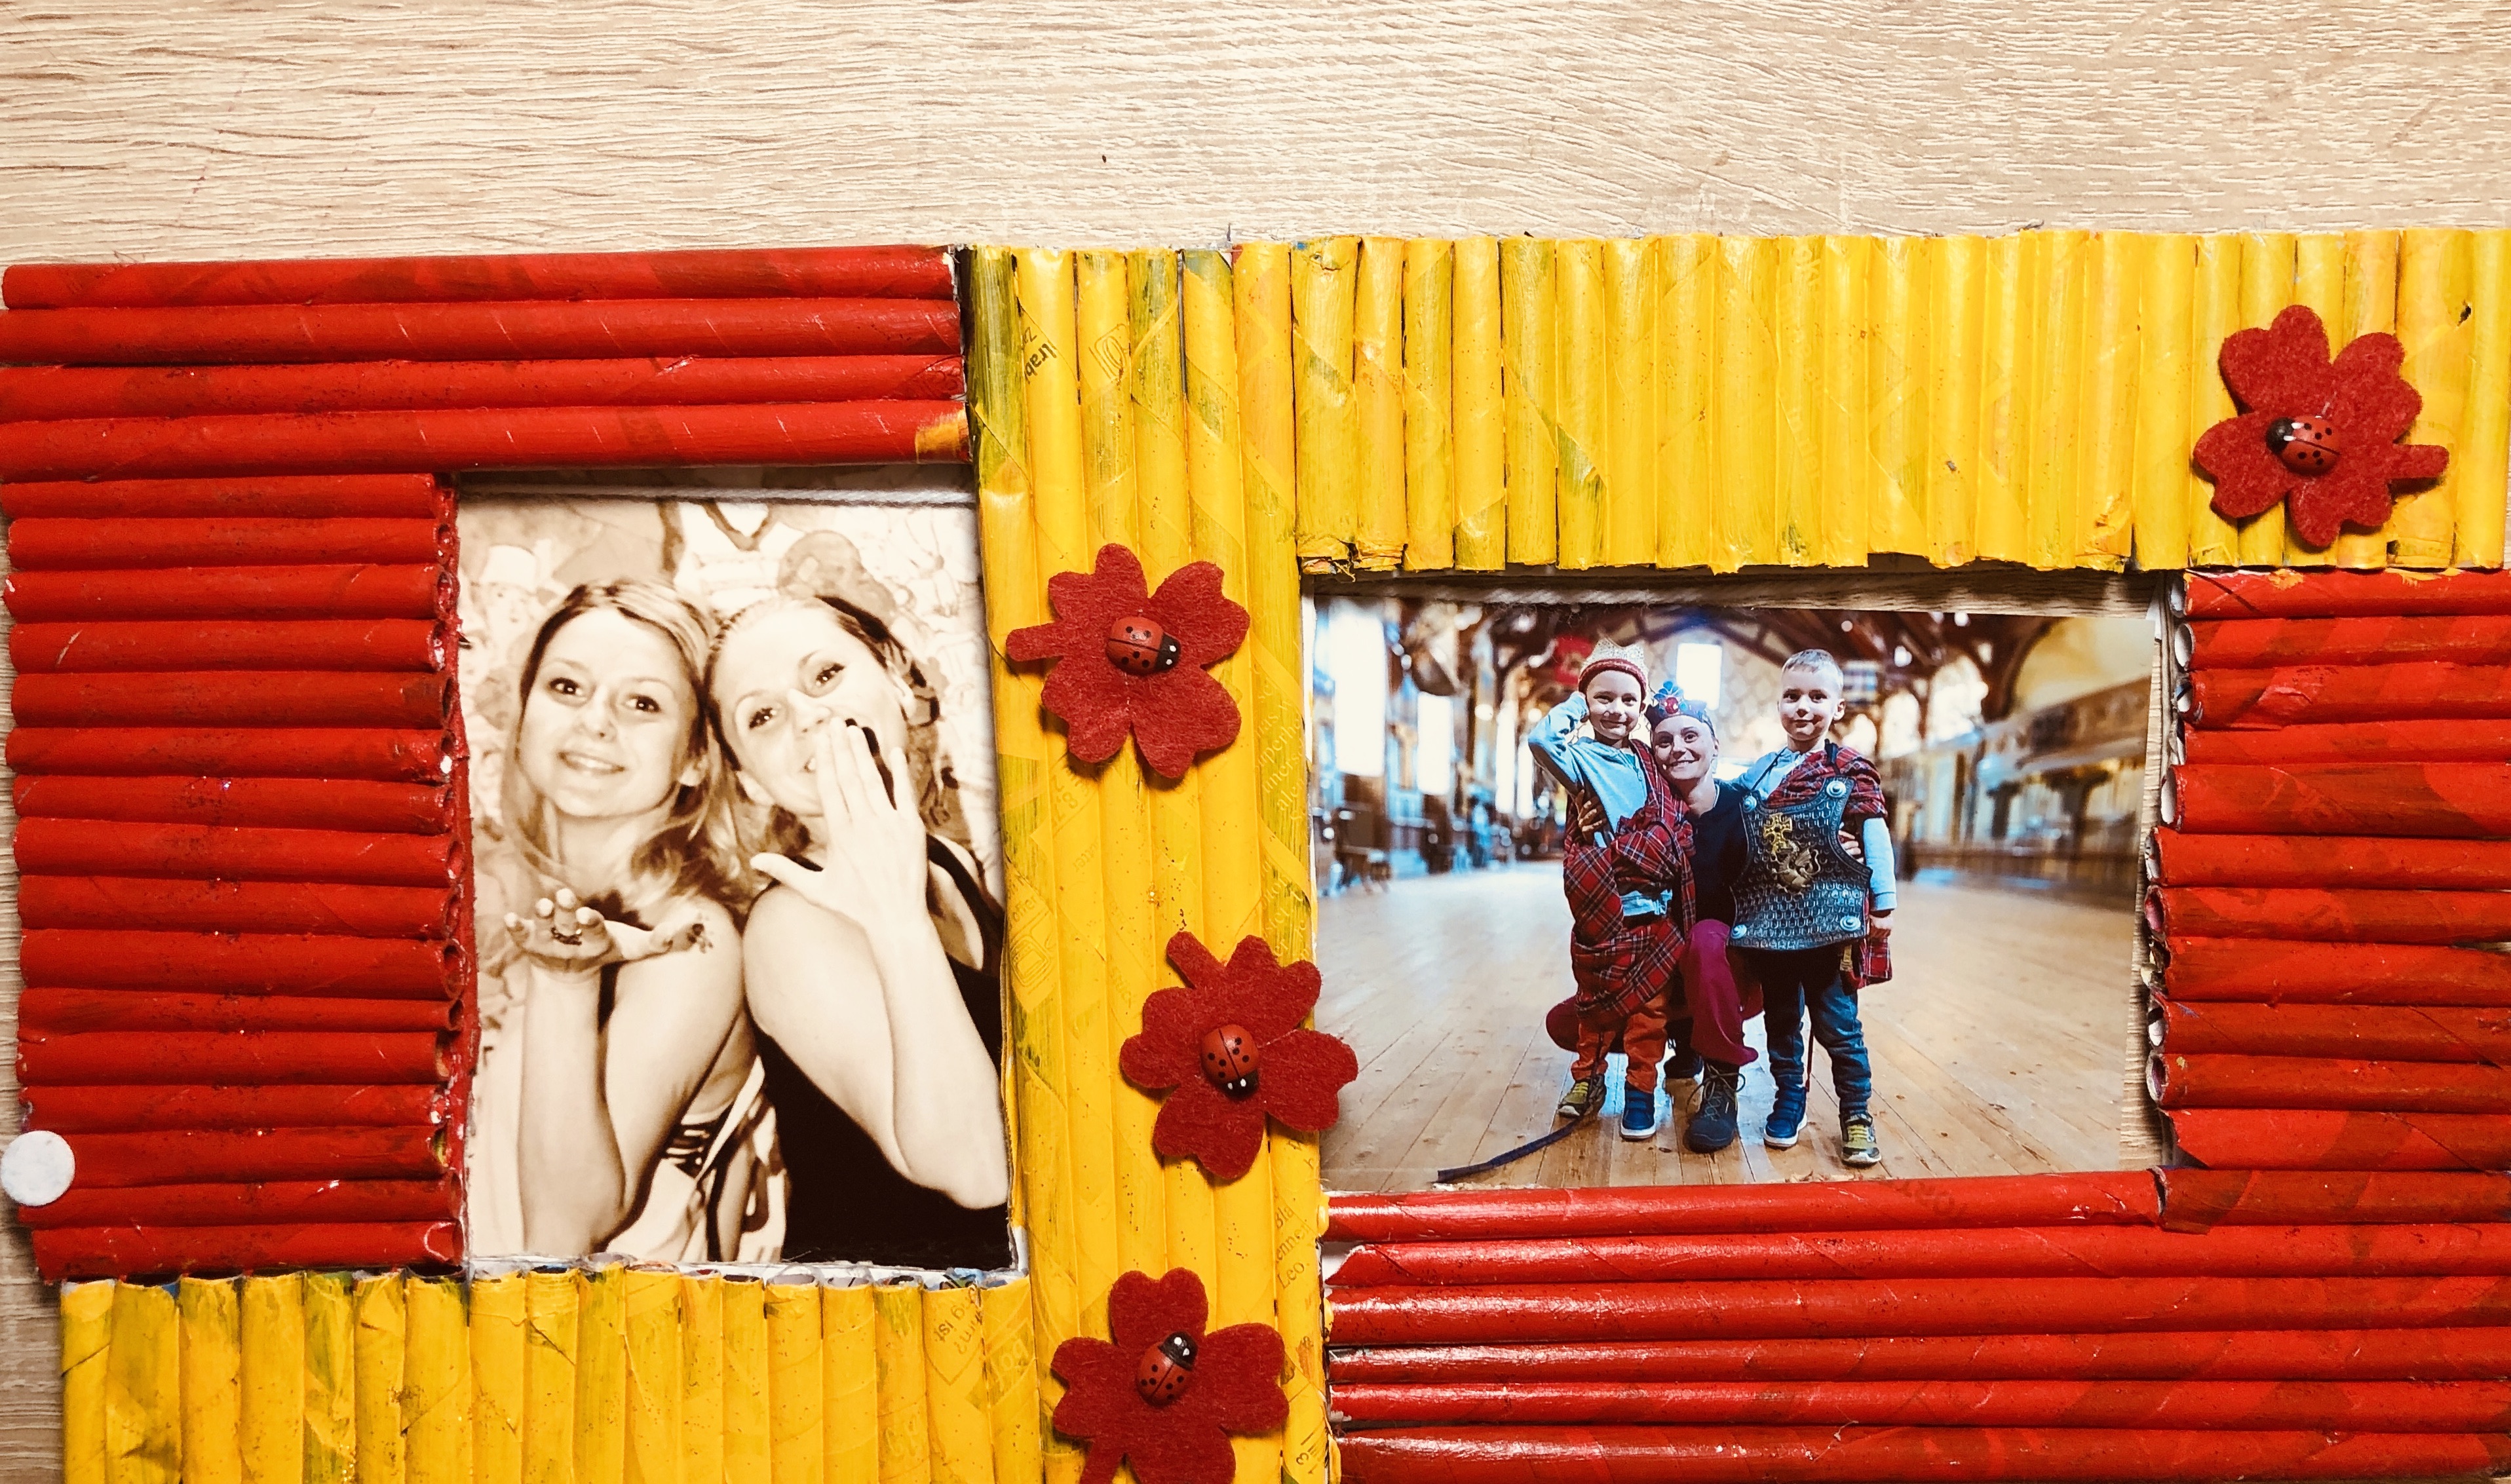
However, we (read "I") decided to cut the rolls to the same size...
we painted it using red and yellow acrylic paint...

...and the boys couldn't resist the urge to decorate the frame with some flowers.
Step 10.
We measured the picture area, cut a piece of wool thread...
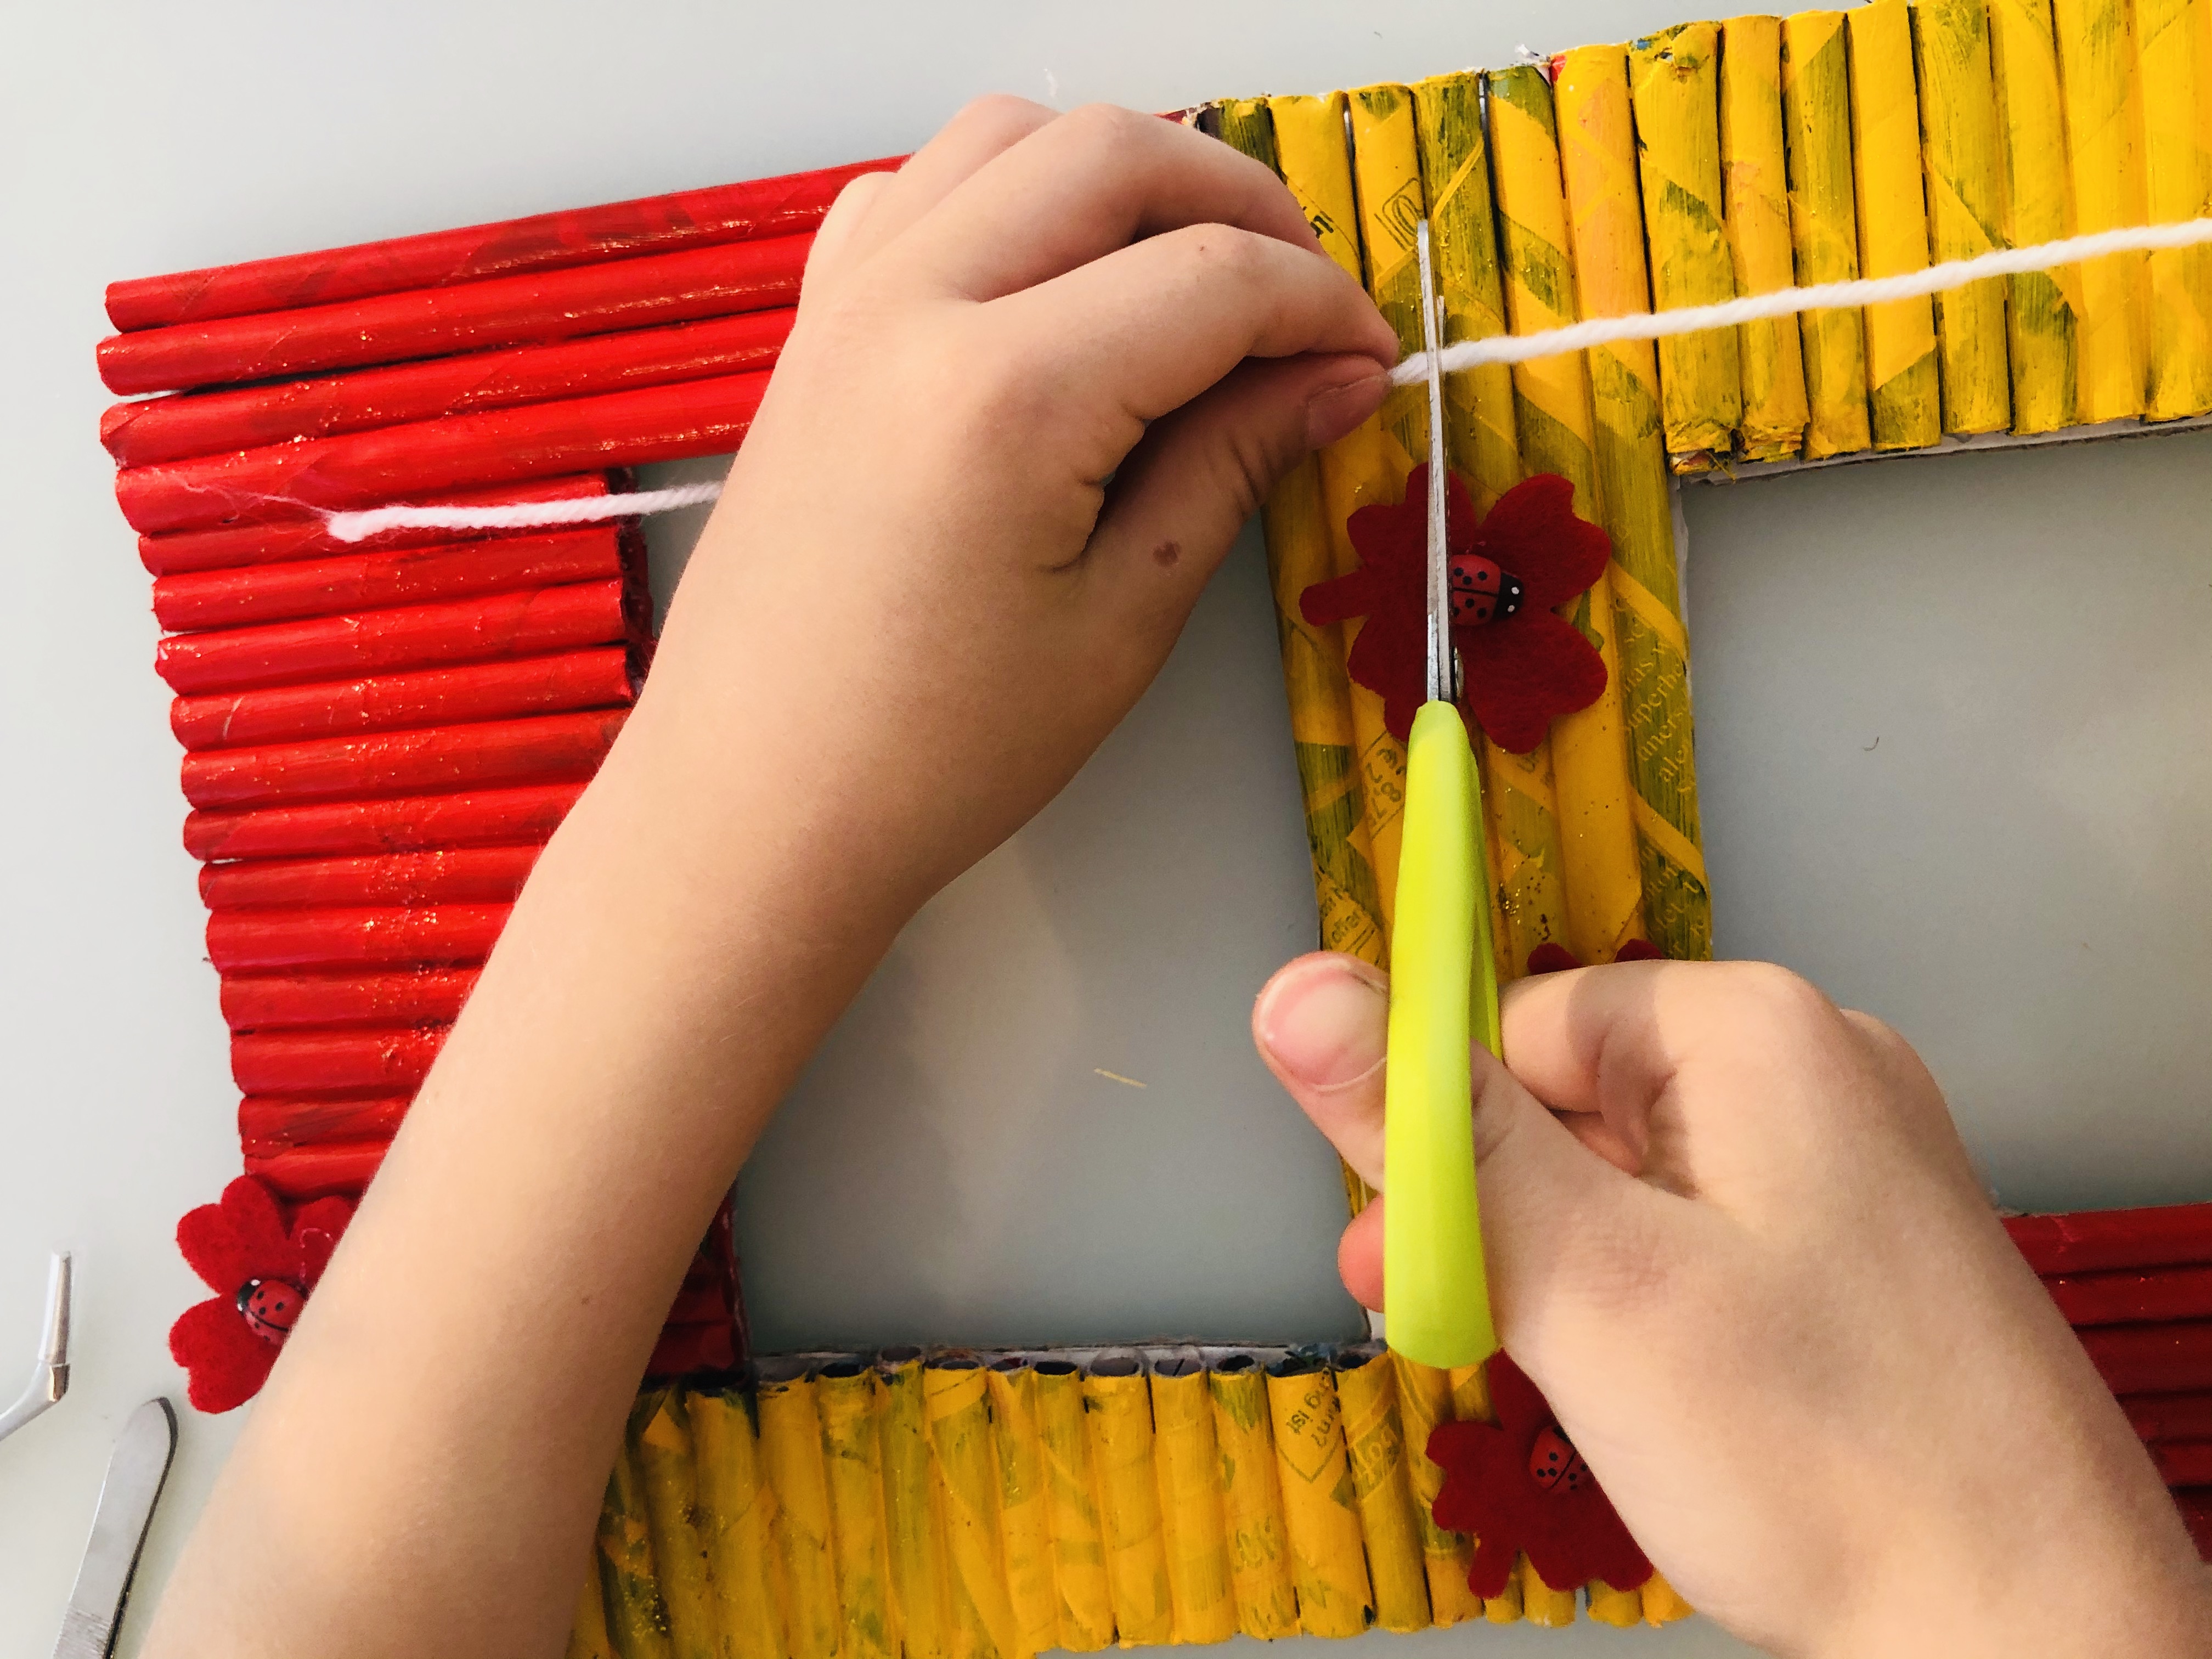
and glued it on the backside of the frame.

Step 11.
Finally, we hooked two photographs using little wooden pegs...
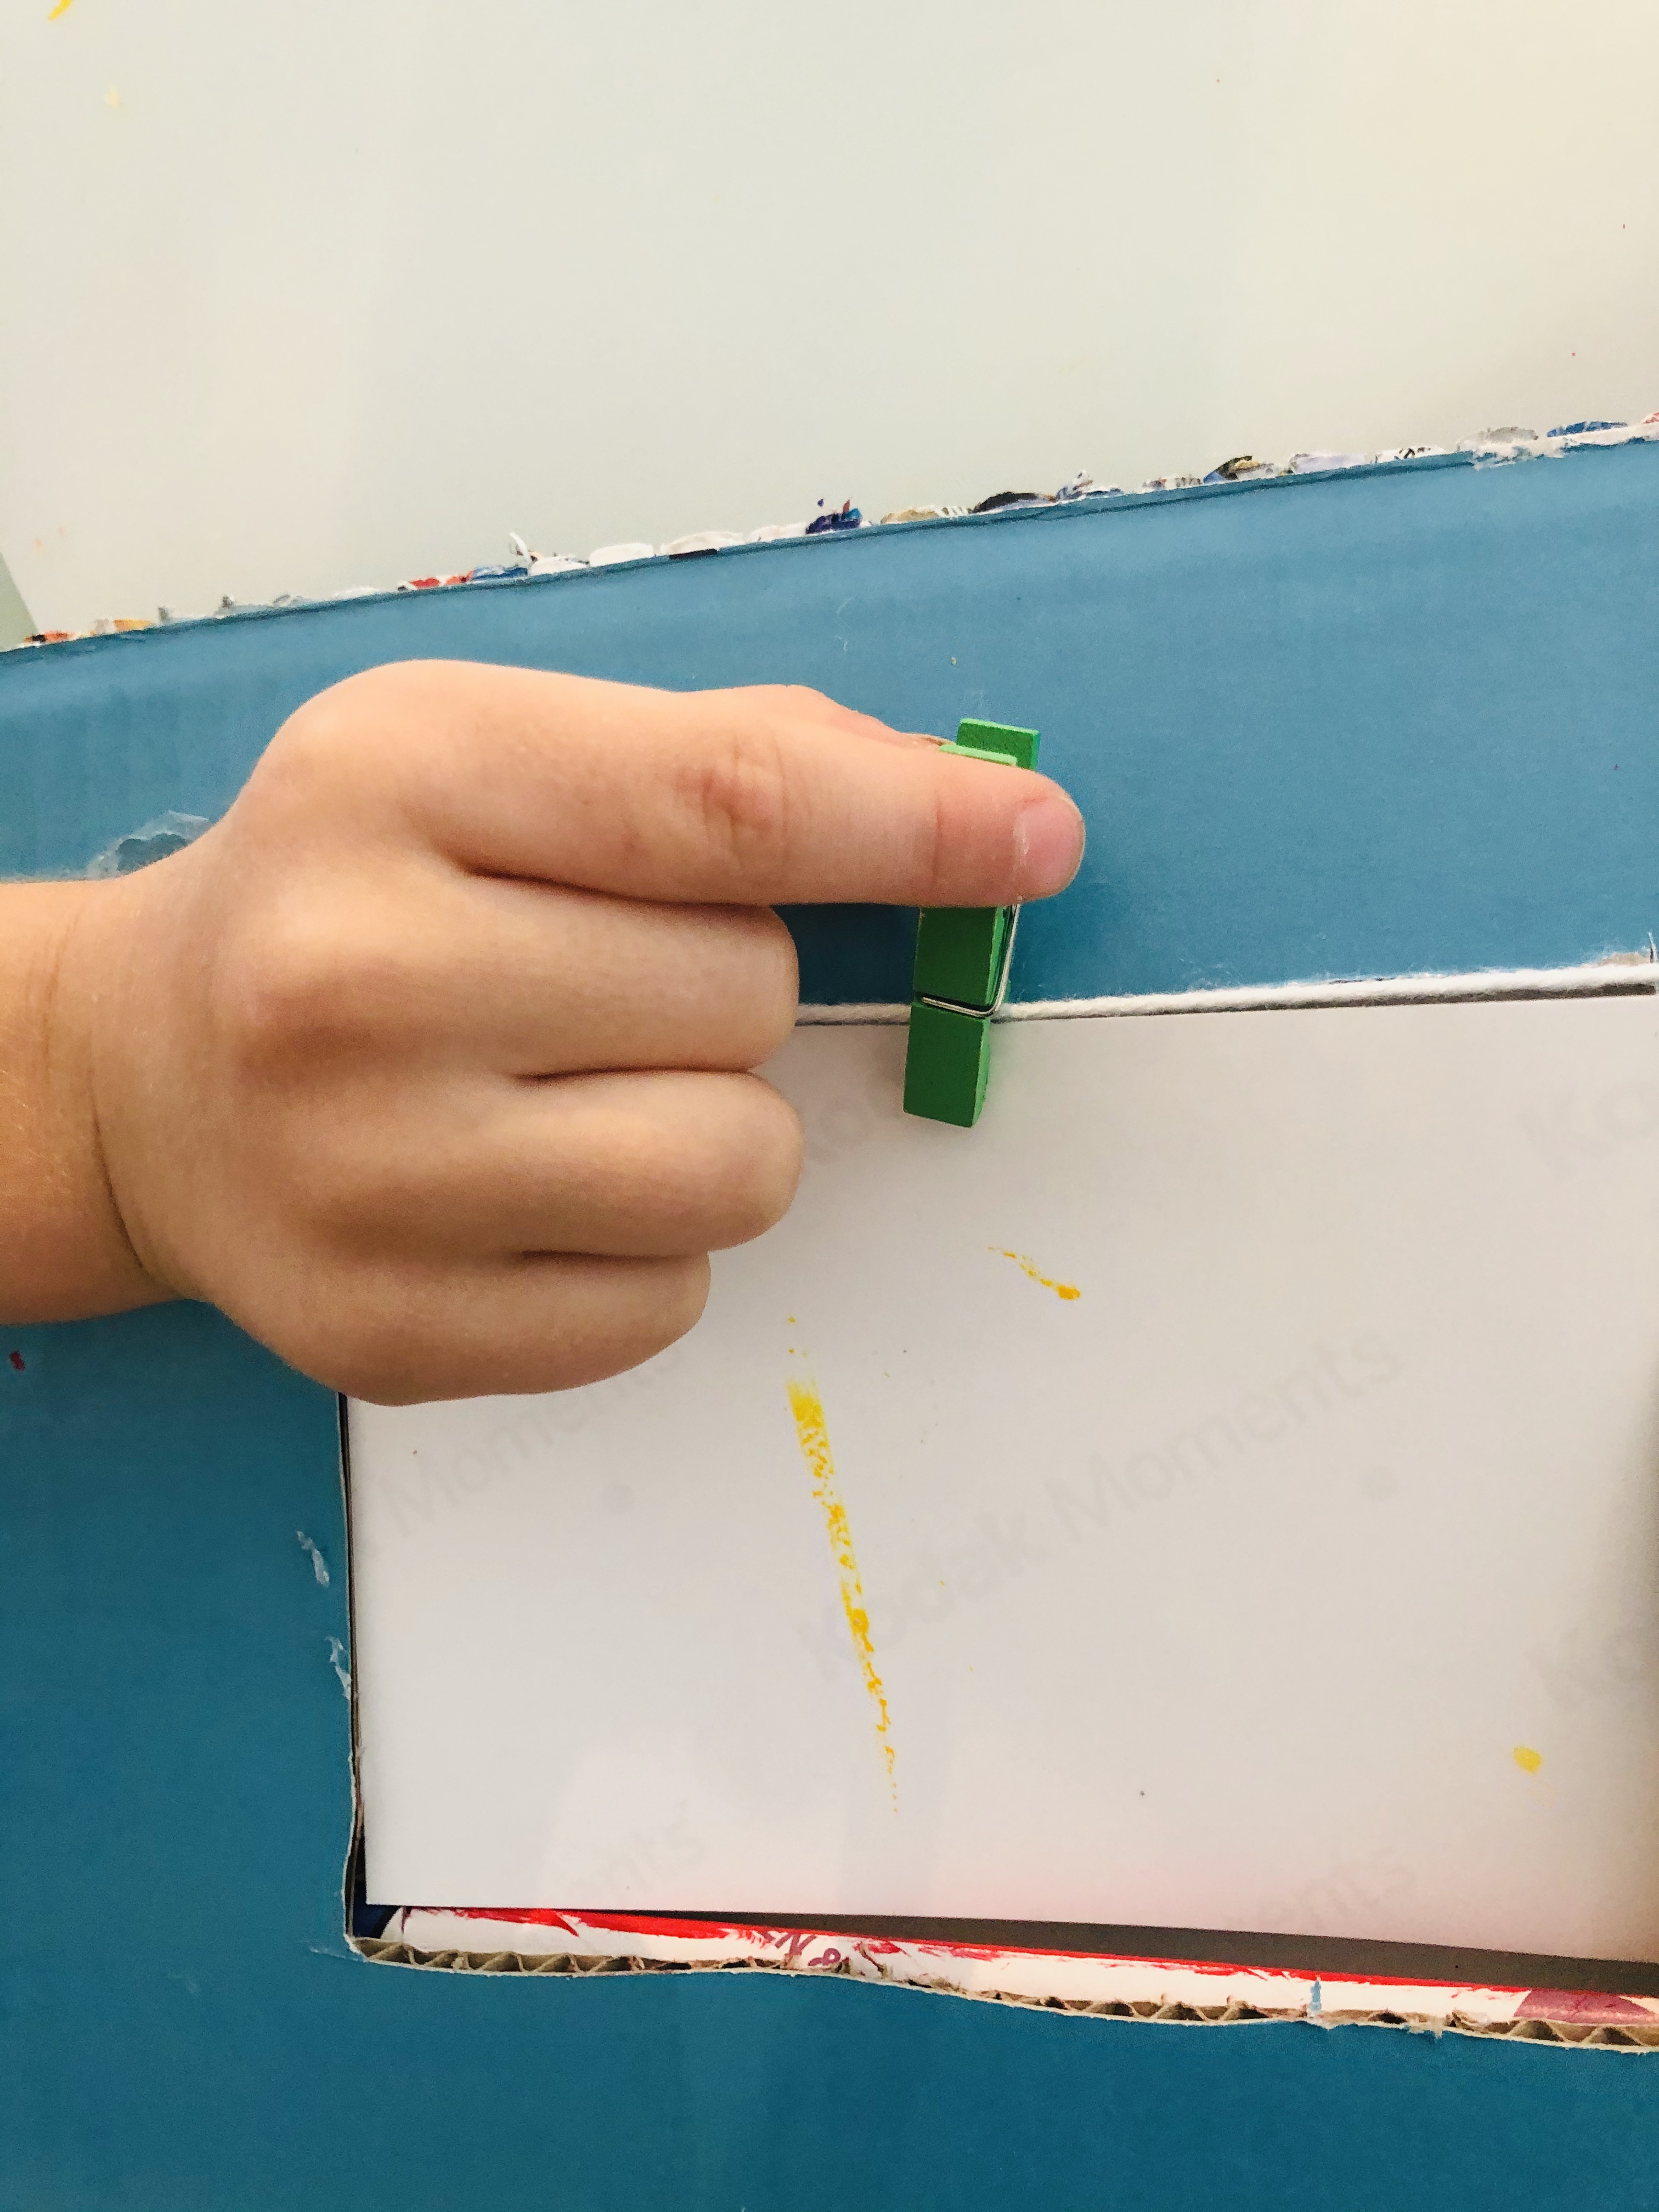
and our picture frame was finished :)
You can get more ideas for upcycling activities and projects here.