DIY Toys for Kids - Mr Froggy and Friends
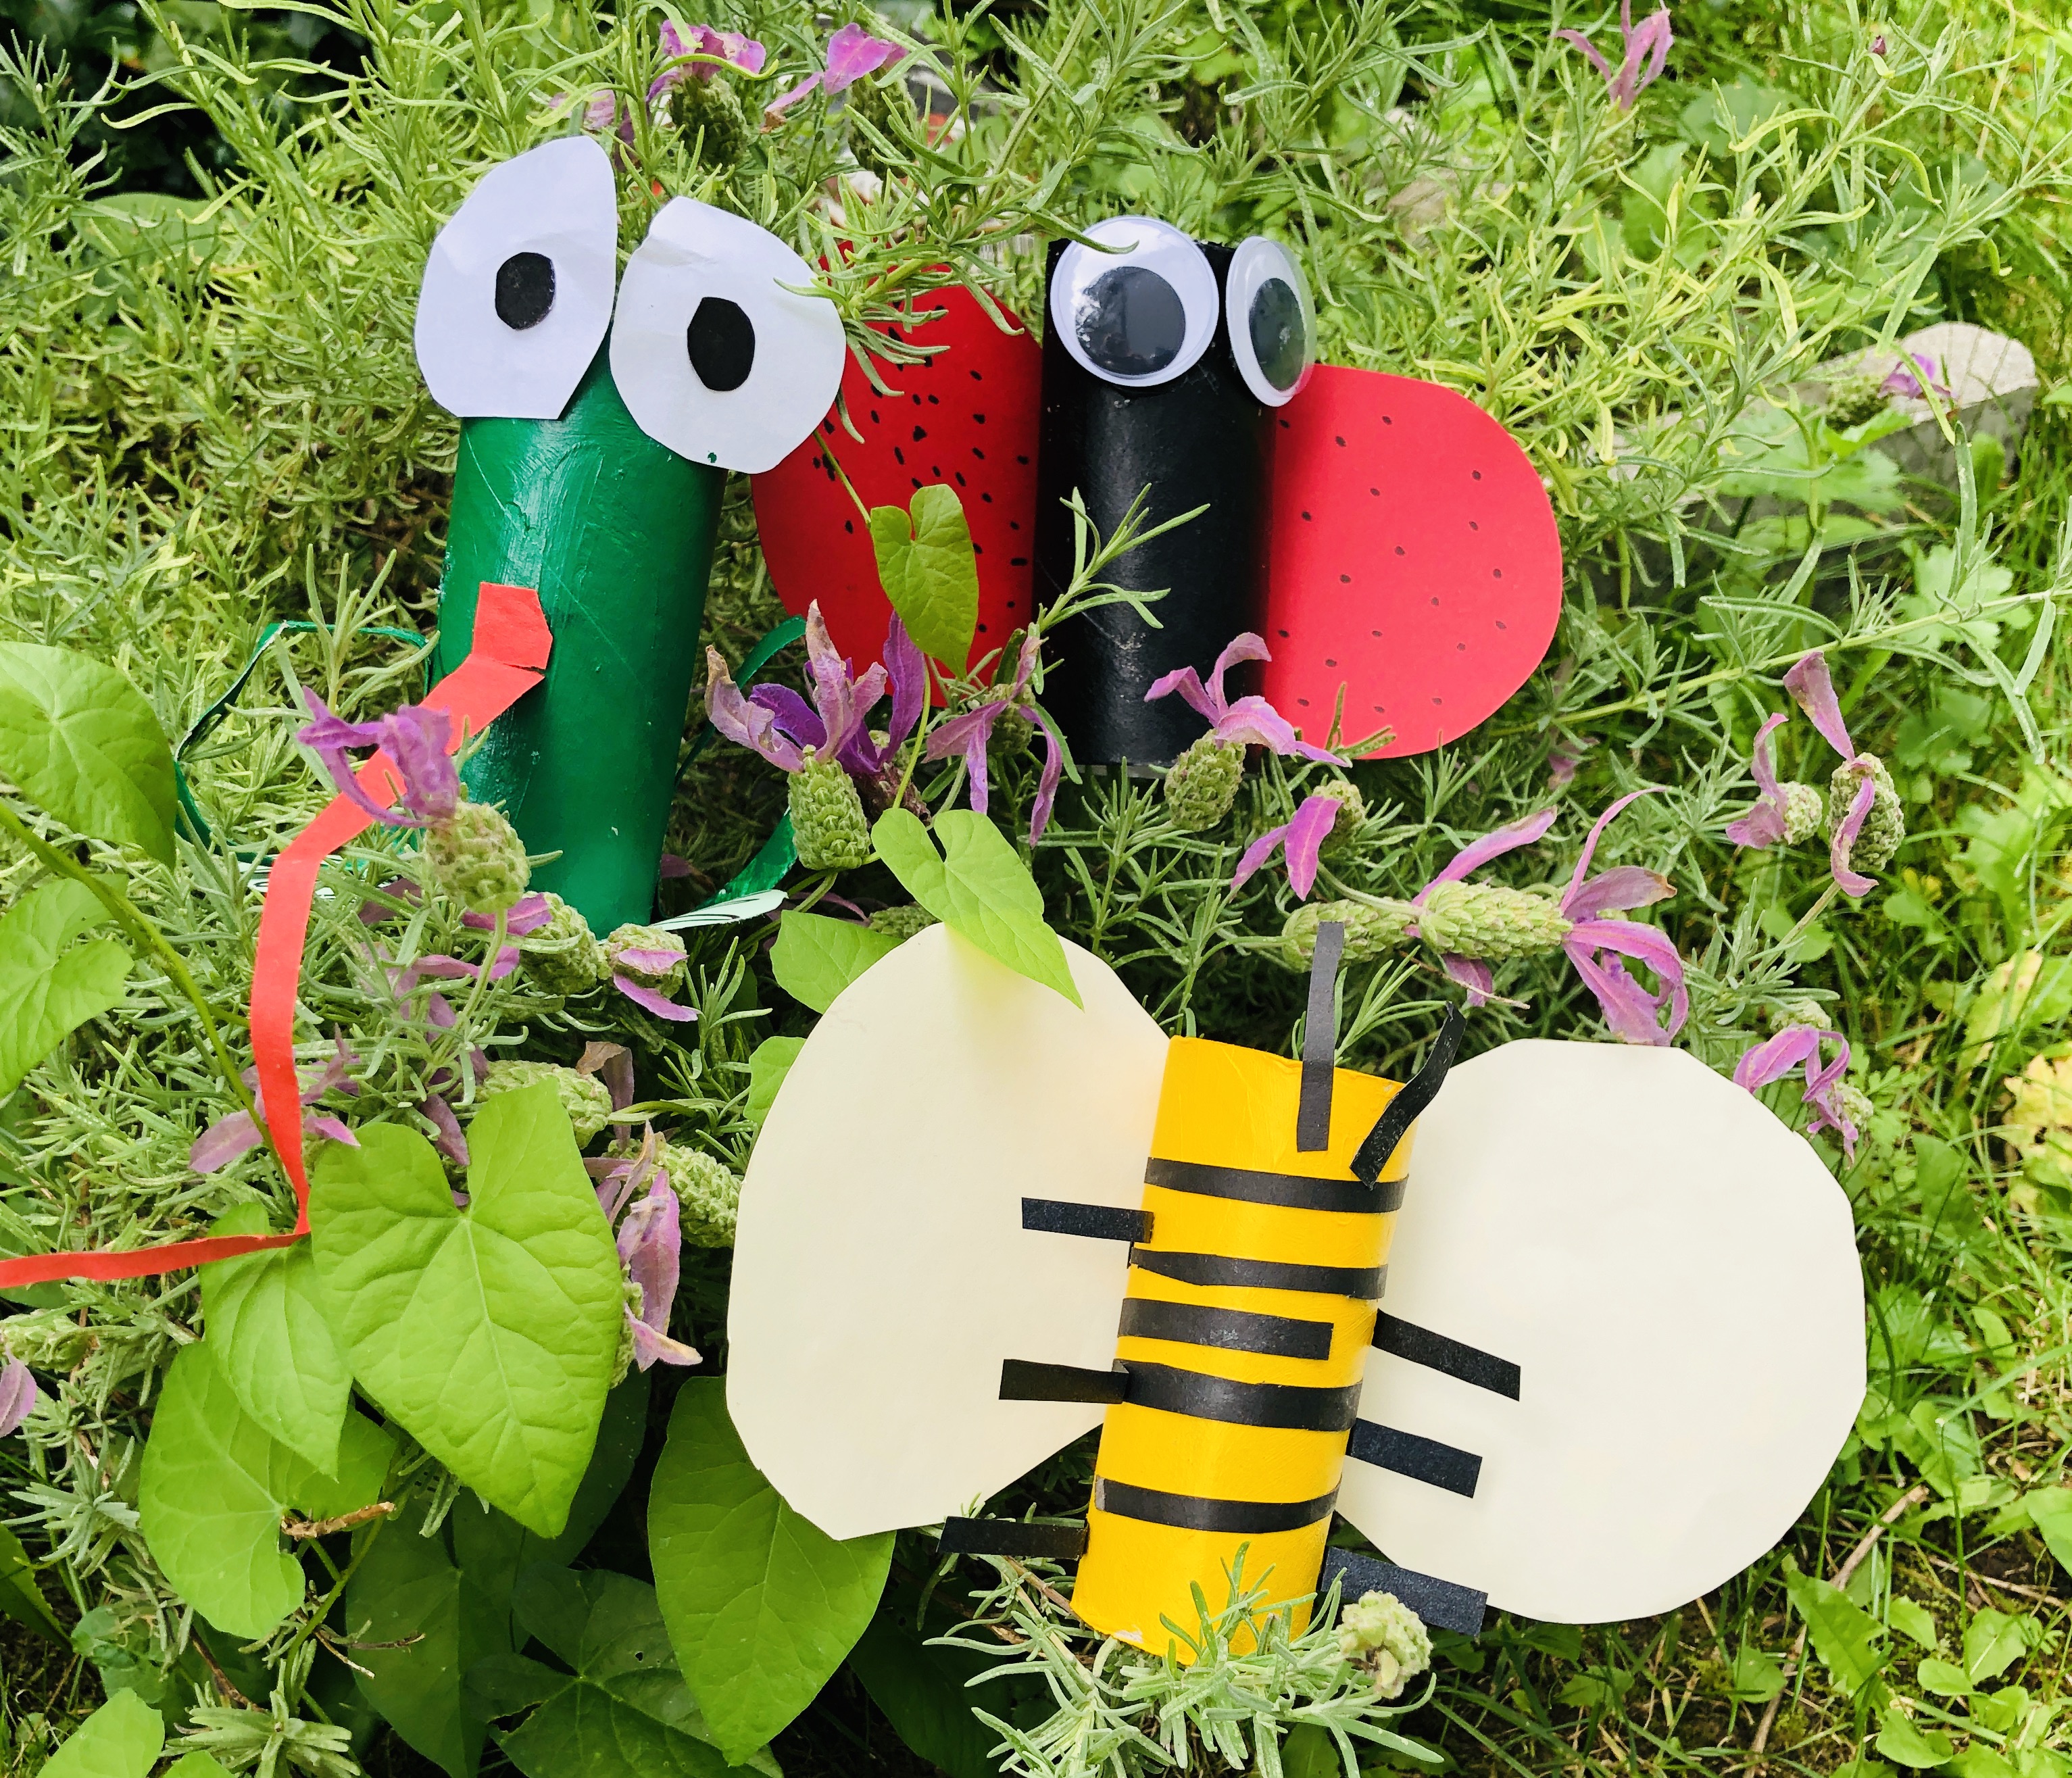
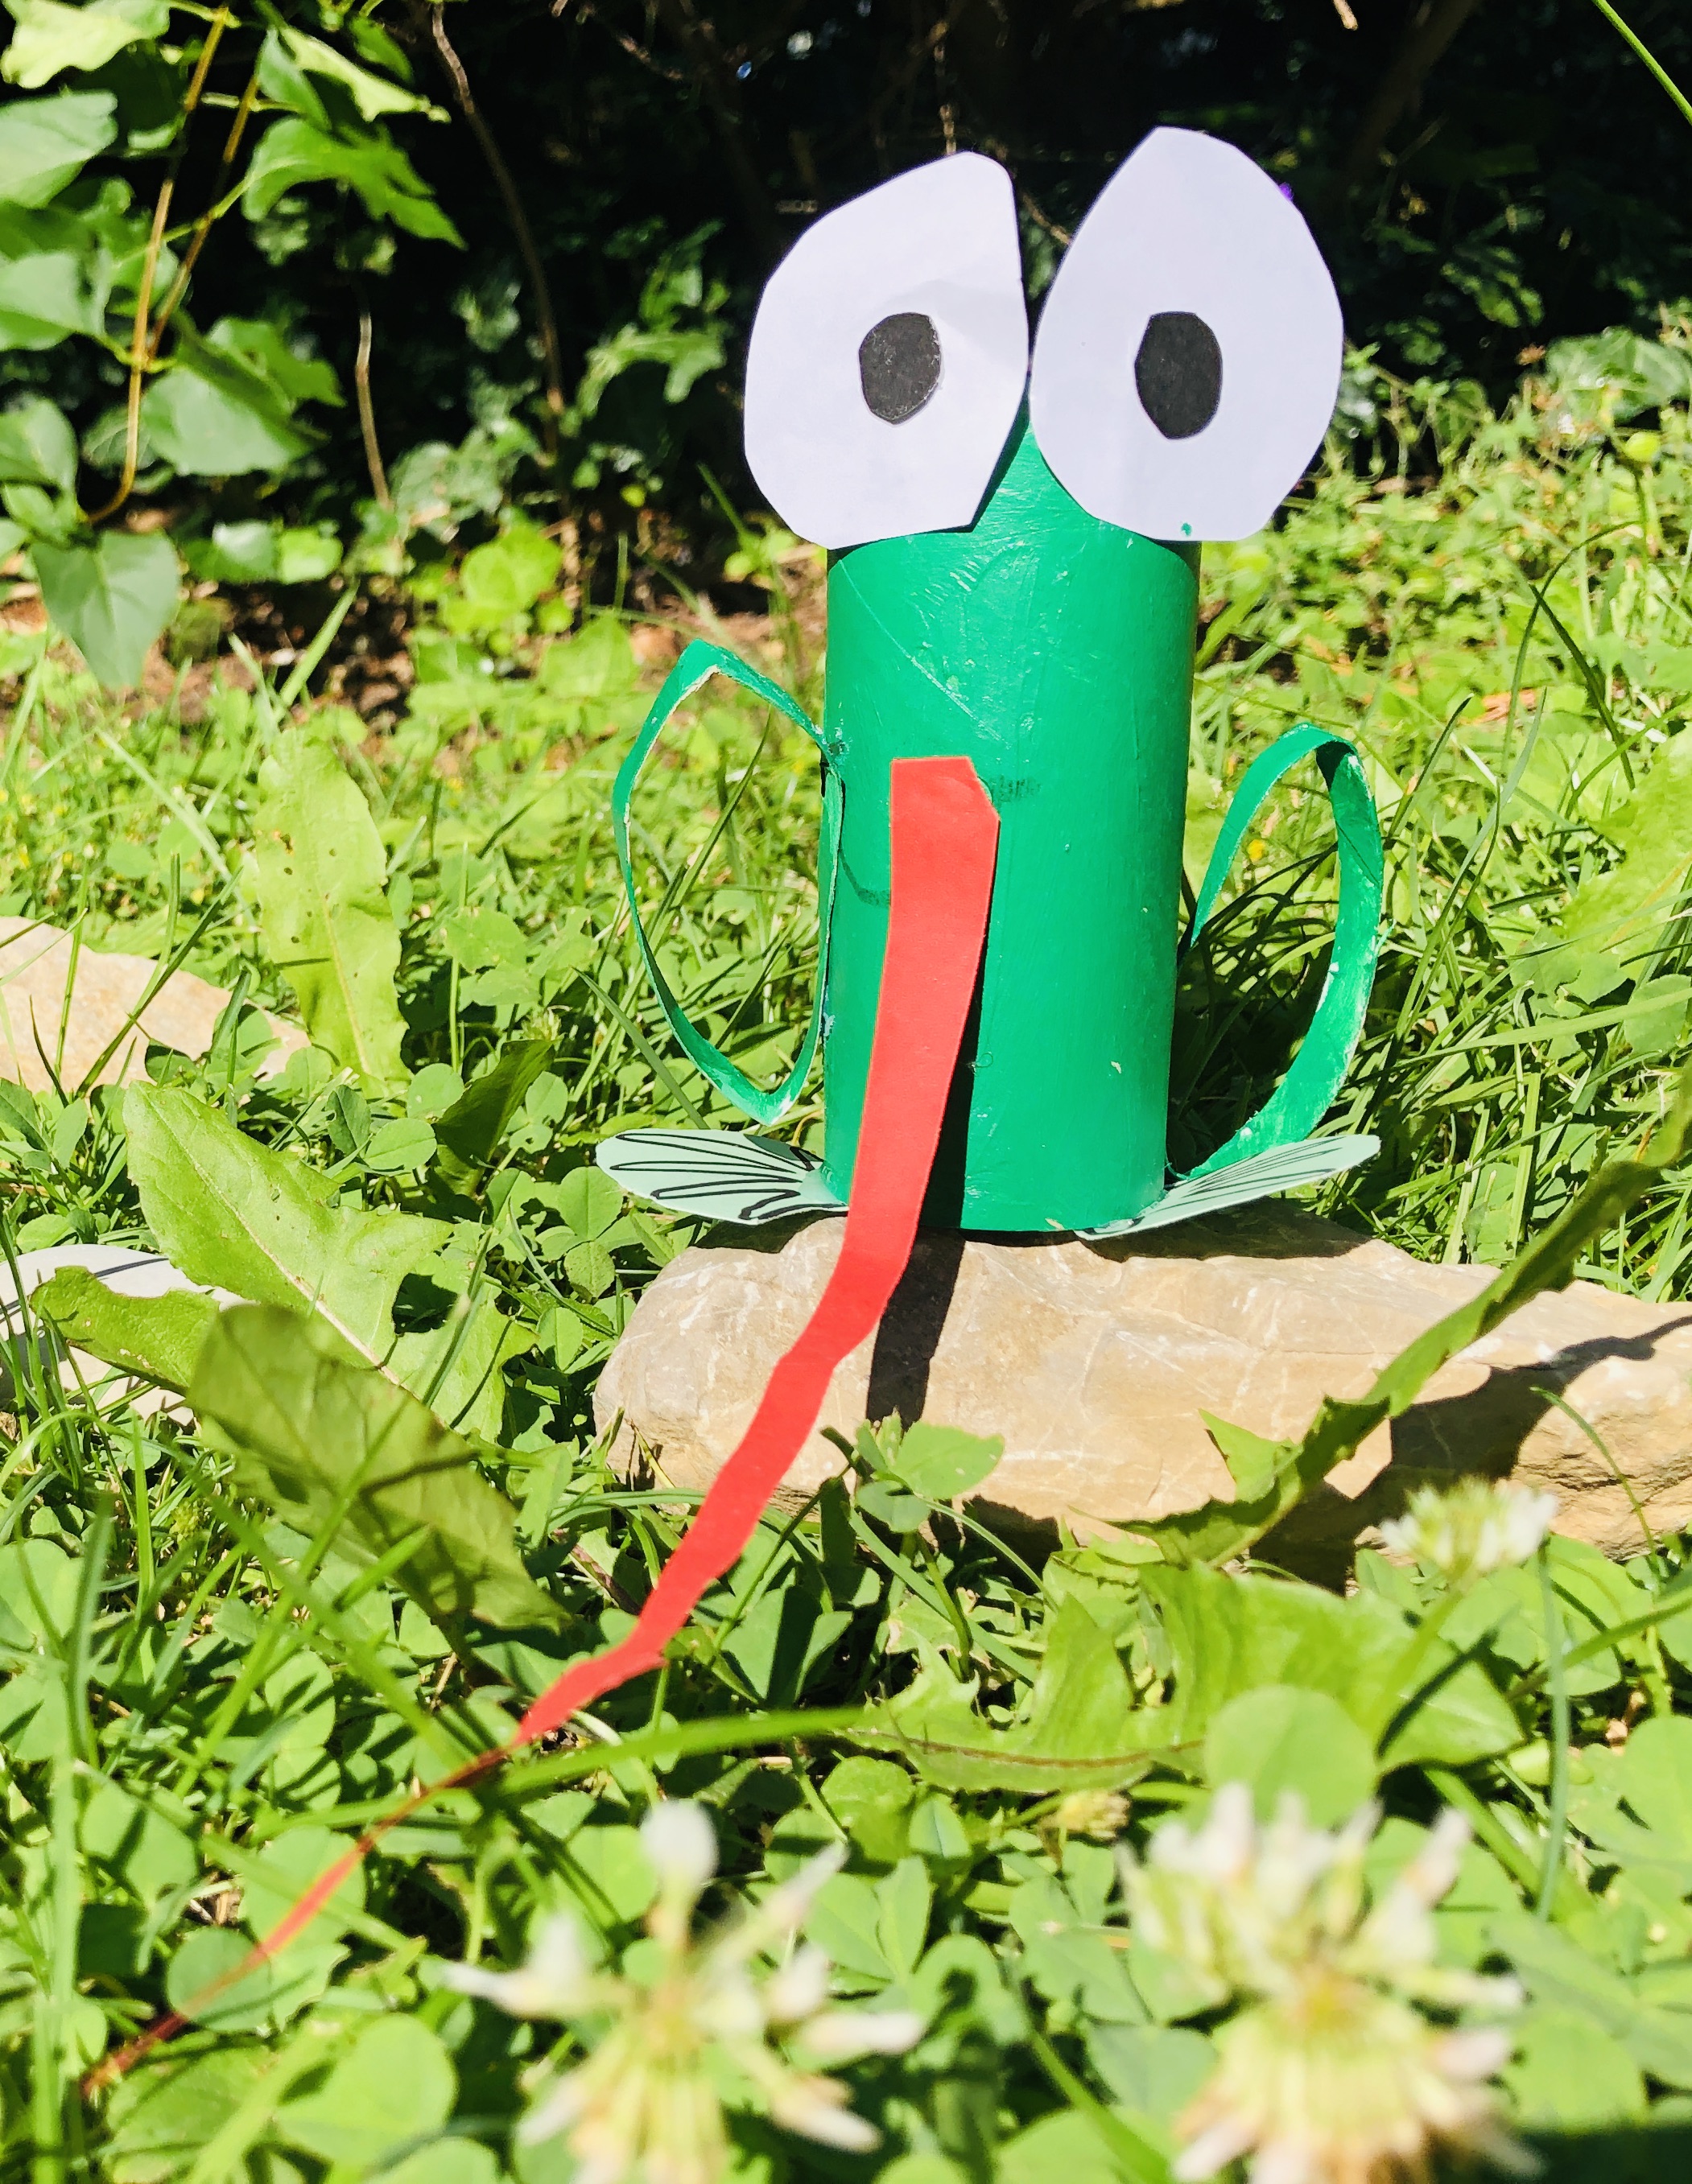
Meet Mr Froggy and his friends
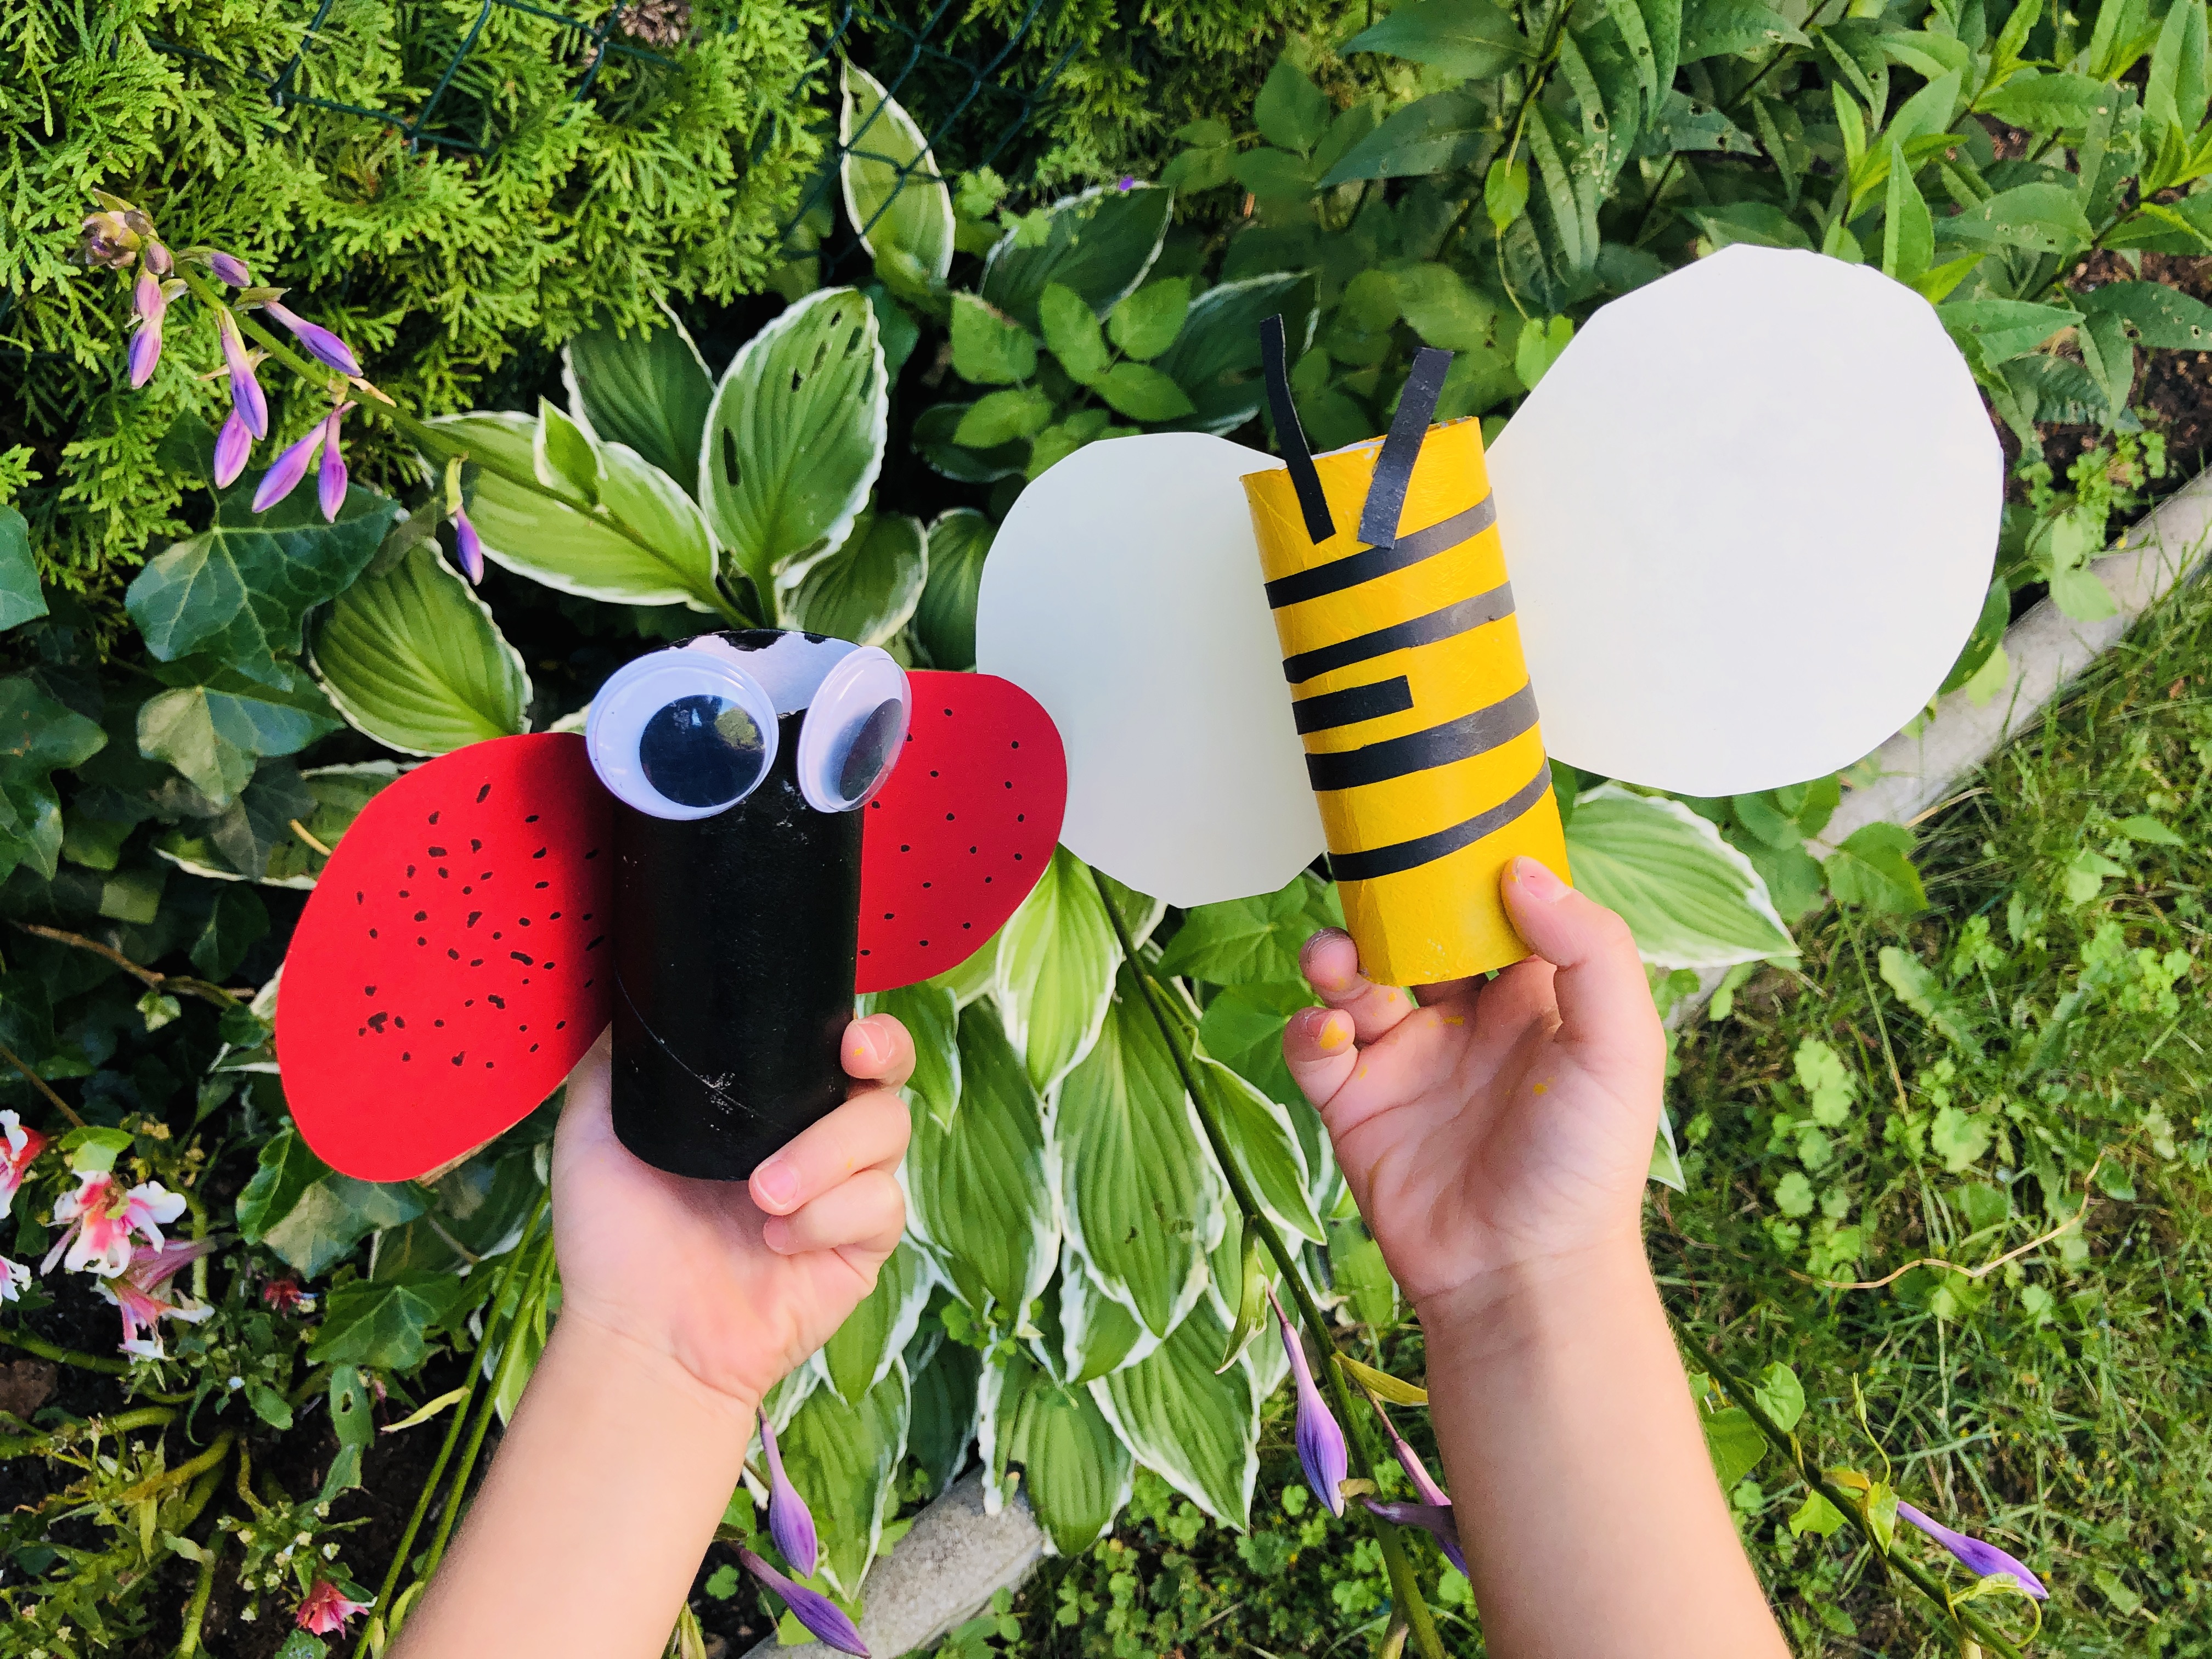
These DIY toys are really easy to make. Ours were done in less than an hour, and the boys played with them for the whole afternoon. It was windy, and the wings on the bee and ladybug actually moved, which made this little project even more enjoyable.
Interesting facts about frogs, bees, and ladybugs:
- Frogs absorb water through their skin so they don't need to drink.
- Honey bees are divided into three types: Queens, workers, and drones.
- Not all ladybugs are read with black spots.
Materials:
Frog
- Toilet paper roll
- Green paint and paintbrush
- Green paper and felt pen (legs)
- White and black paper (eyes)
- Red paper (tongue)
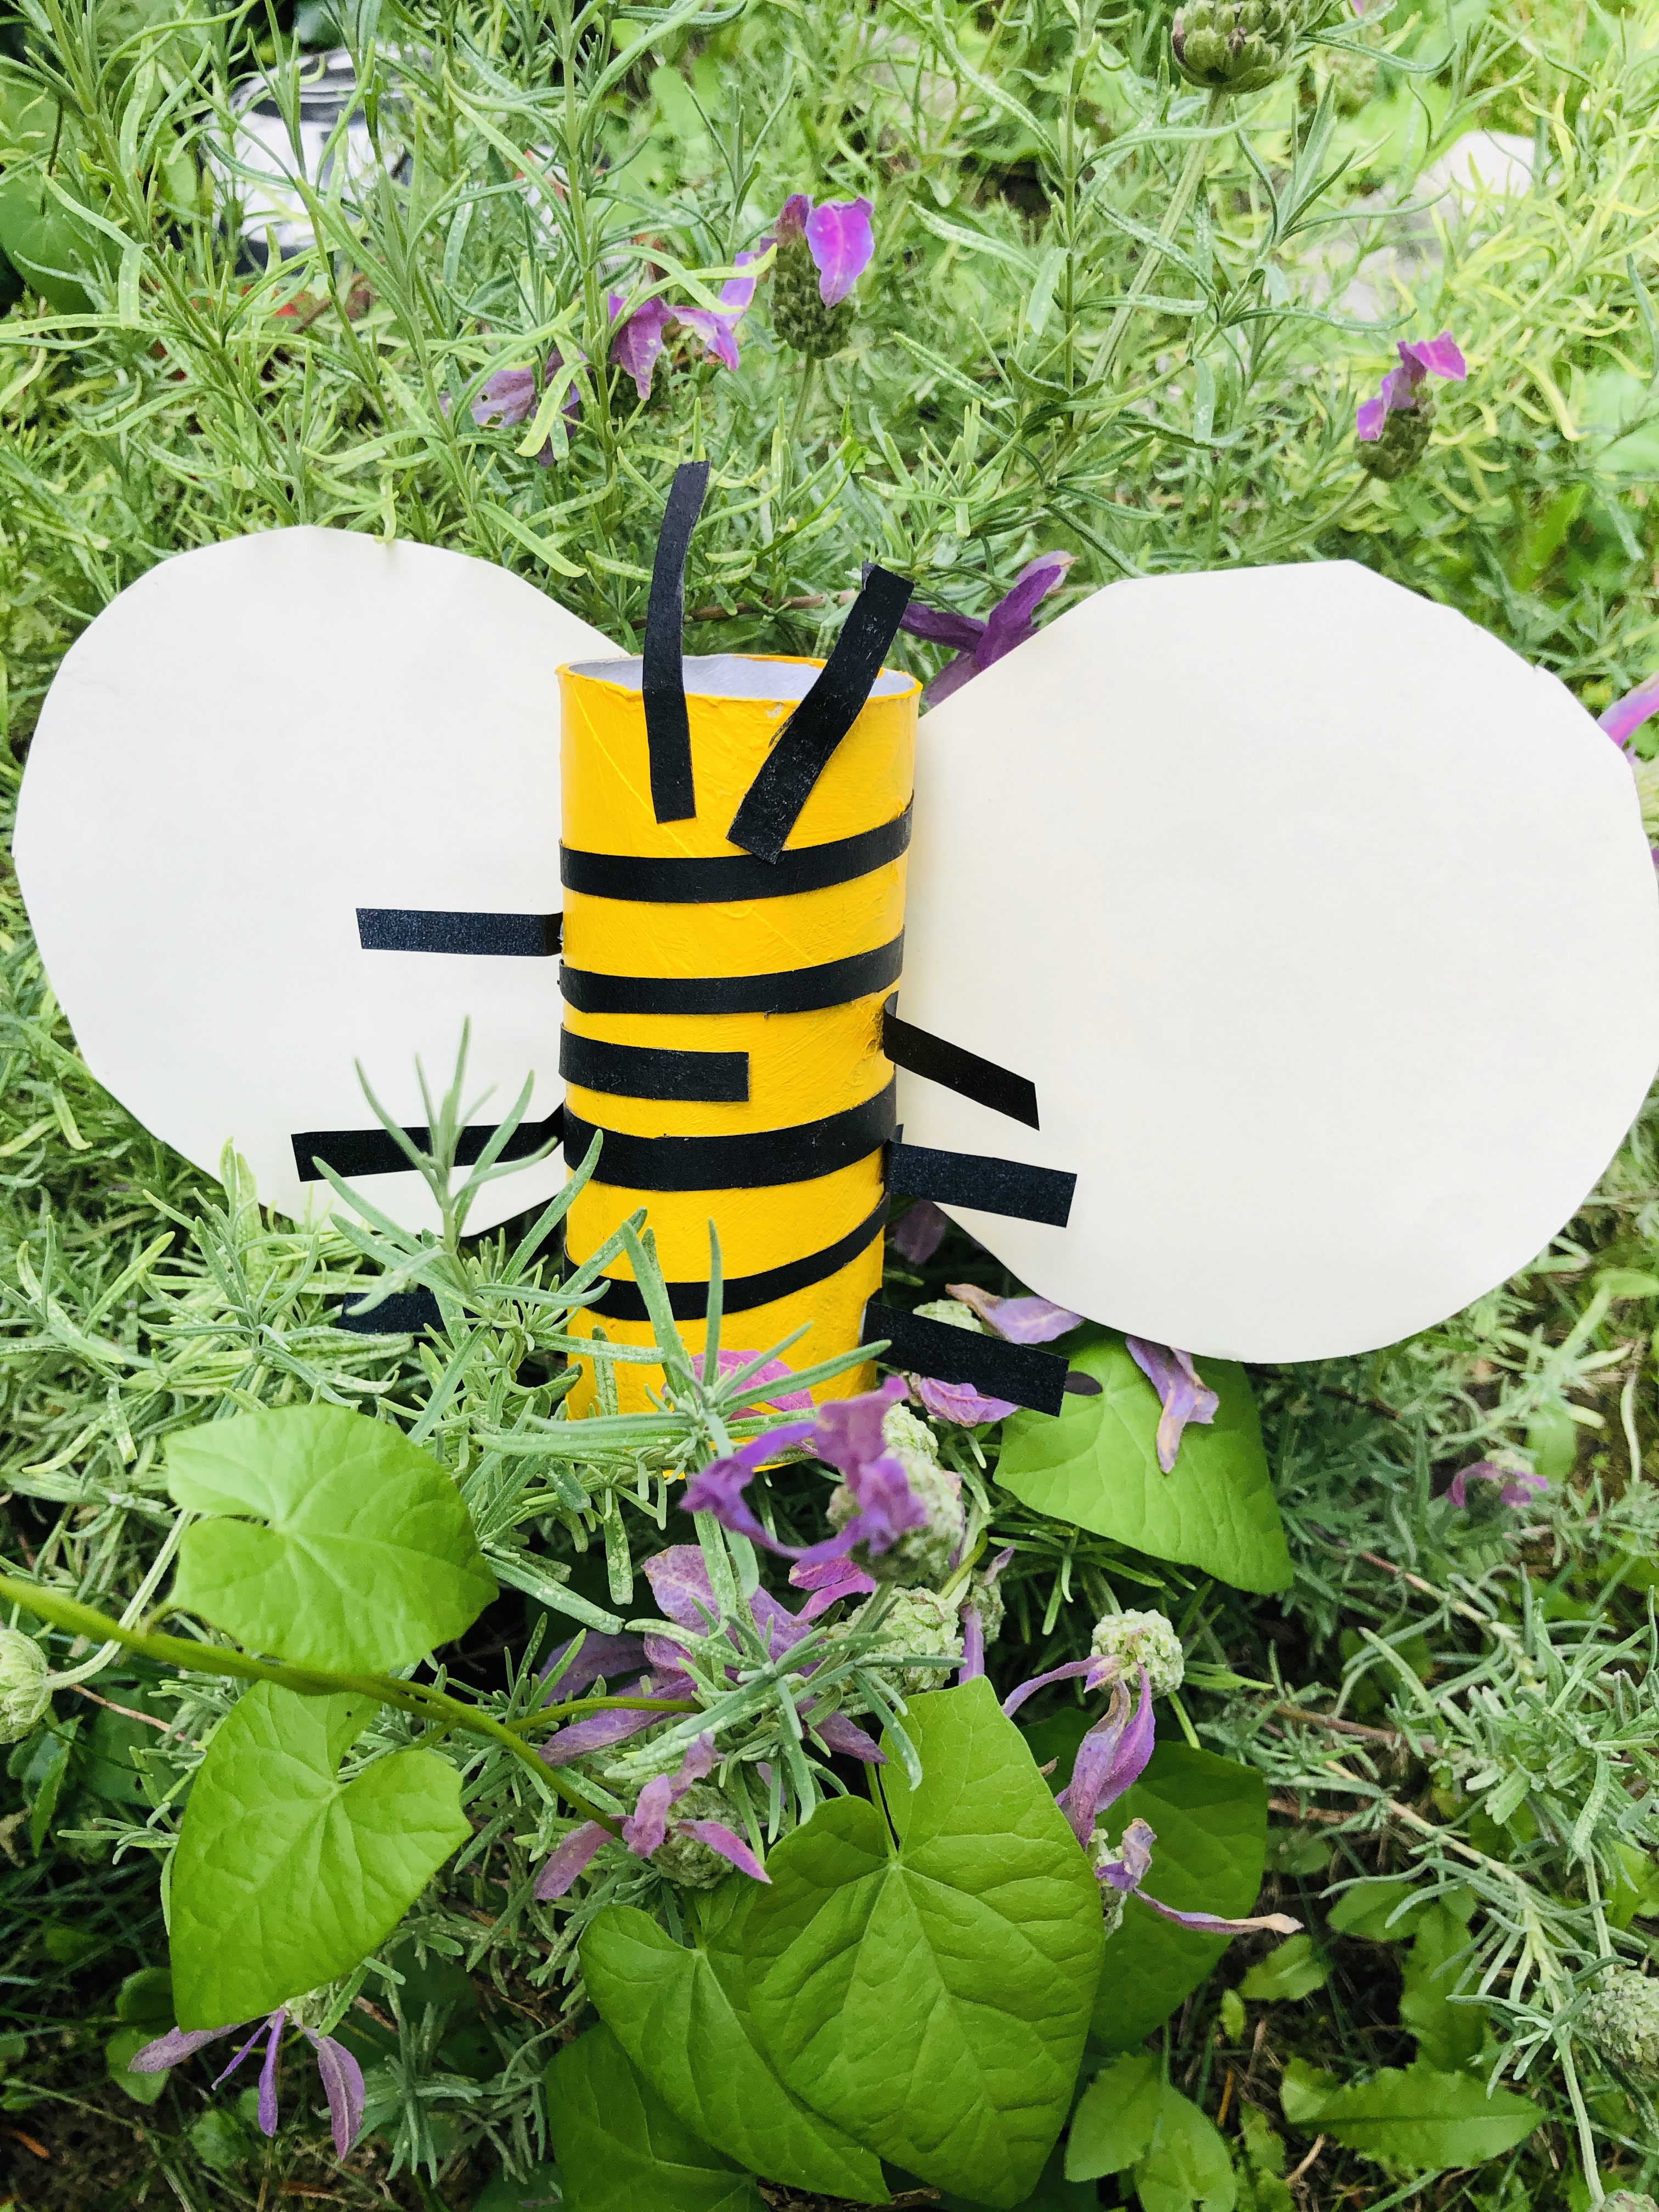
Bee
- Toilet paper roll
- Yellow paint and paintbrush
- Black paper (stripes)
- Yellow or white paper (wings)
Ladybug
- Toilet paper roll
- Black paint and paintbrush
- Red paper and felt pen (wings)
- Googly eyes or white and black paper
Mr Froggy
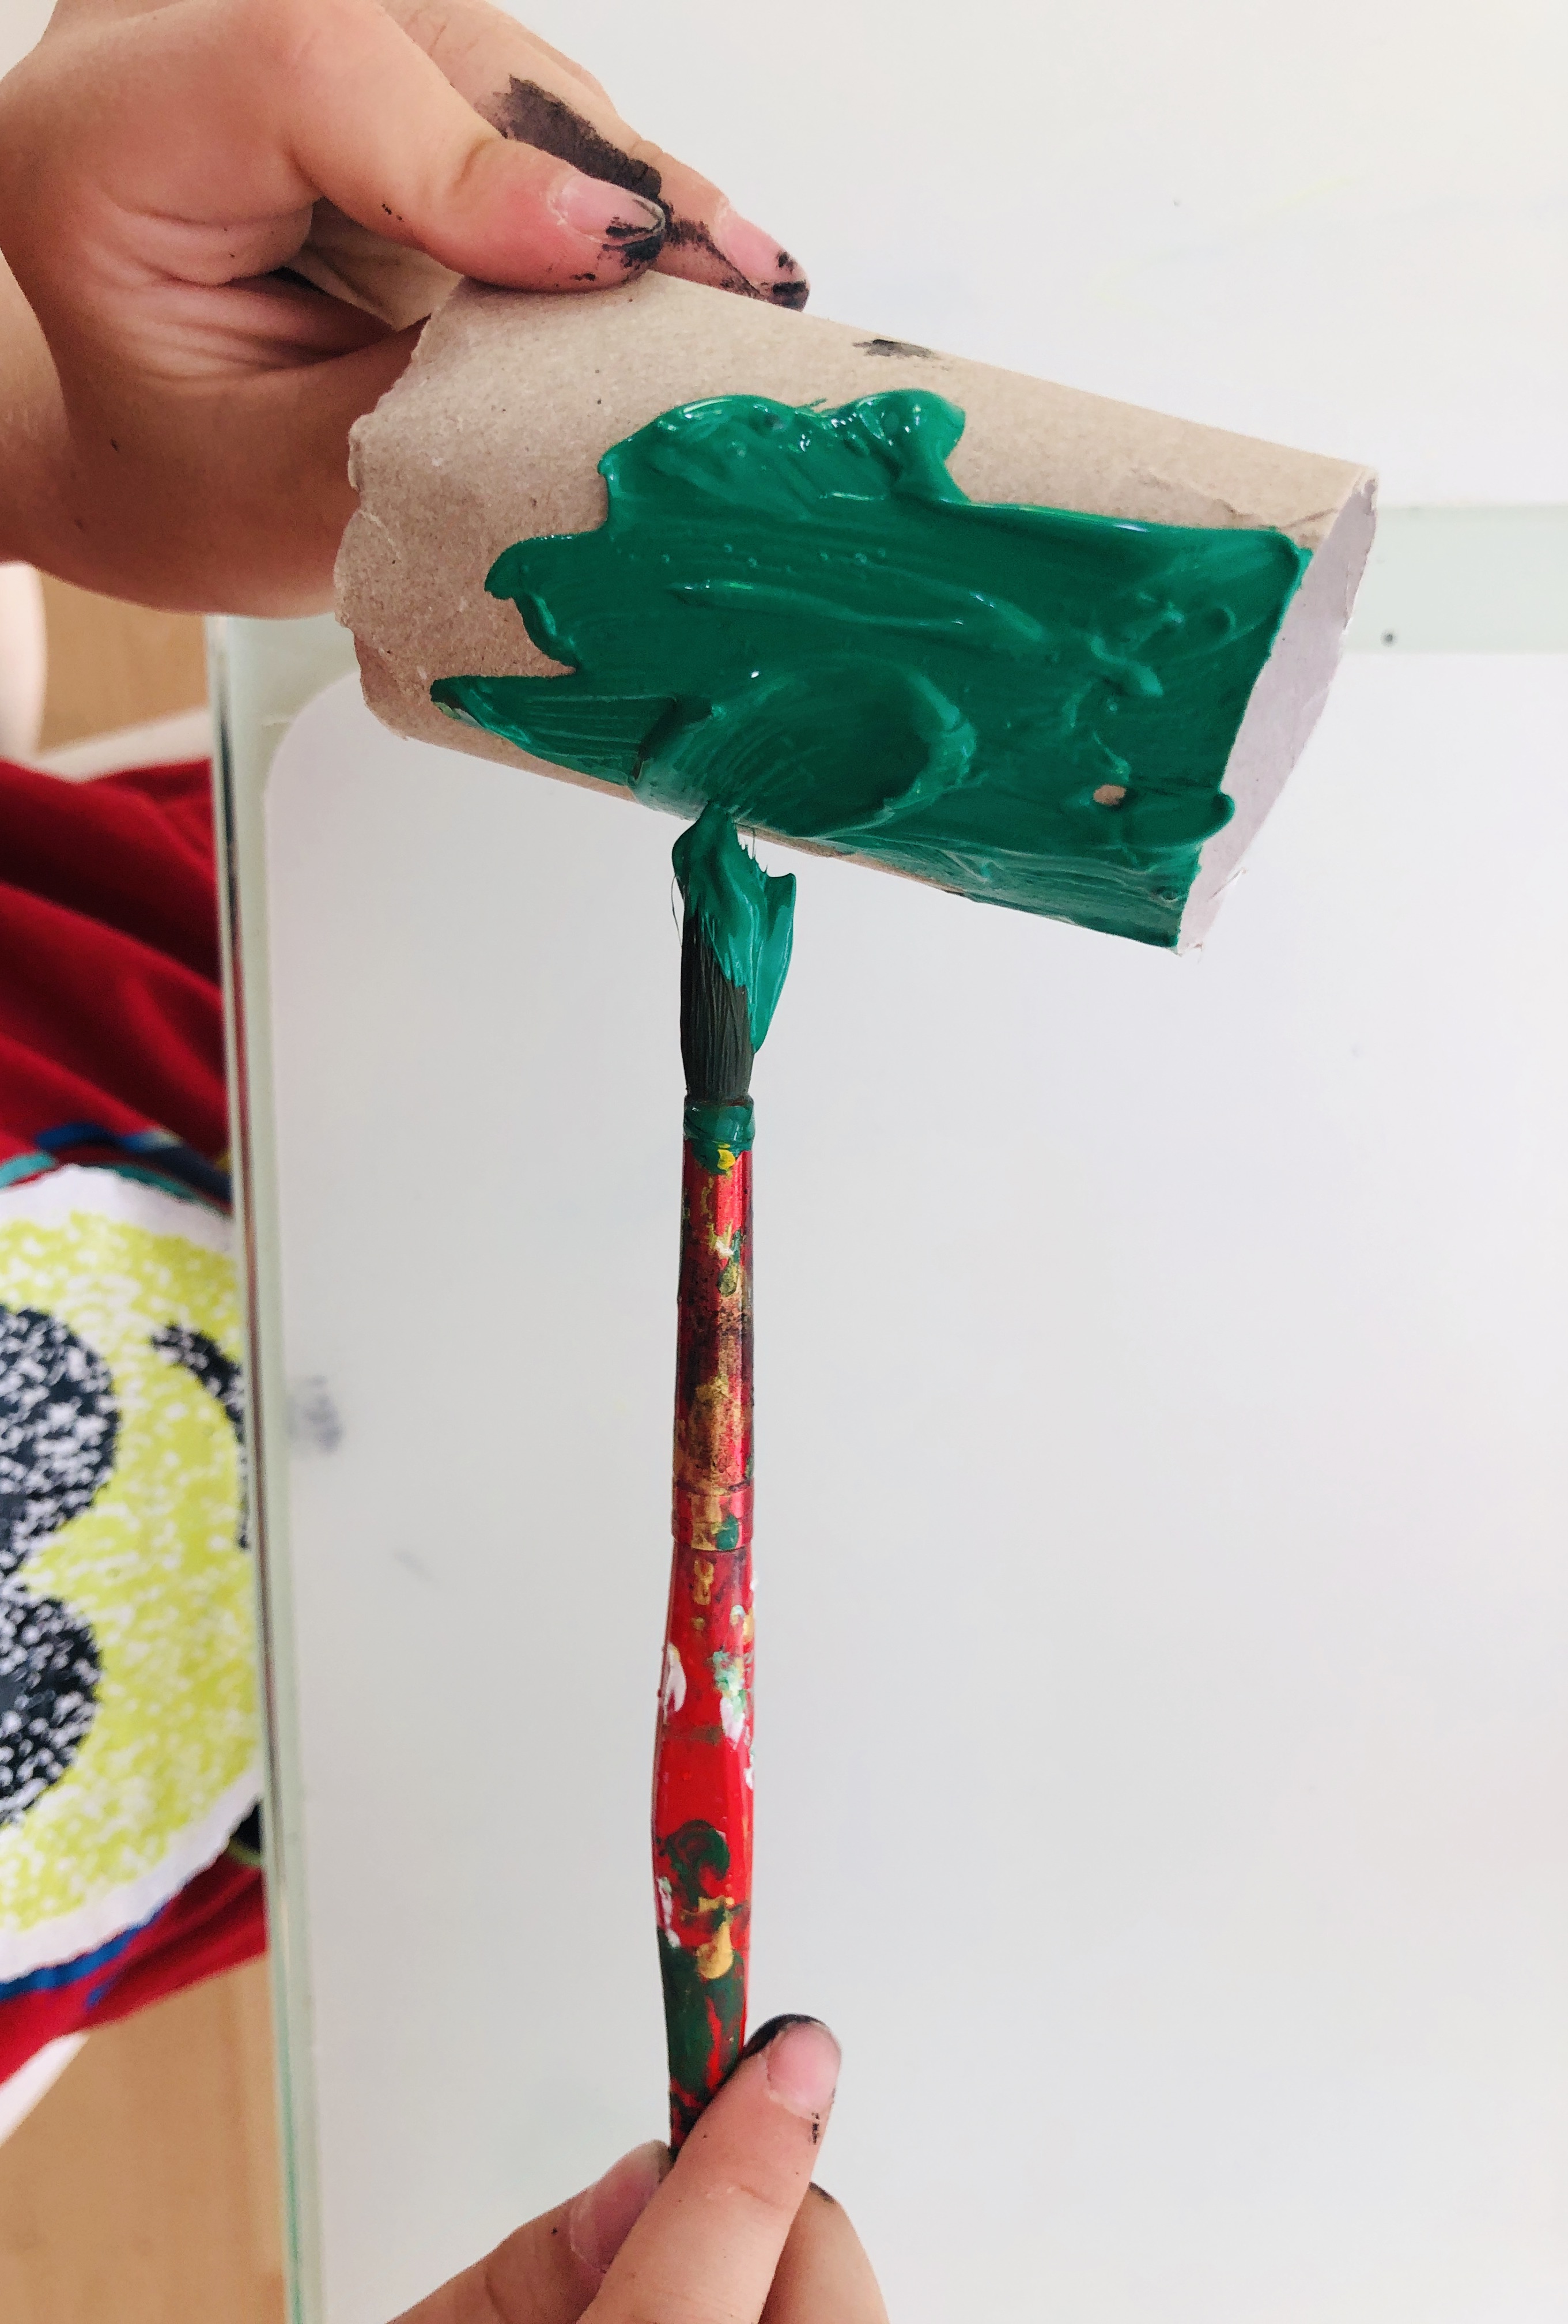
Paint 2 toilet paper rolls green and let dry. One is for the body and the other one for the legs.
Oh, btw, did you know that frogs absorb water through their skin, so they don't need to drink?
Step 2.
Cut out two bigger white circles and two smaller black circles for the eyes. The eyes and nose of a frog are on top of its head so it can breathe and see when most of its body is under the water.
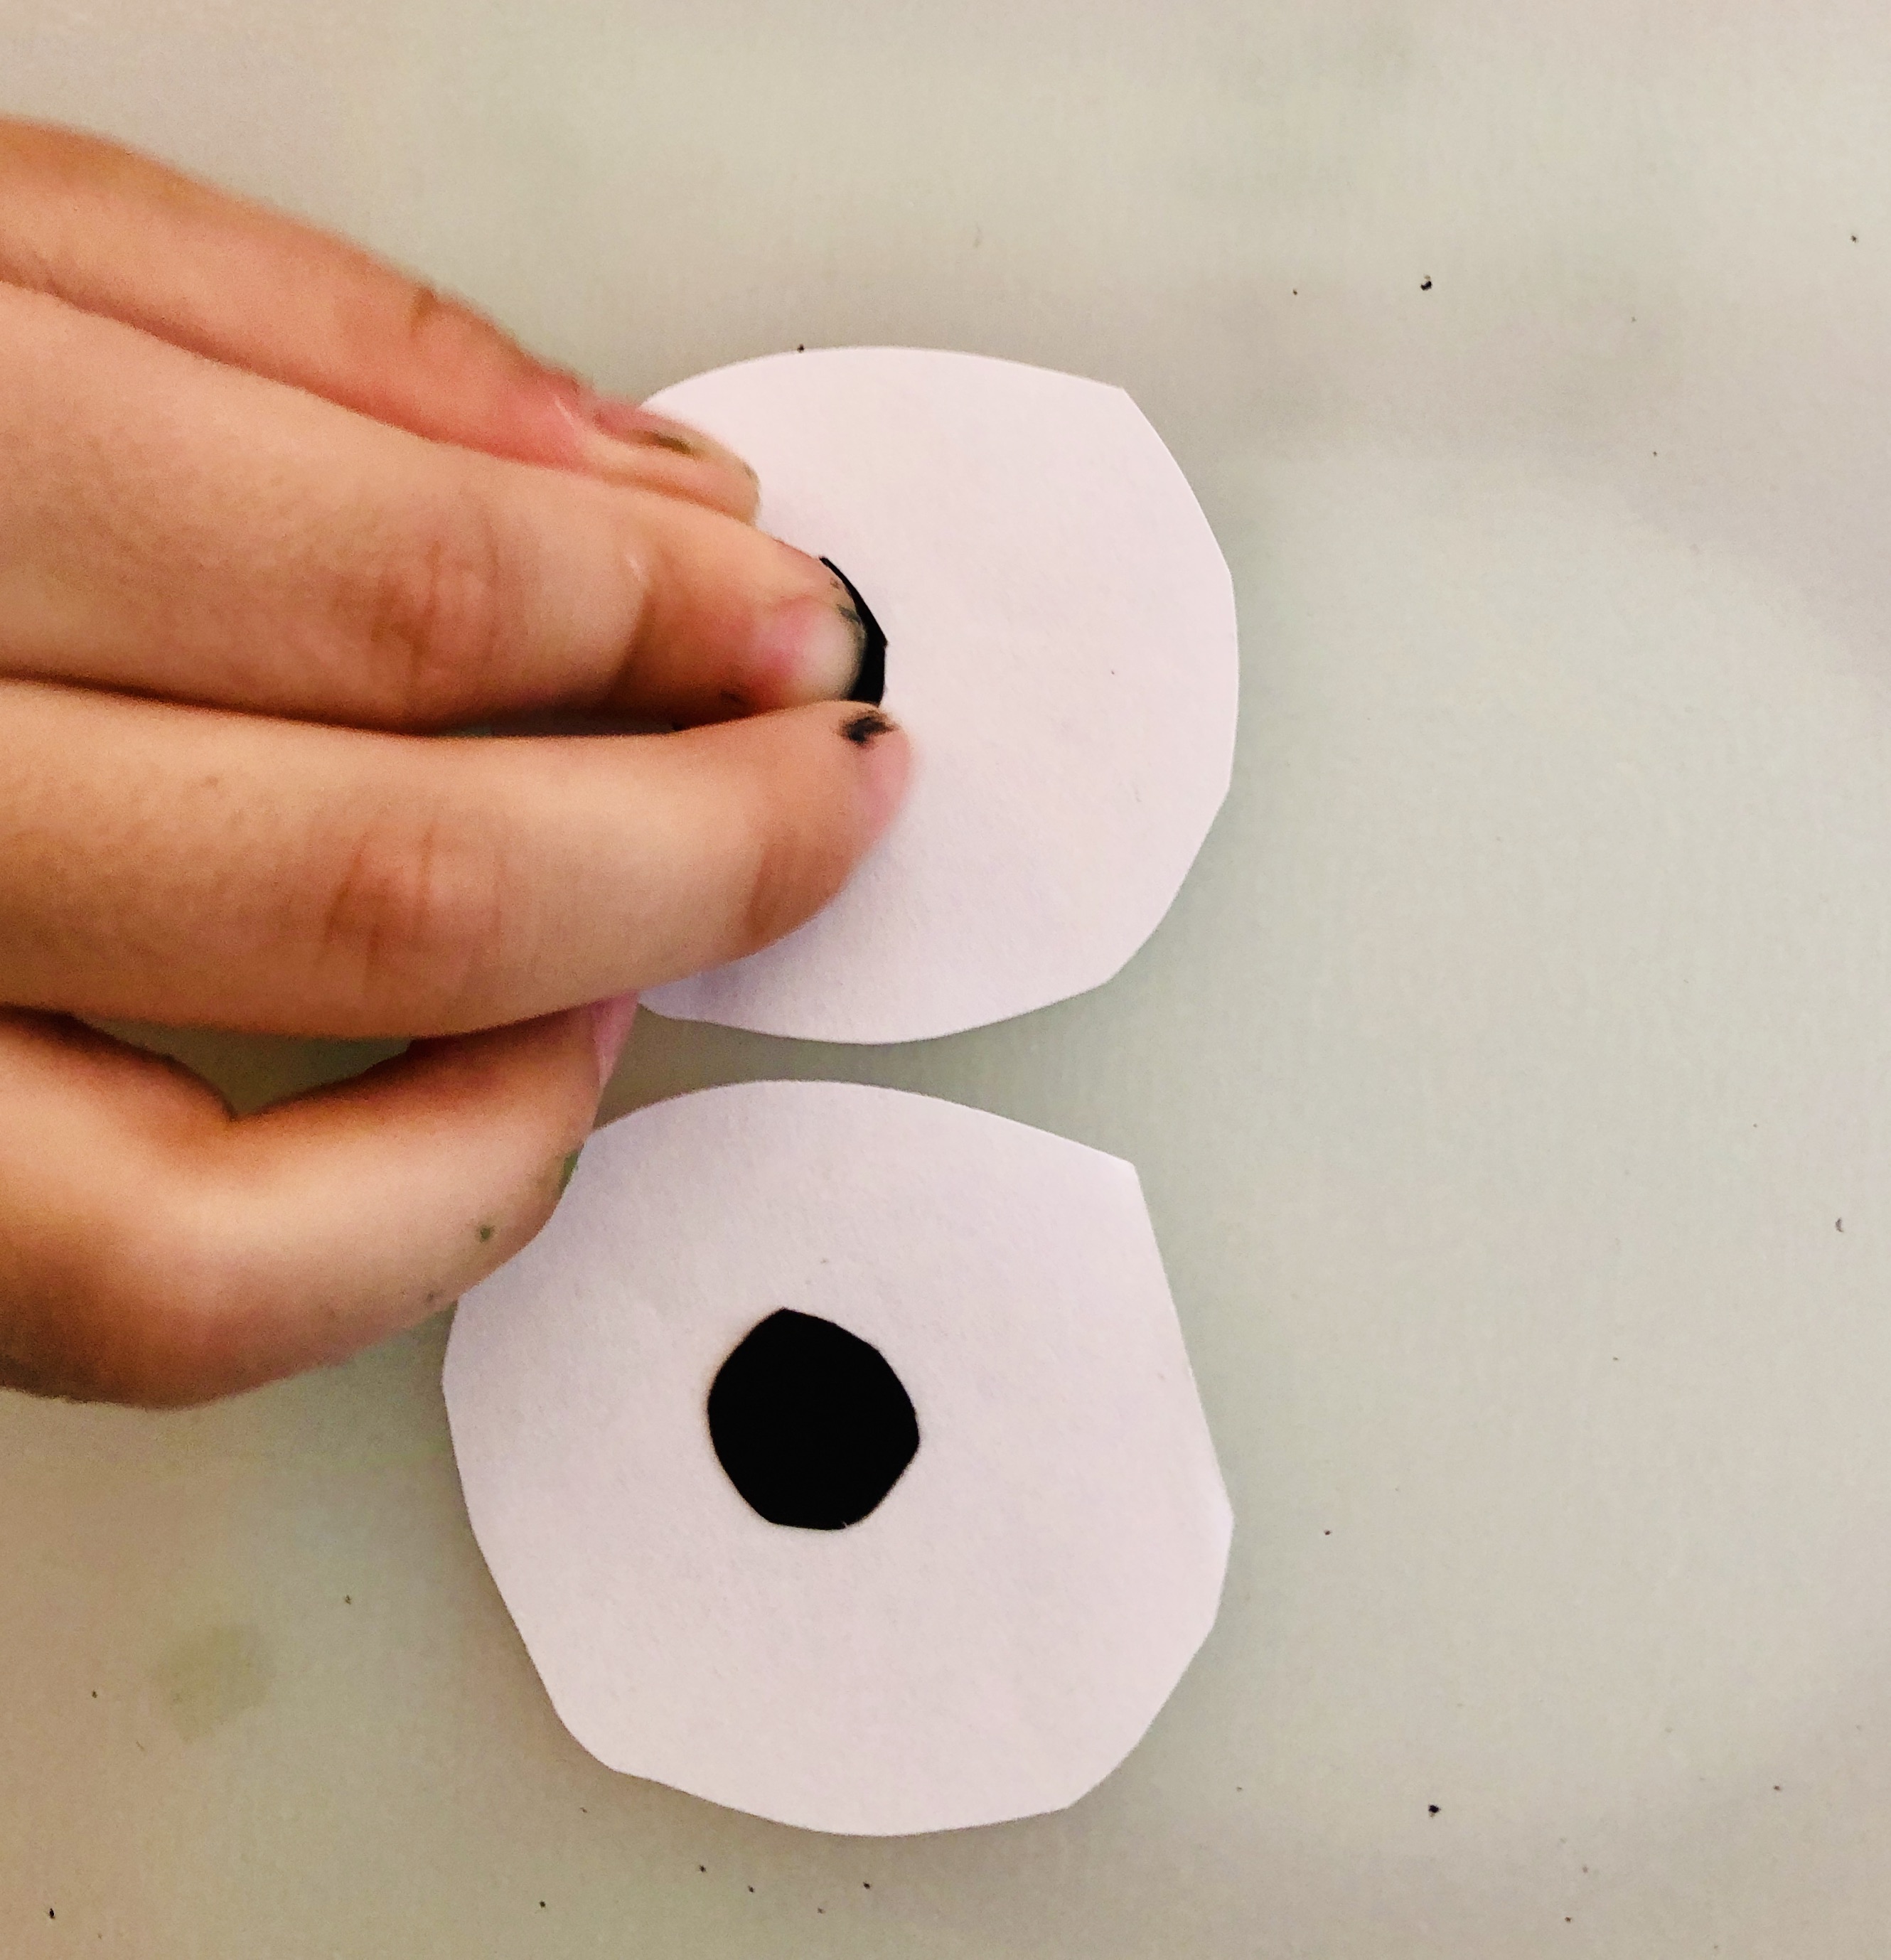
When the roll is dry, glue the eyes on the frog's body.
Step 3.
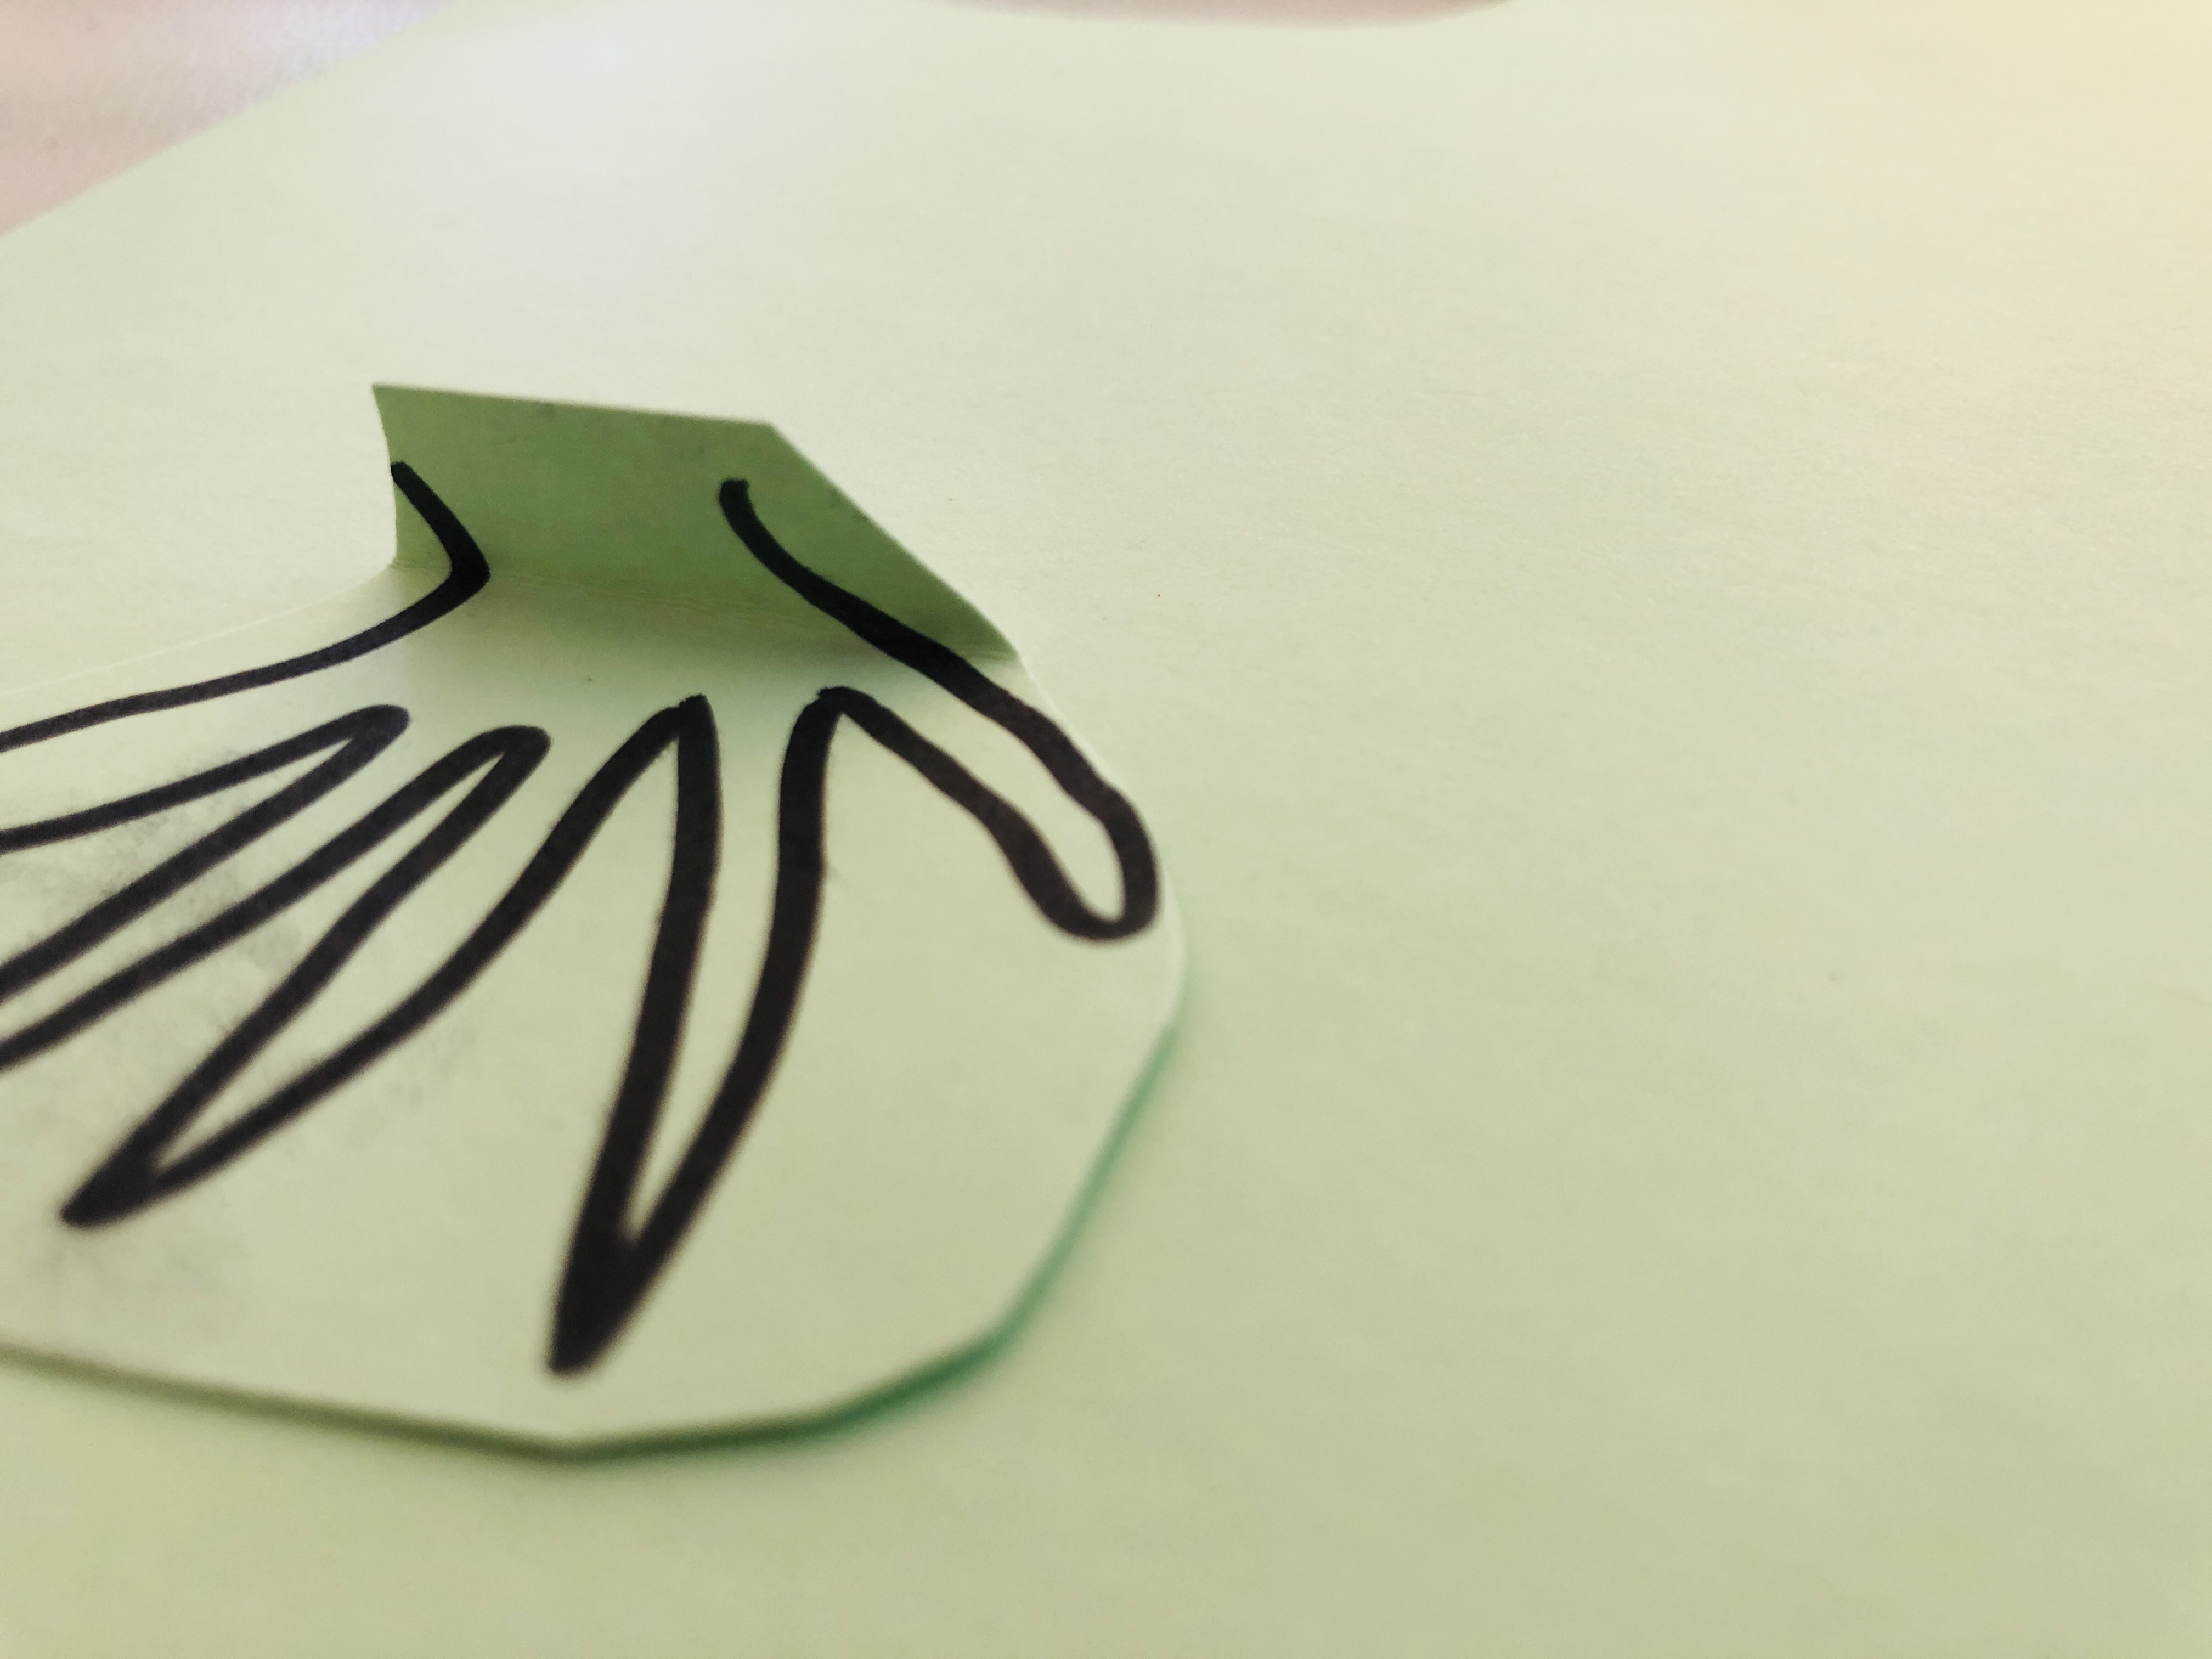
Draw and cut out the feet. During this step, we had to read that frogs have four digits on their front feet and five on their rear feet. Then we observed the frogs in our aquarium and learned that this was true. Going to an aquarium shop or a Zoo could also help to learning more about frogs.
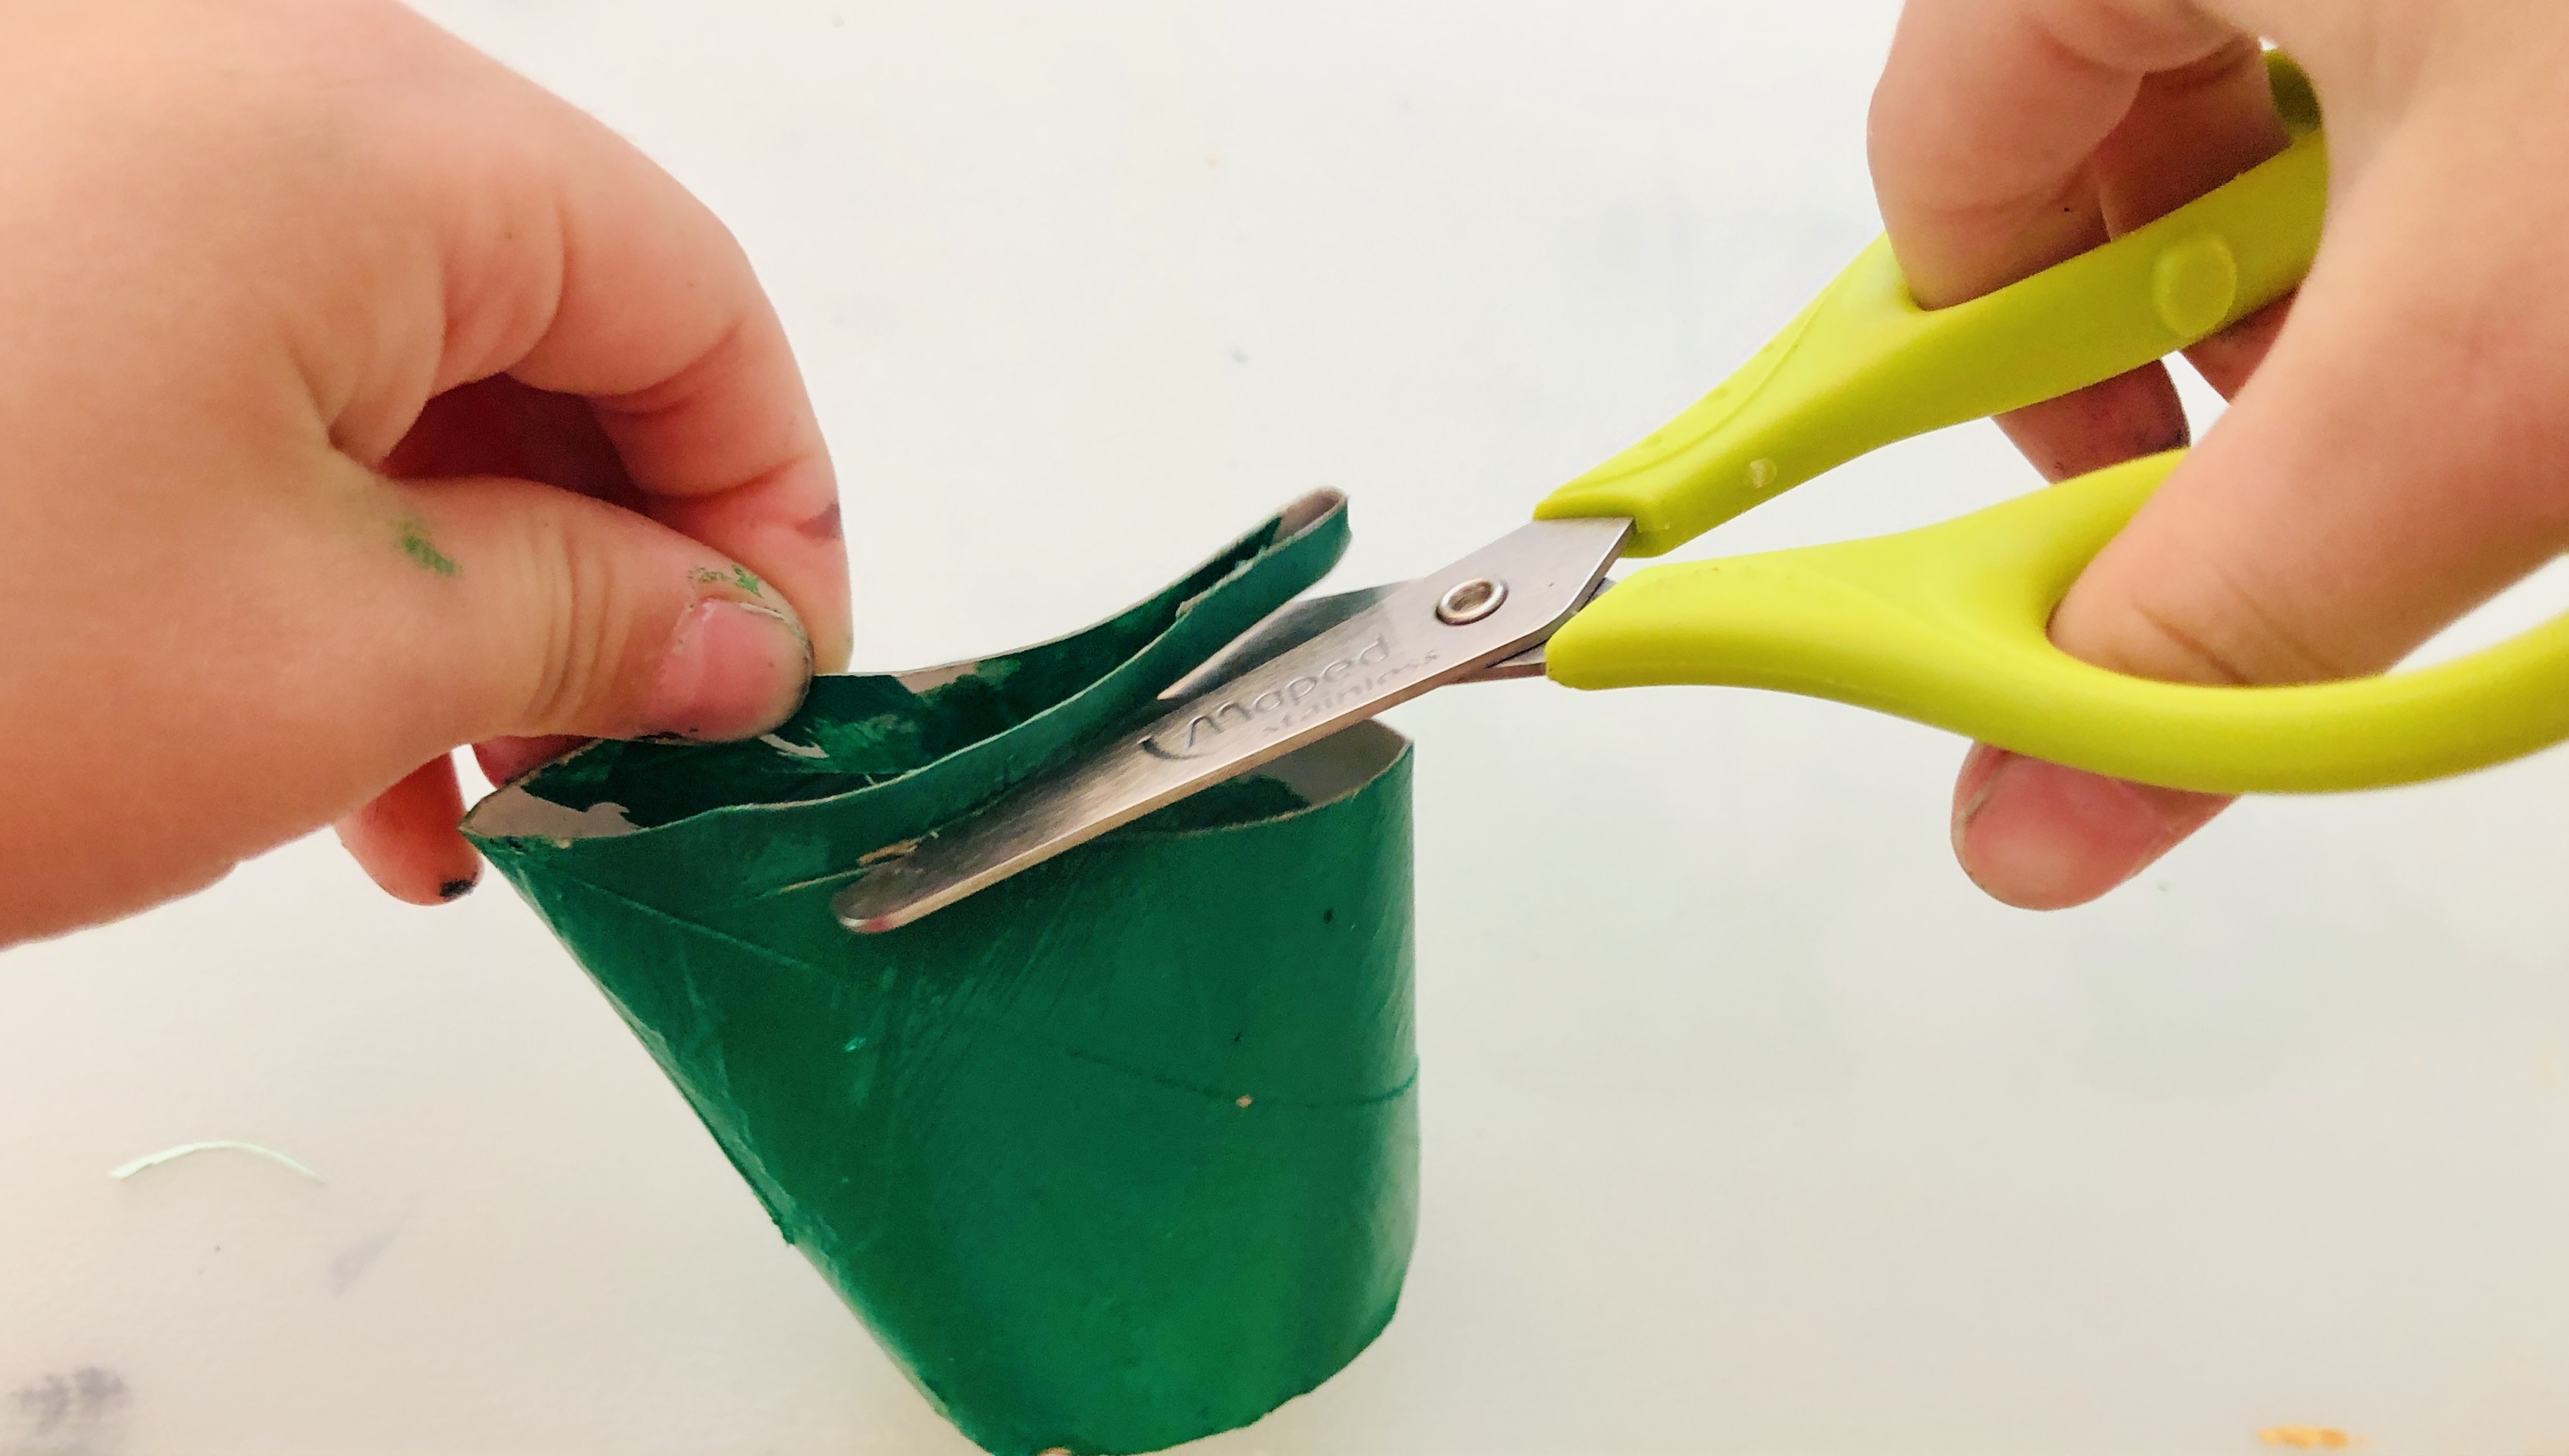
Cut two rings out of the second paper roll. Glue them on the body together with the feet.
Step 5.
Draw the mouth, cut out a stripe of red paper and glue the tongue.
Your froggy is ready to play :)
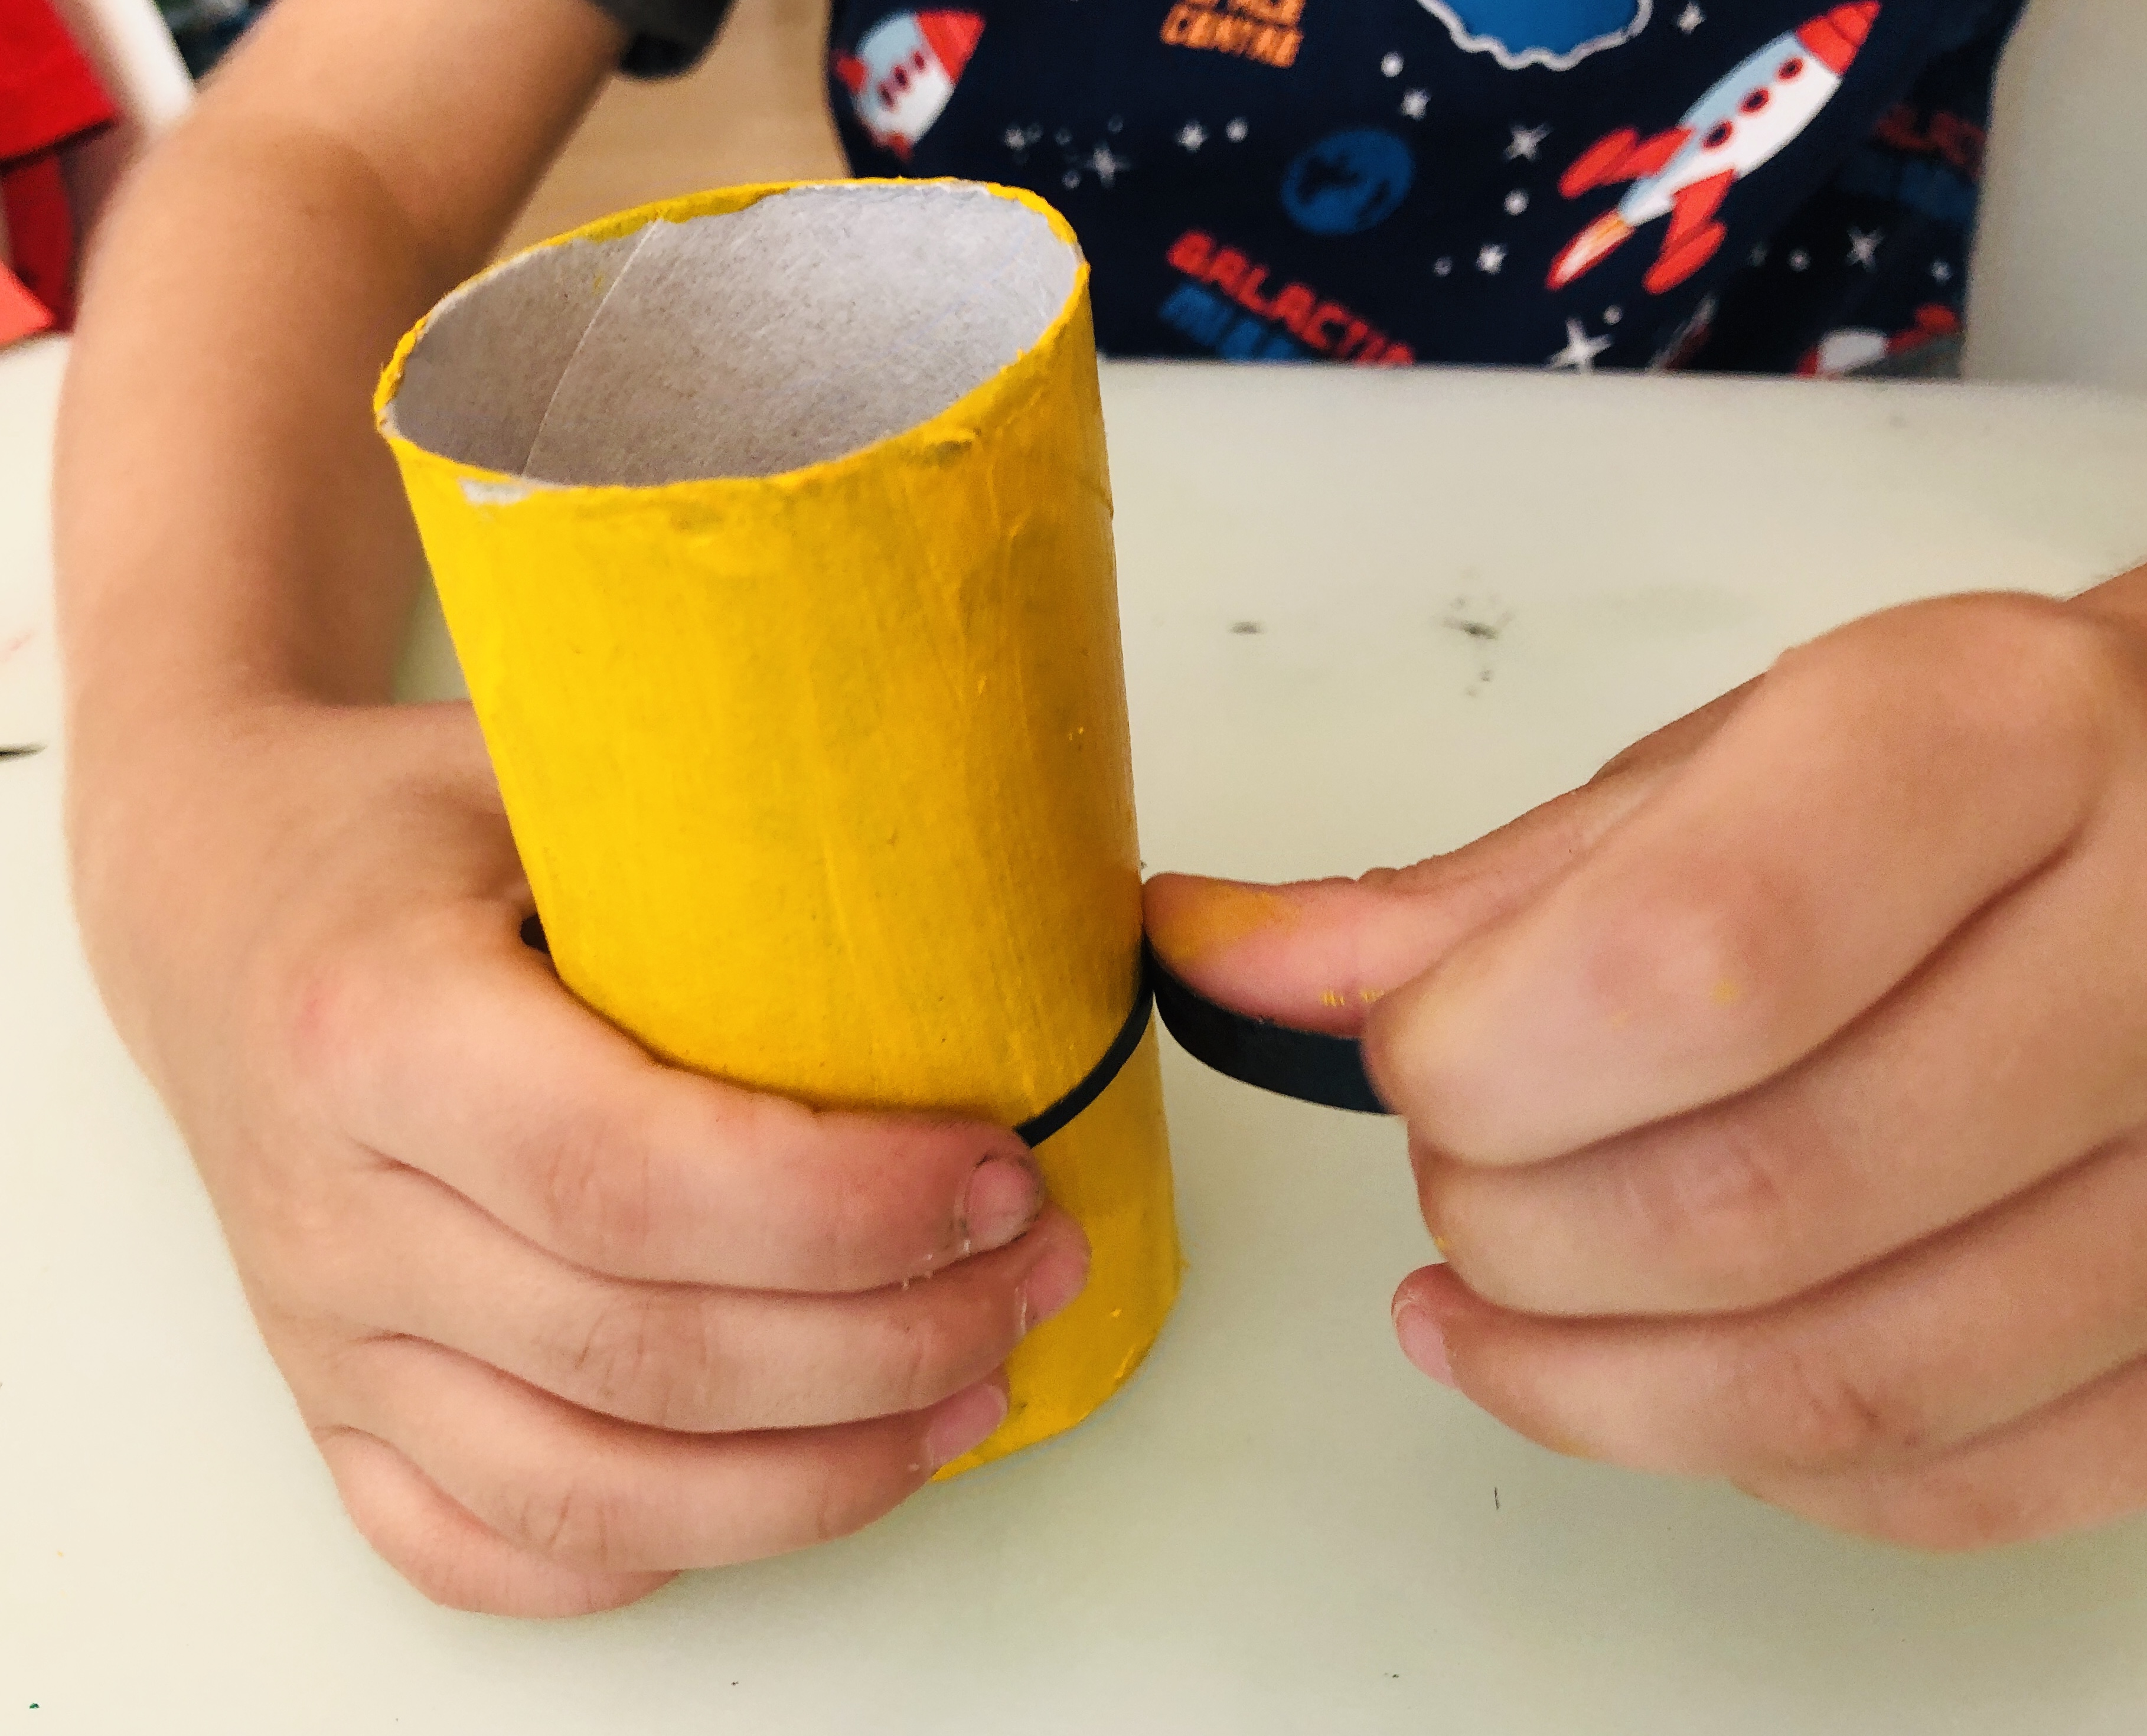
Step 1.
Paint the toilet paper roll yellow and let dry.

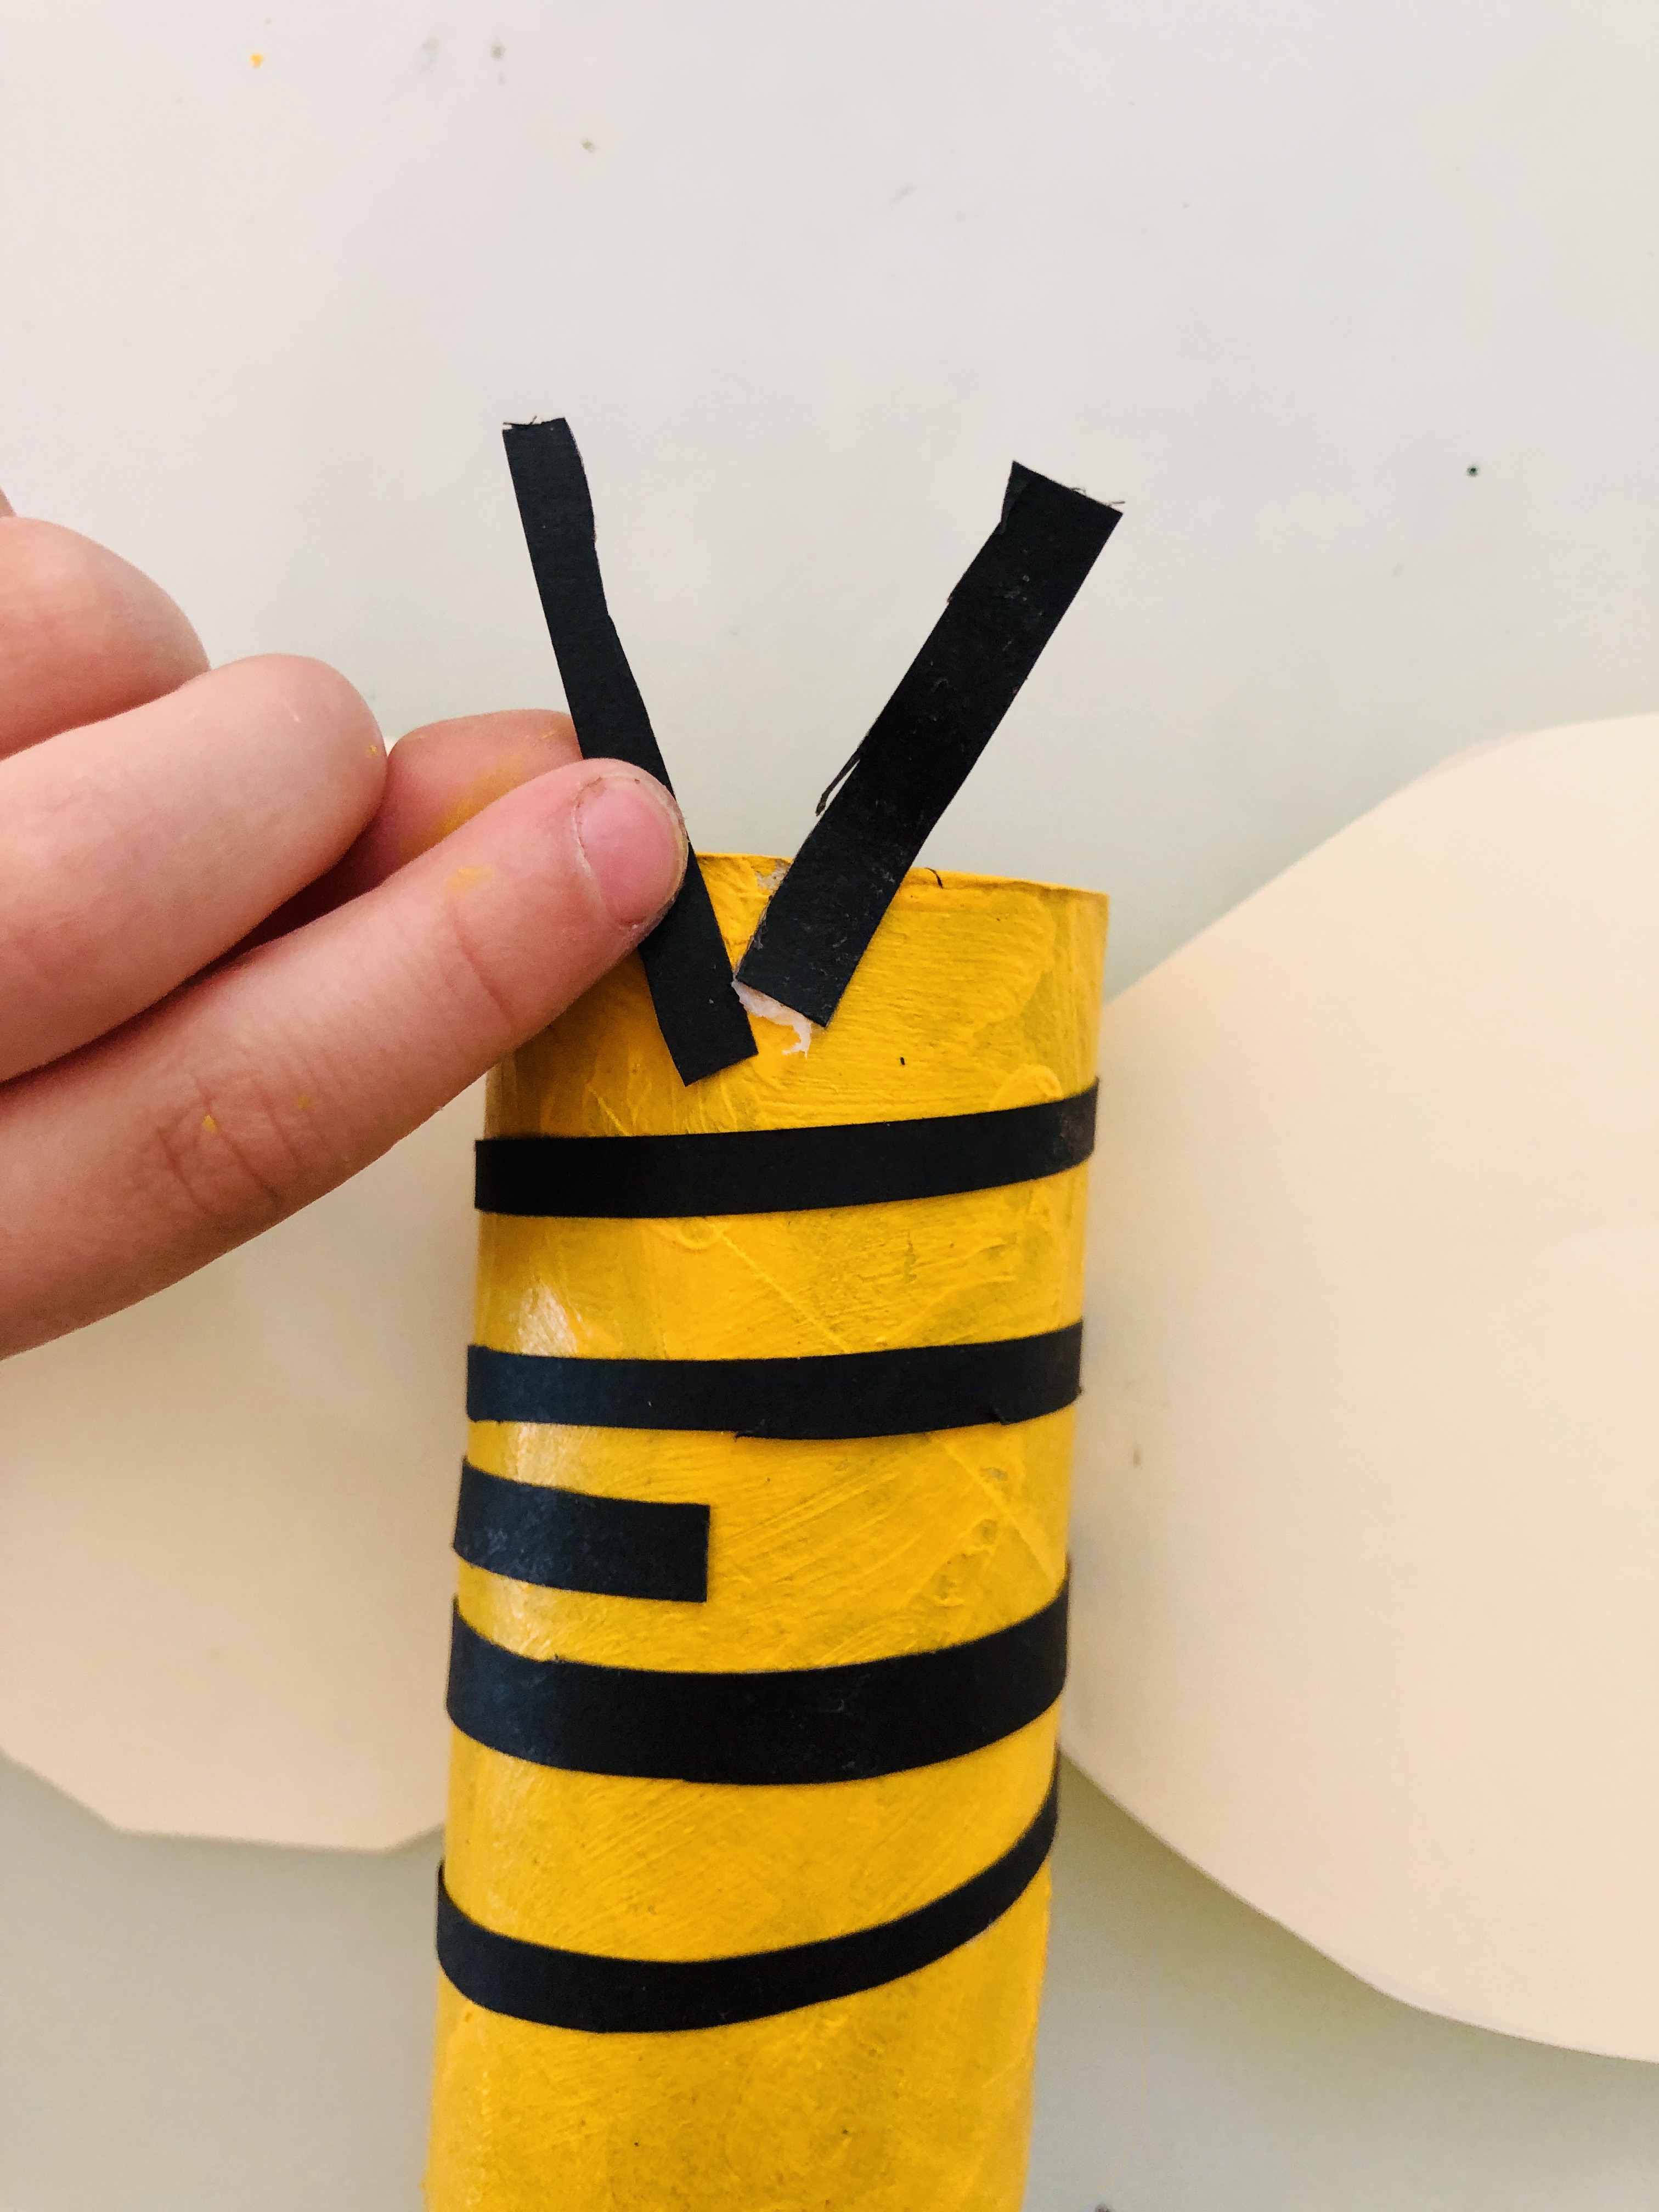
Cut out stripes of black paper and glue them around the bee's body.
Use any leftover paper strips for the antennas. Did you know that the main functions of the antennas of a honeybee are to smell and to measure the flight speed?
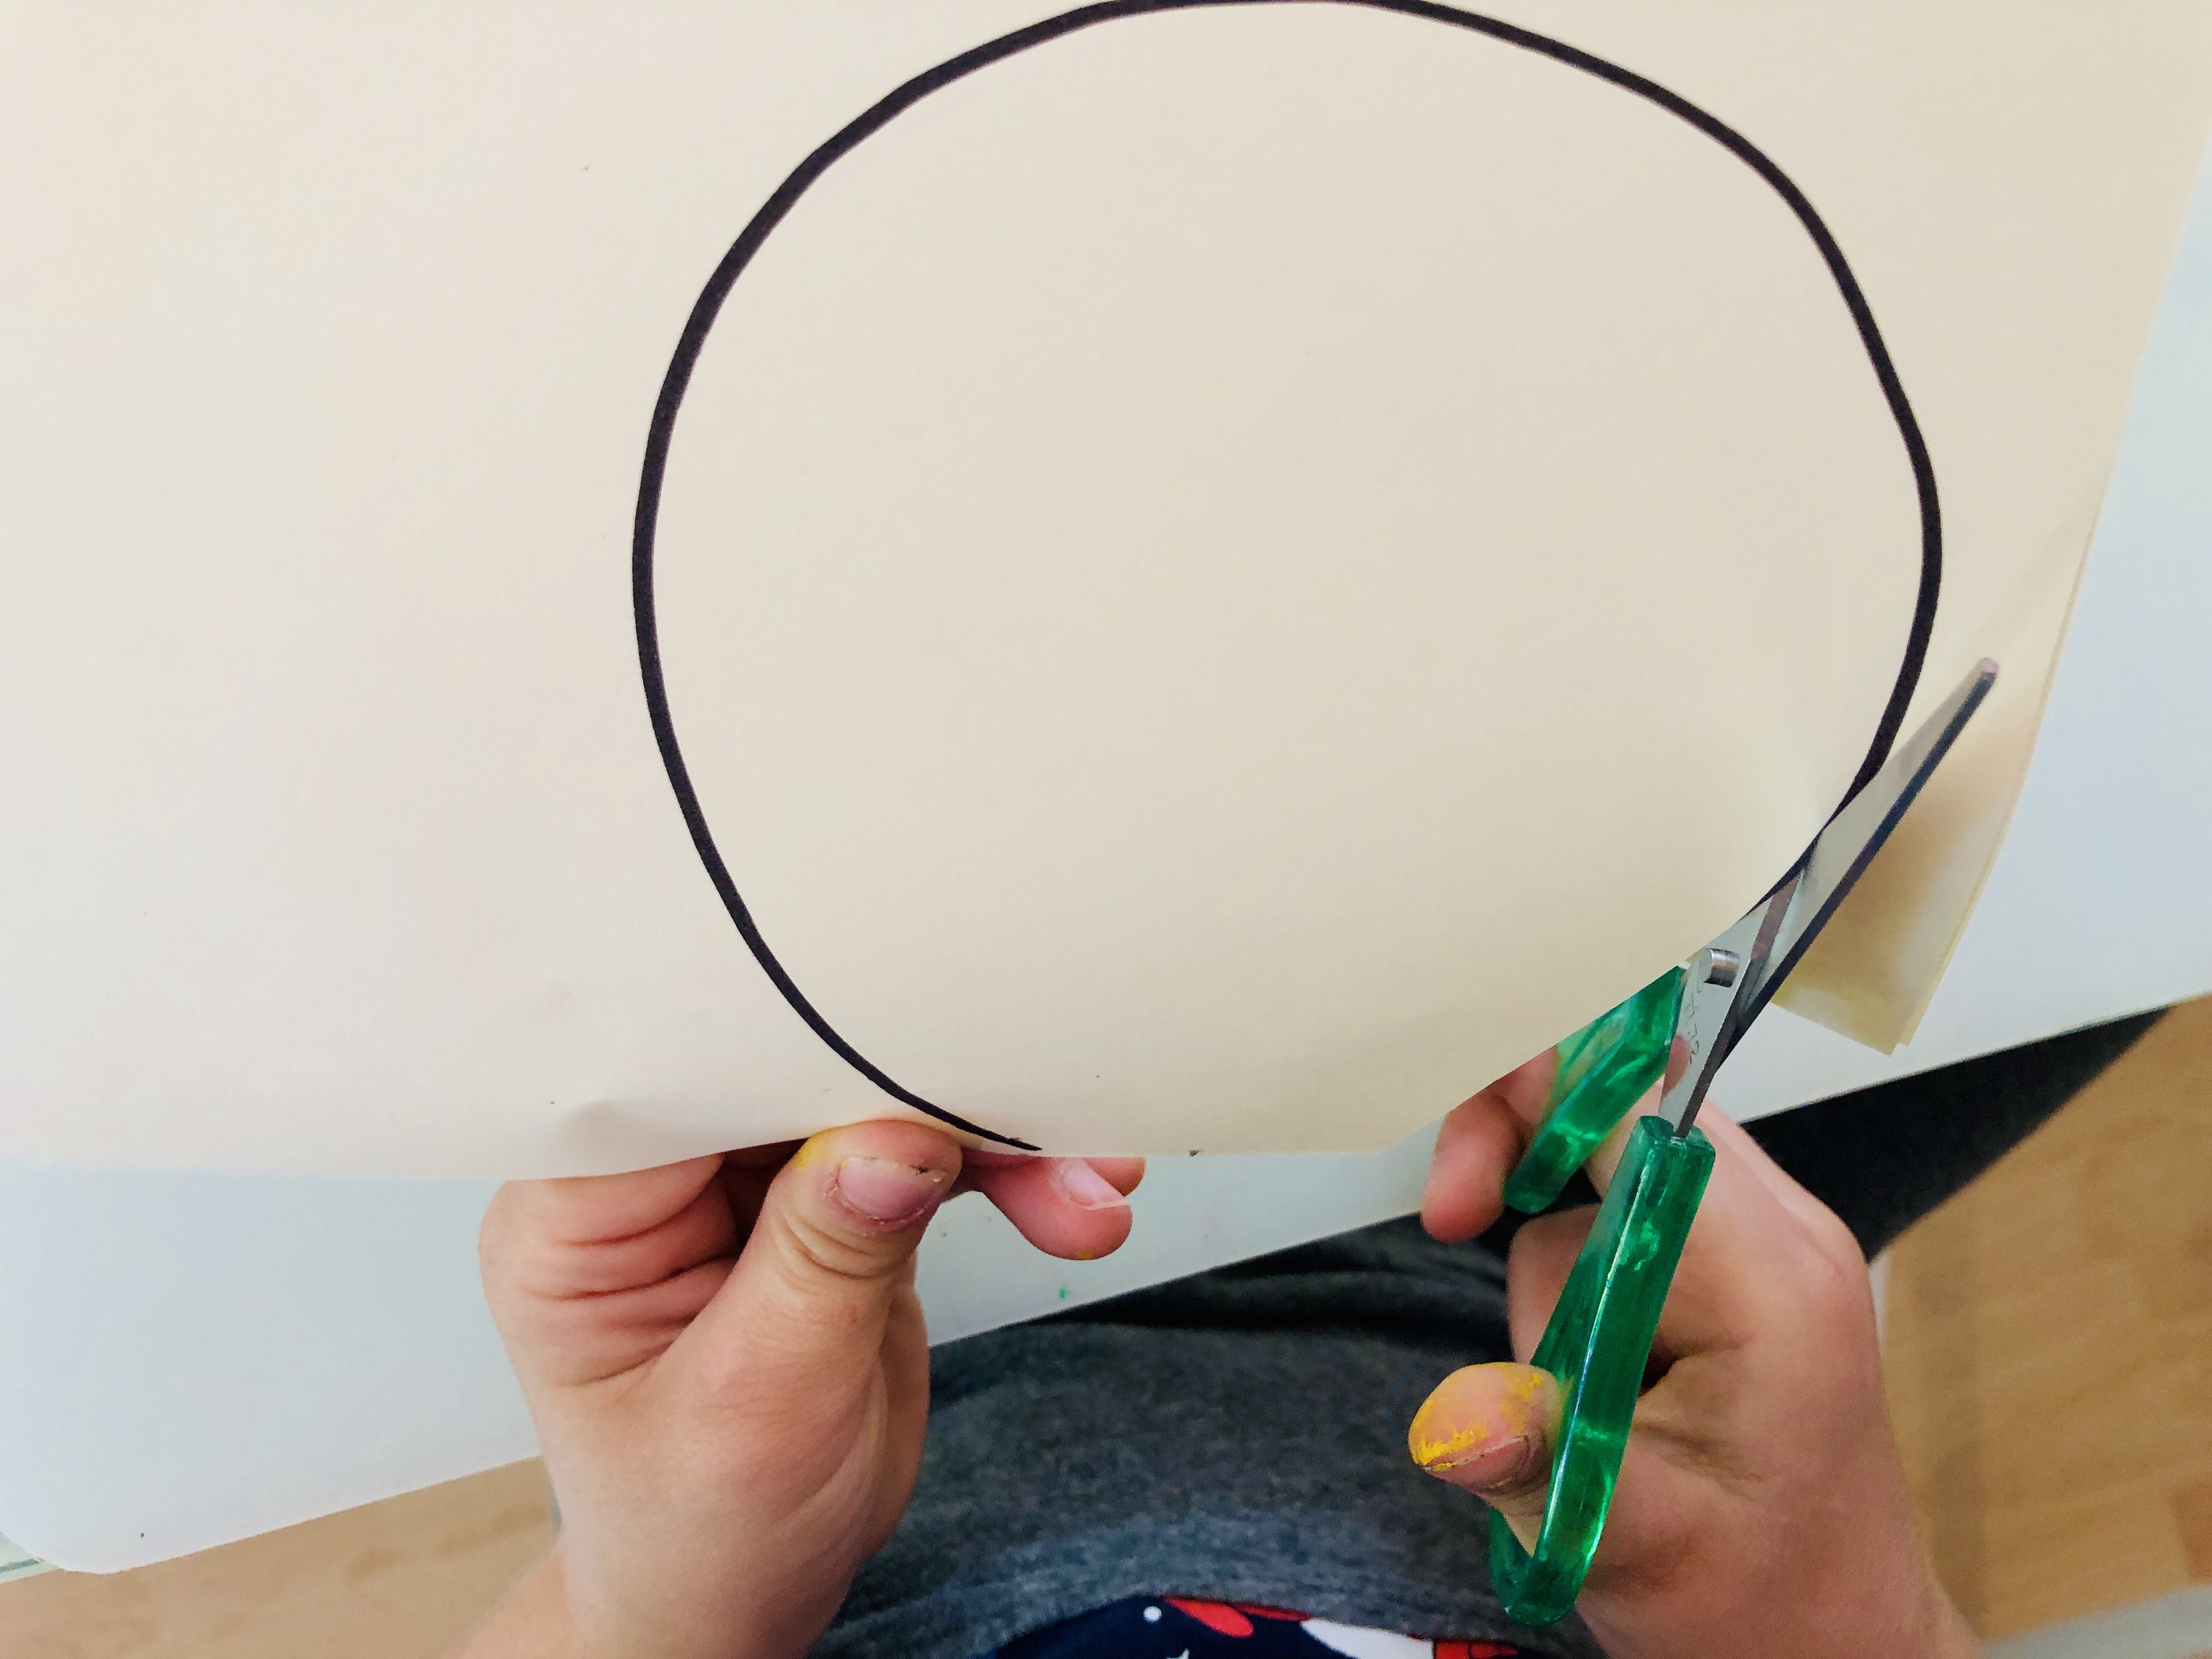
Step 4.
Cut out two bigger yellow or white circles and glue them on the backside of the roll. These are the wings.
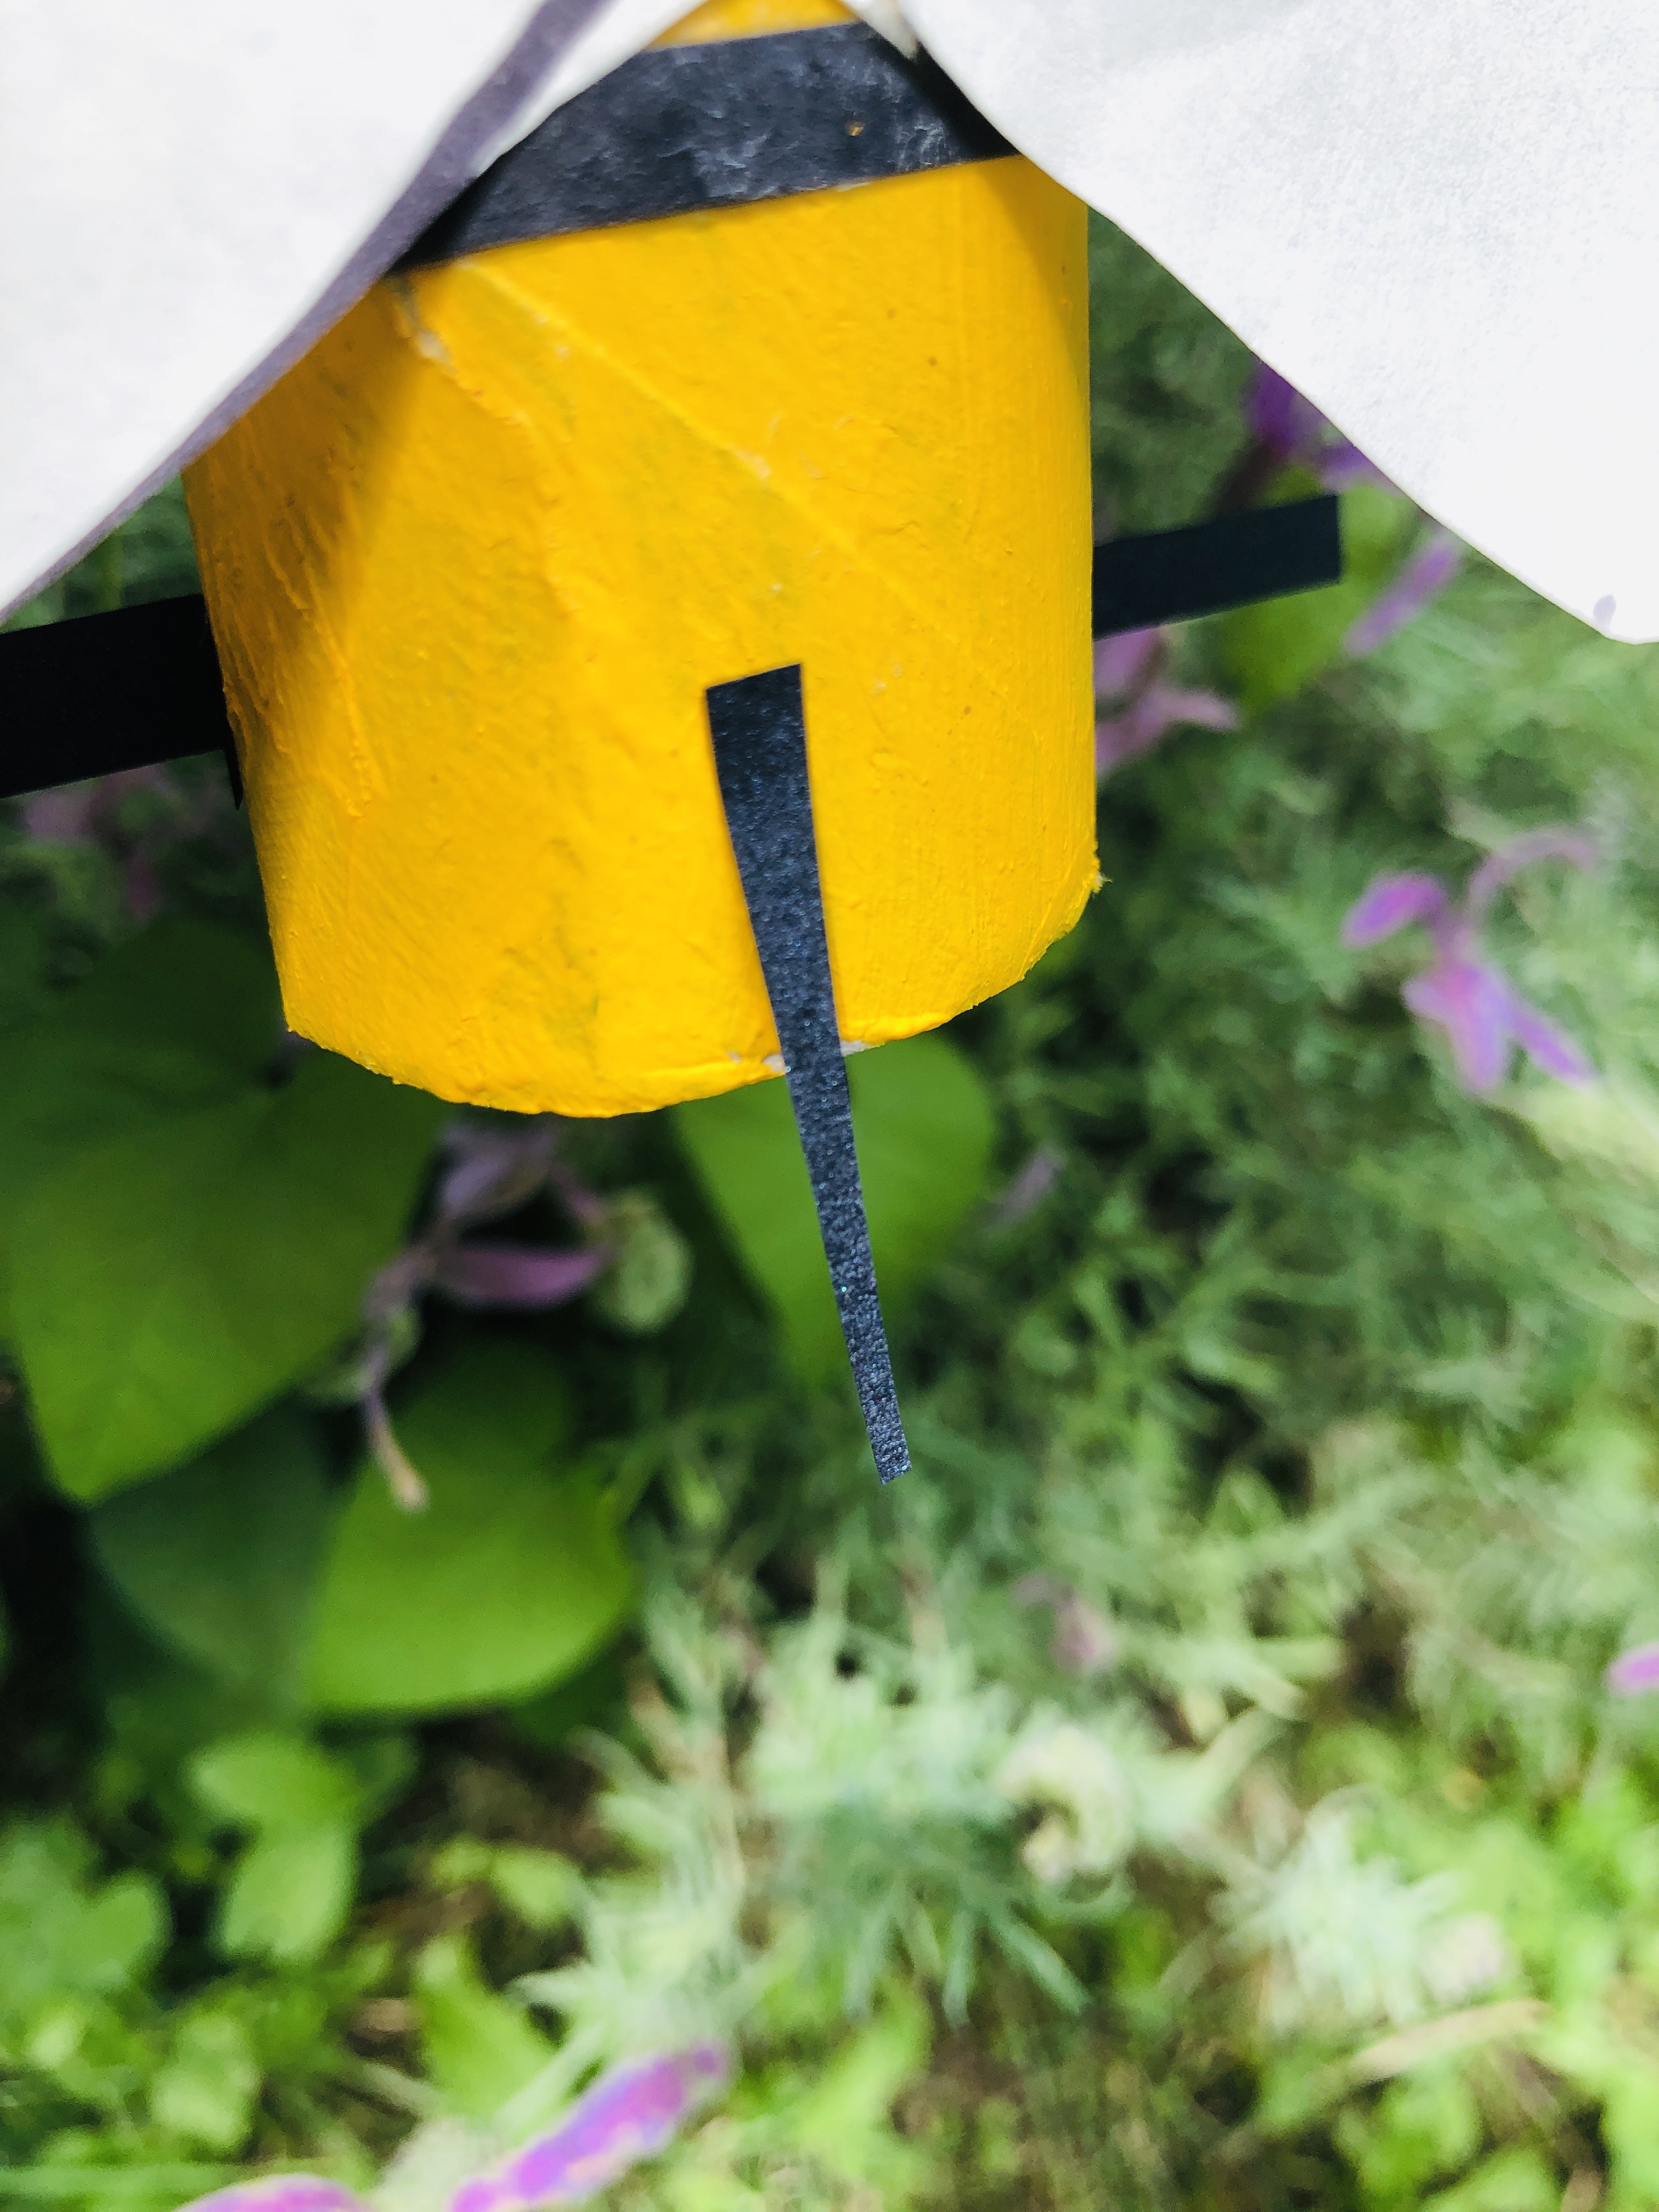
Step 5.
Cut out and glue six little black stripes. These are the legs bees use to manipulate and carry pollen and propolis.
Your bee is ready to find some flowers :)
Ladybug
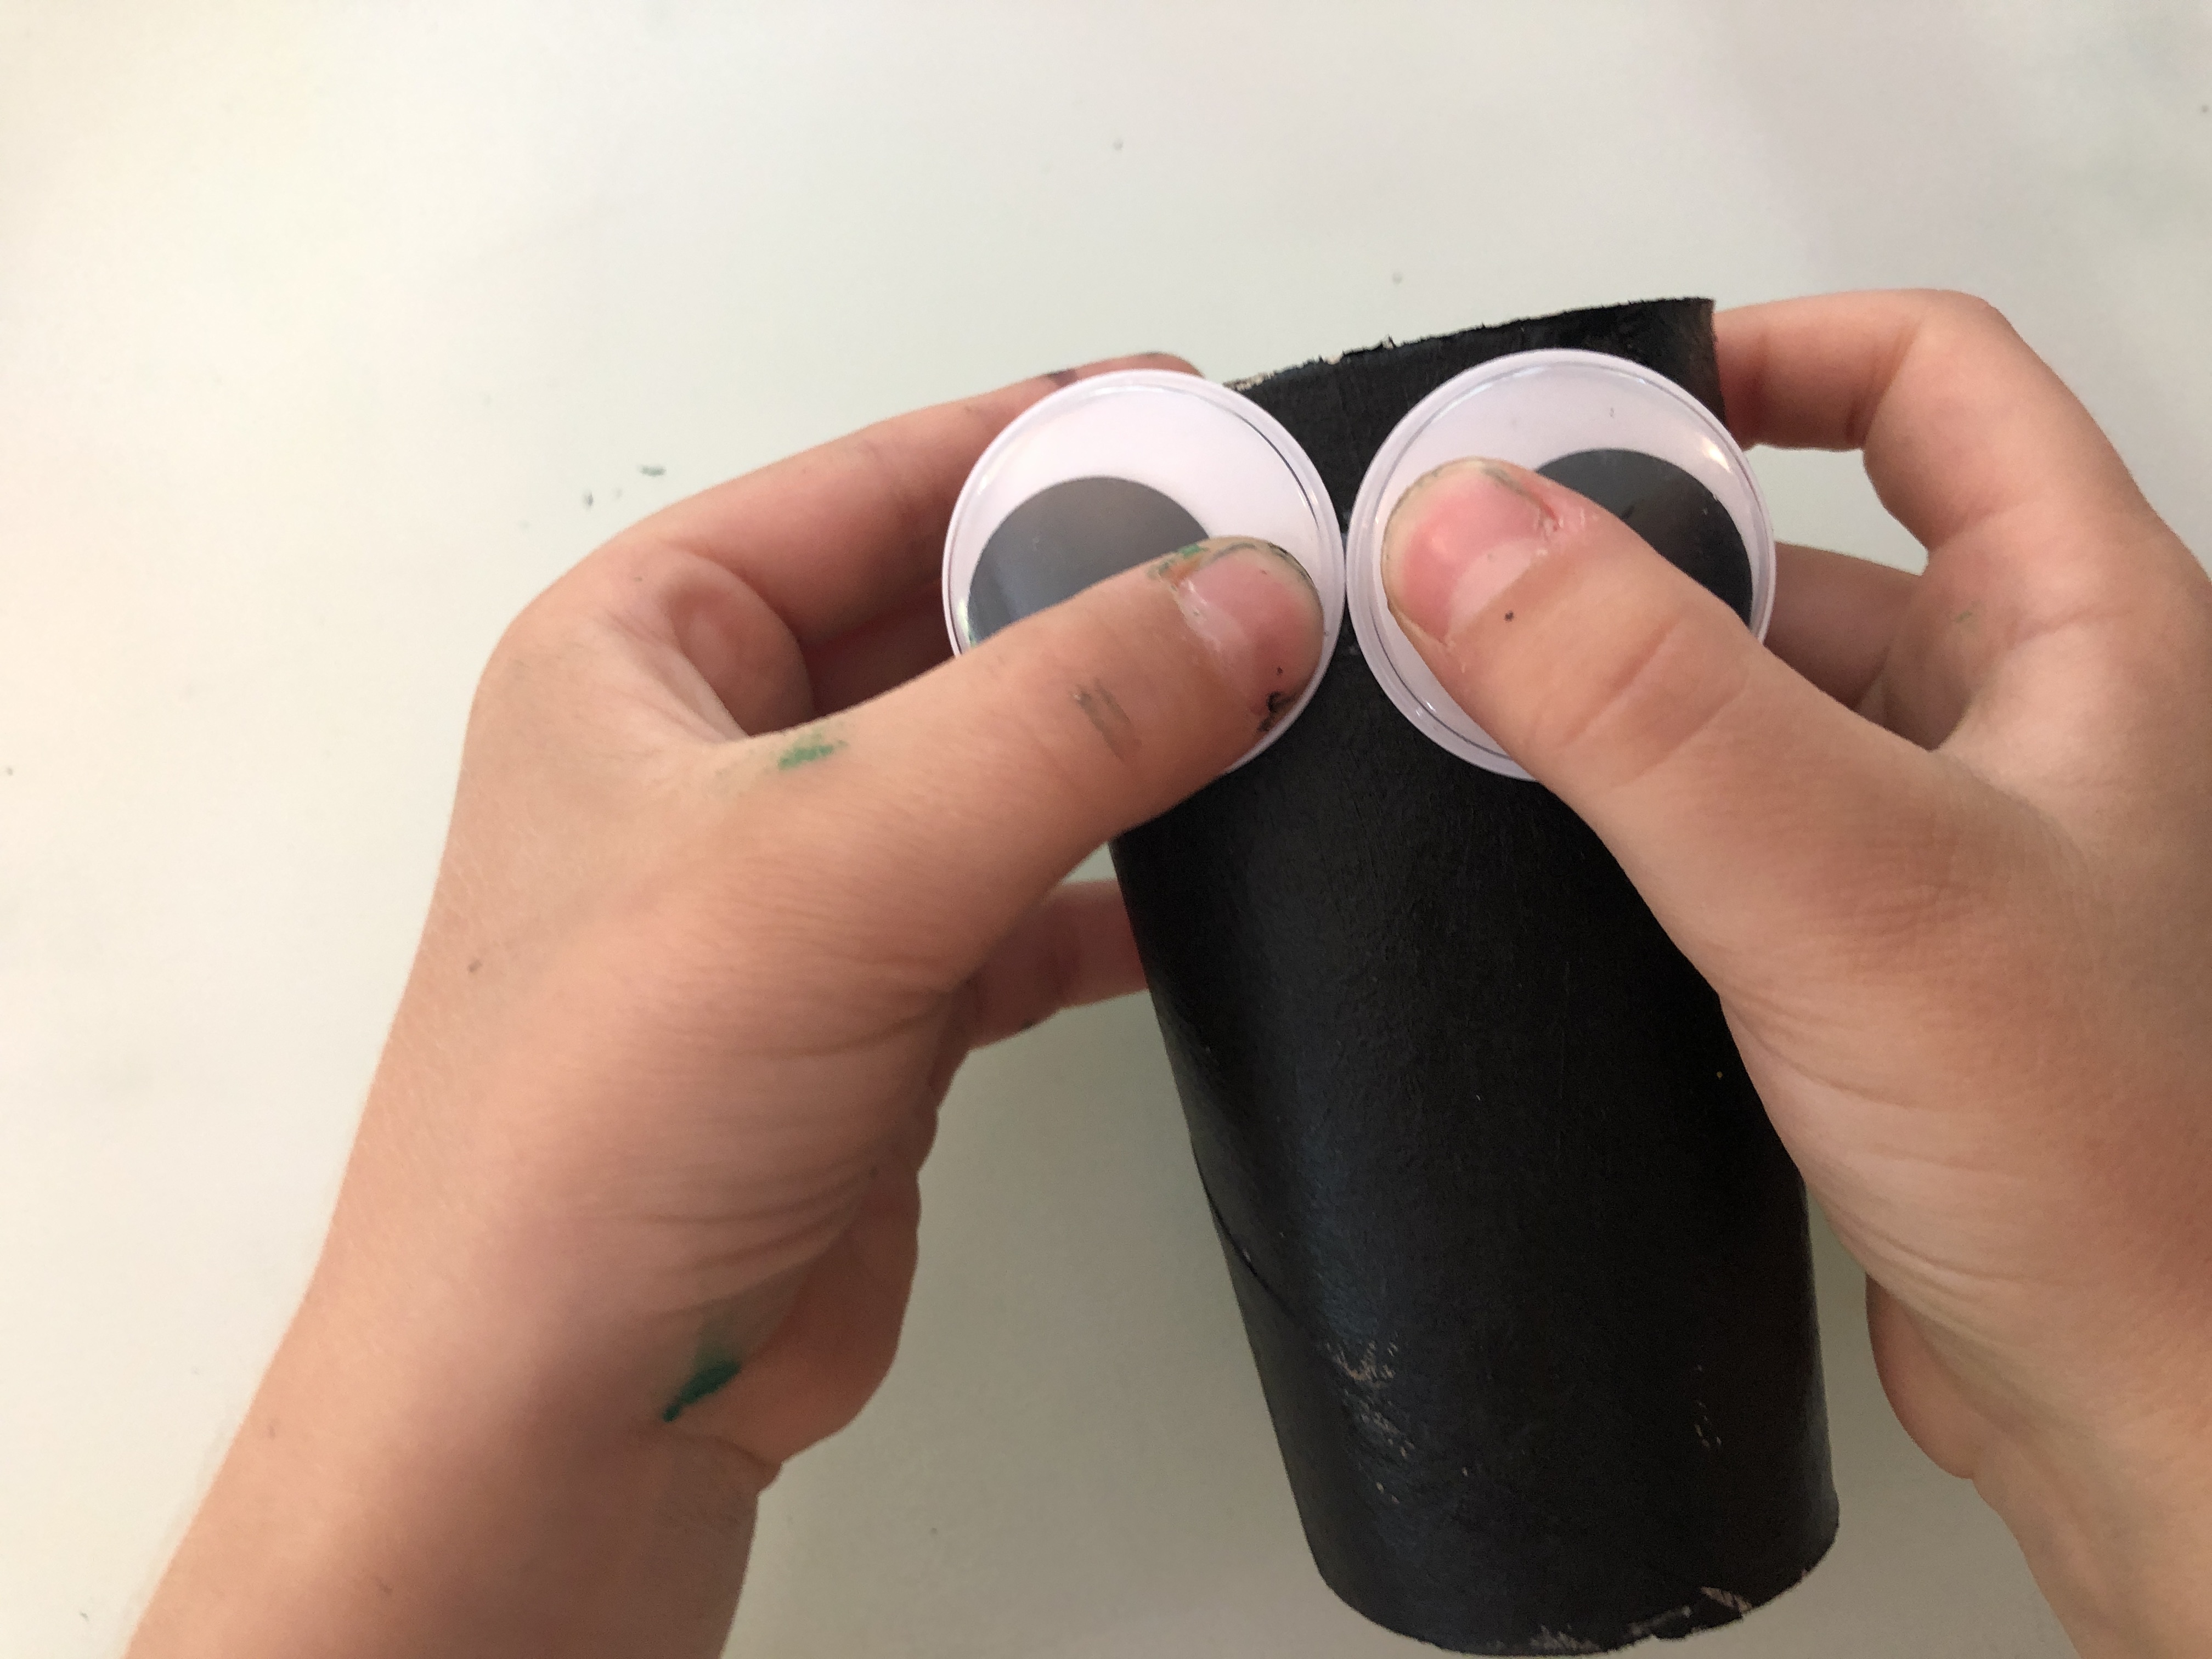
Paint the paper roll black.
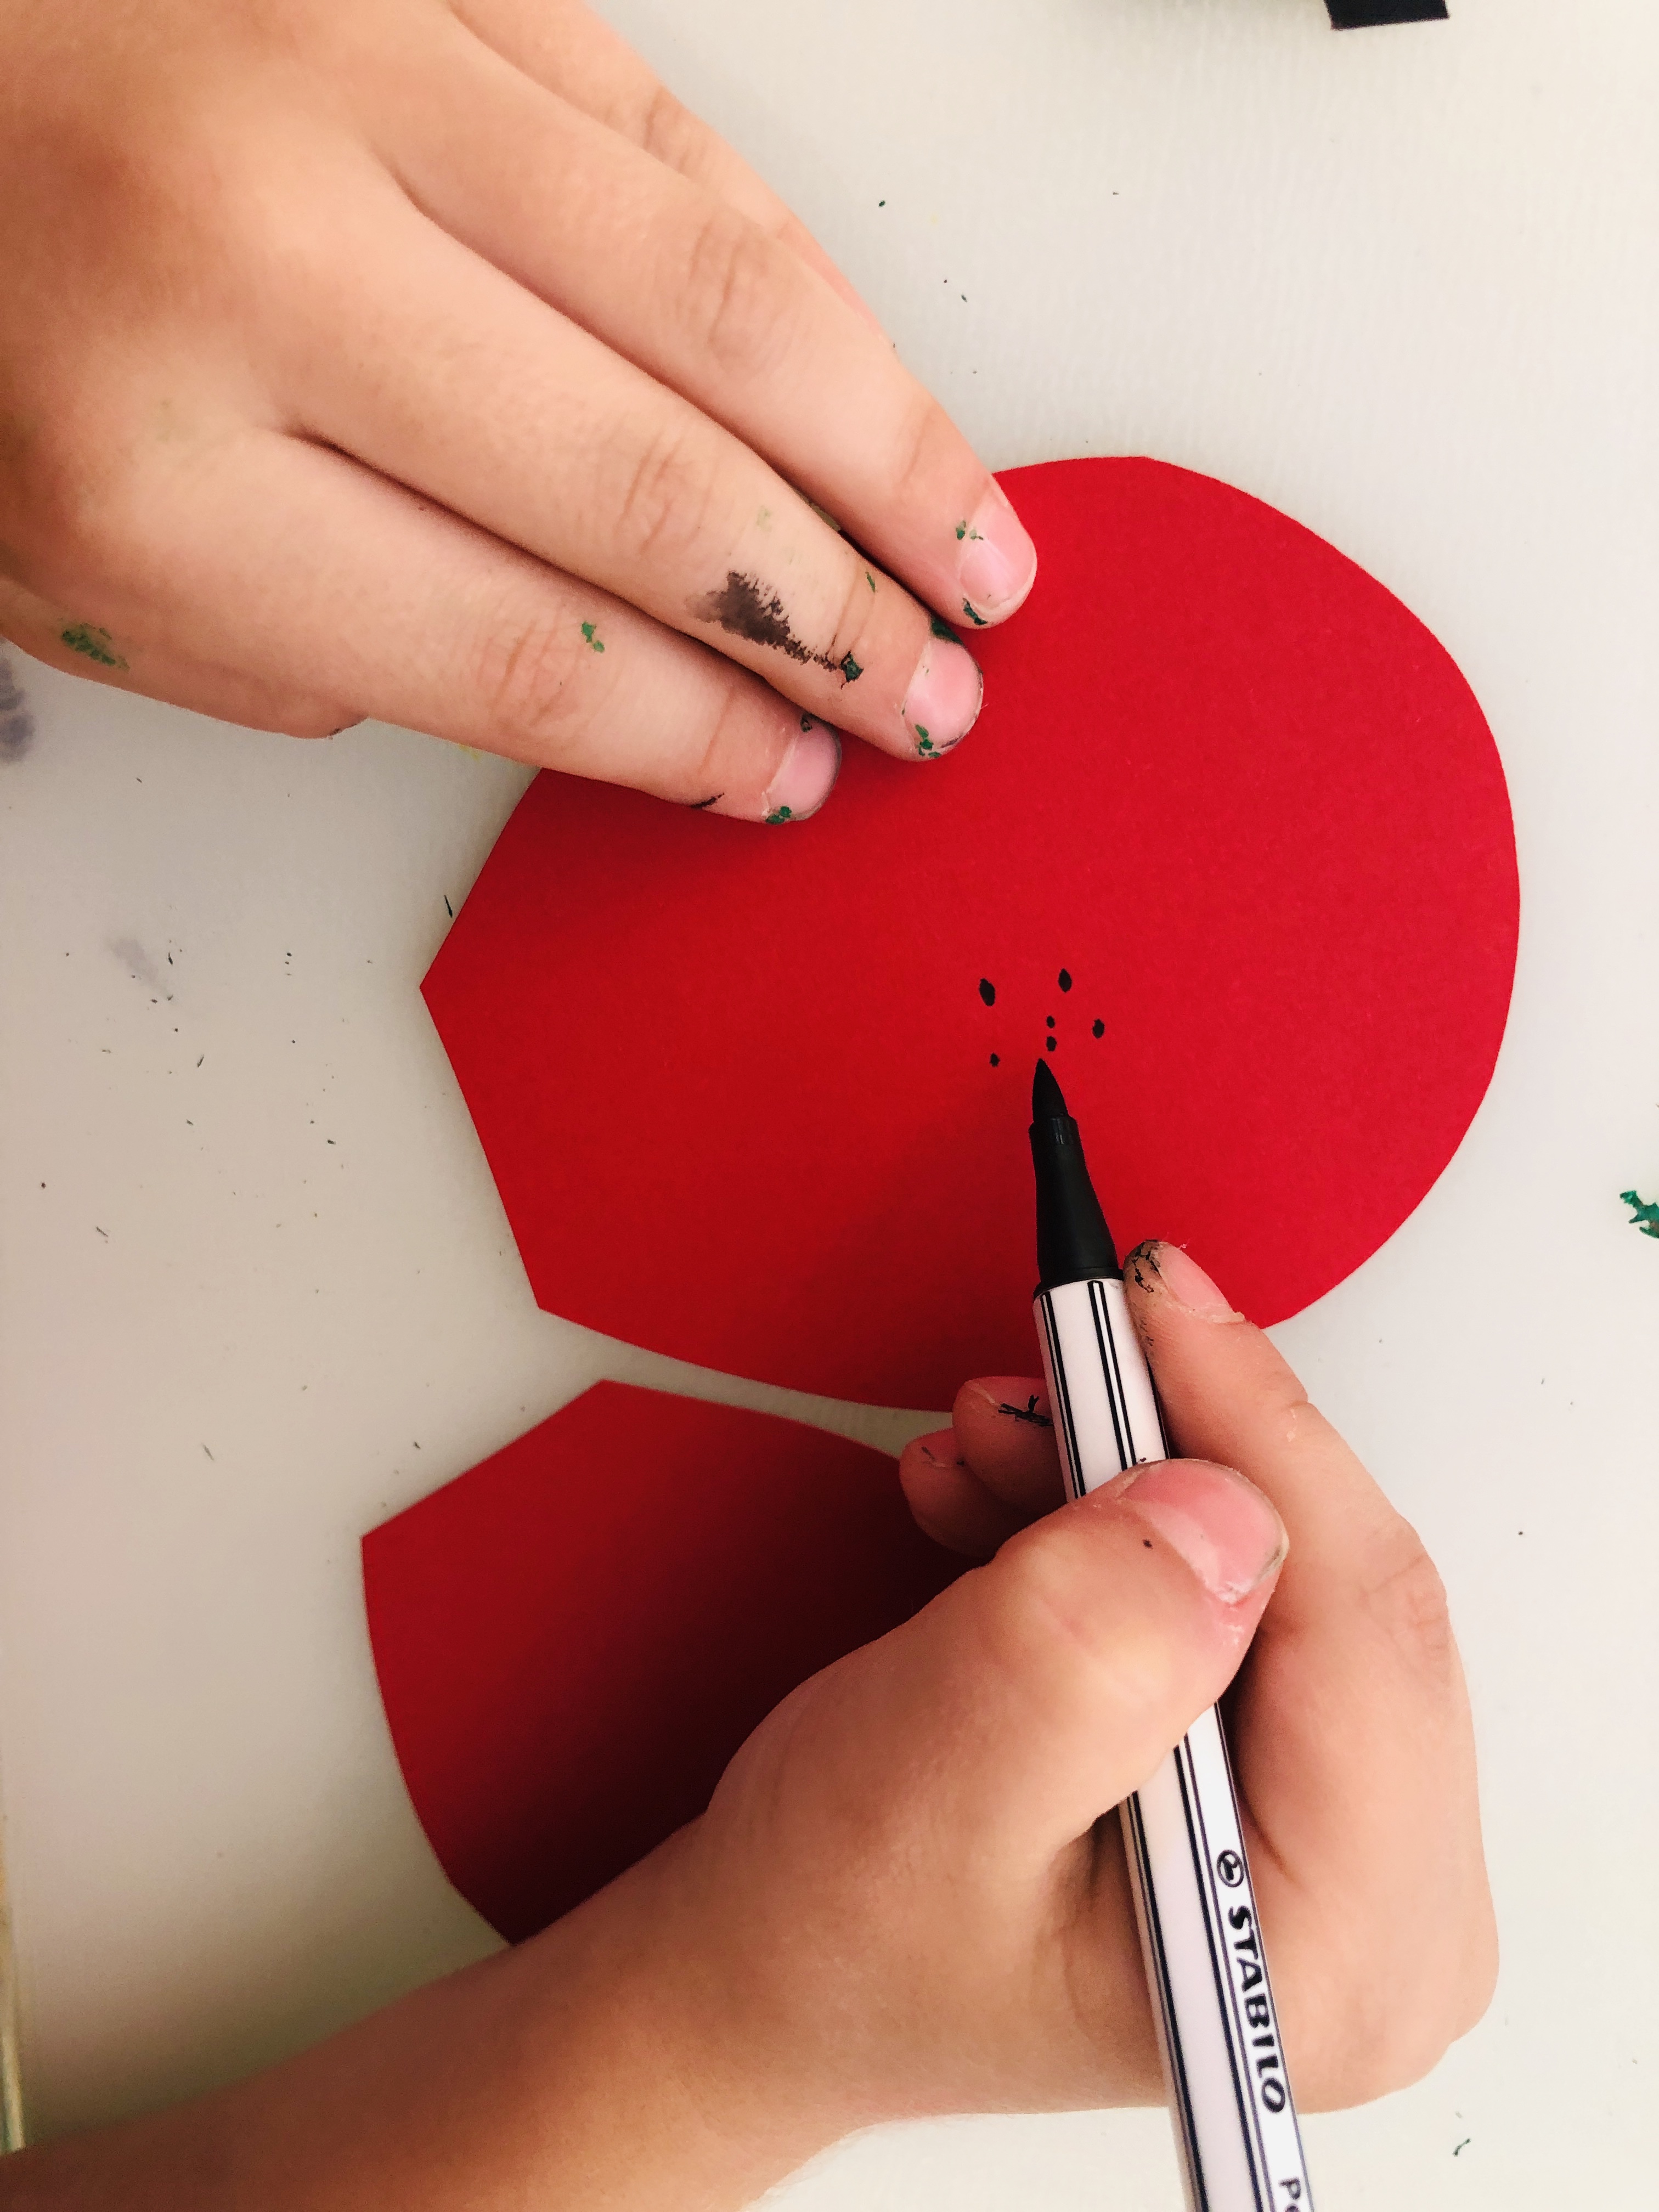
Step 2.
Cut out two red circles, paint little dots and glue these wings on the back of the body.
We had a few googly eyes and used those for our ladybug. Another option is to make them, just like we did for the frog.
You can make the legs. Einstein E and Power P were already tired, and eager to start playing with their new toys, so we decided to have a legless ladybug.
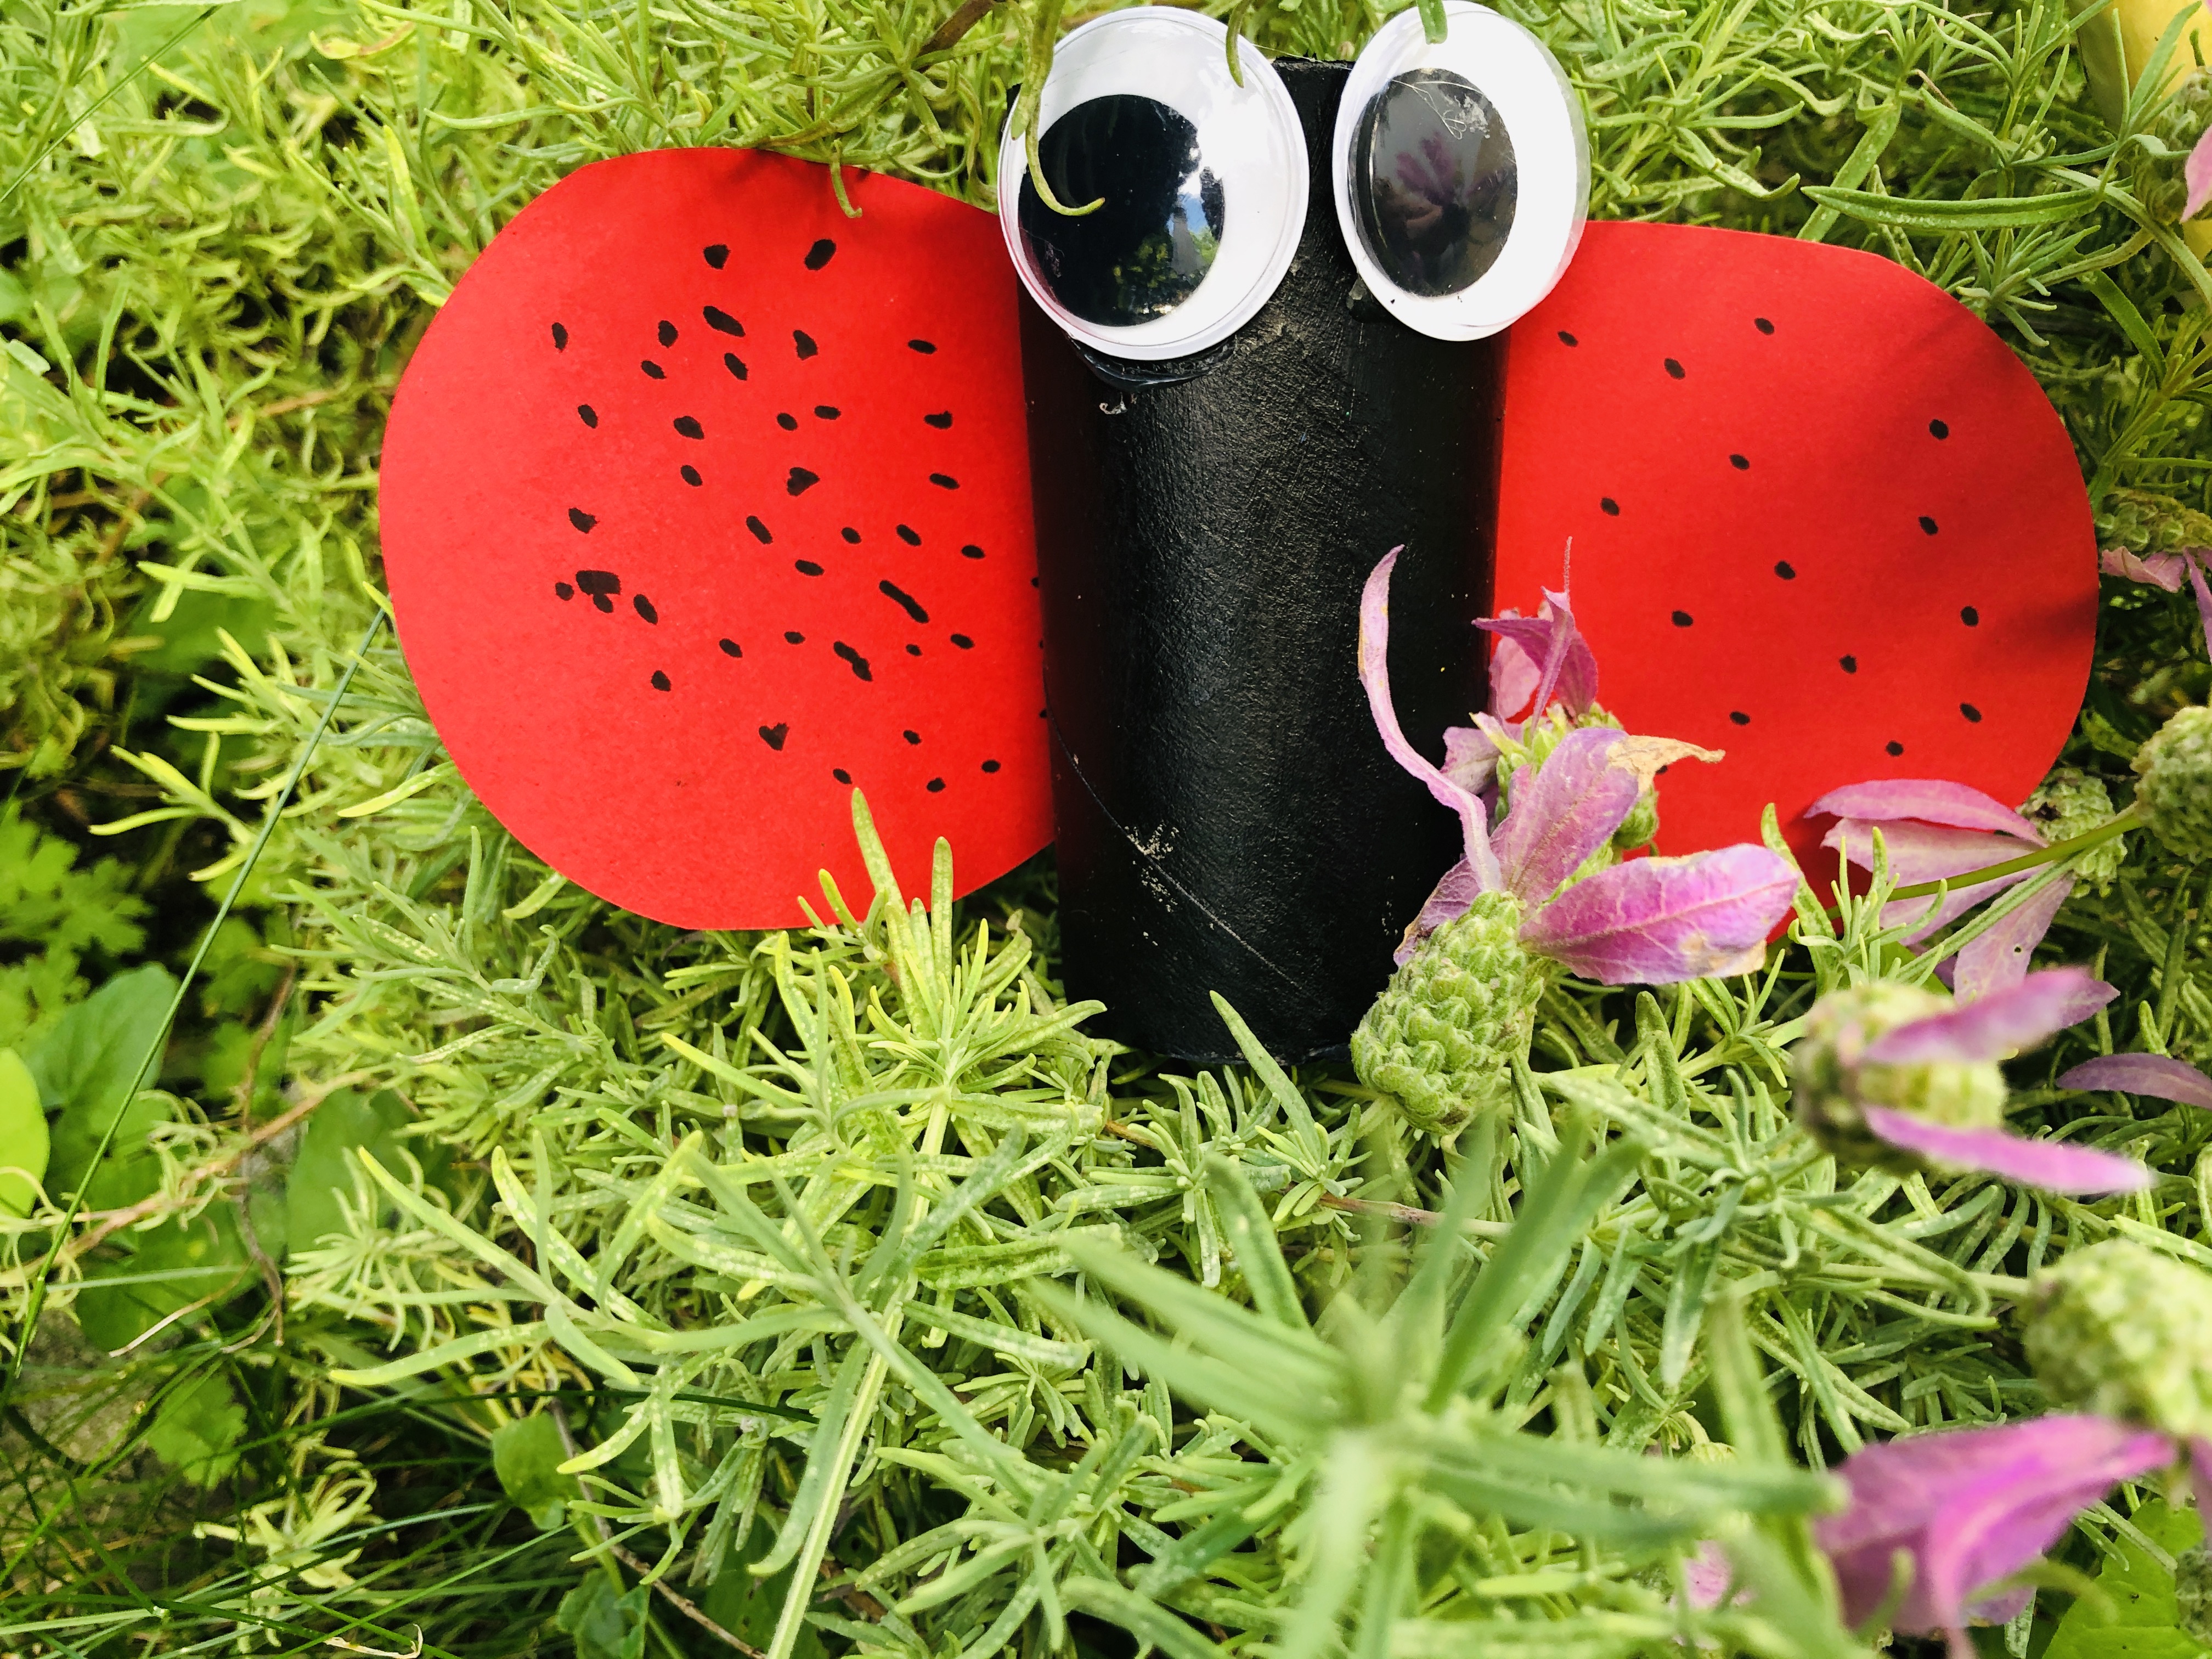
Finally, let's play :)
You can find more ideas and projects here.