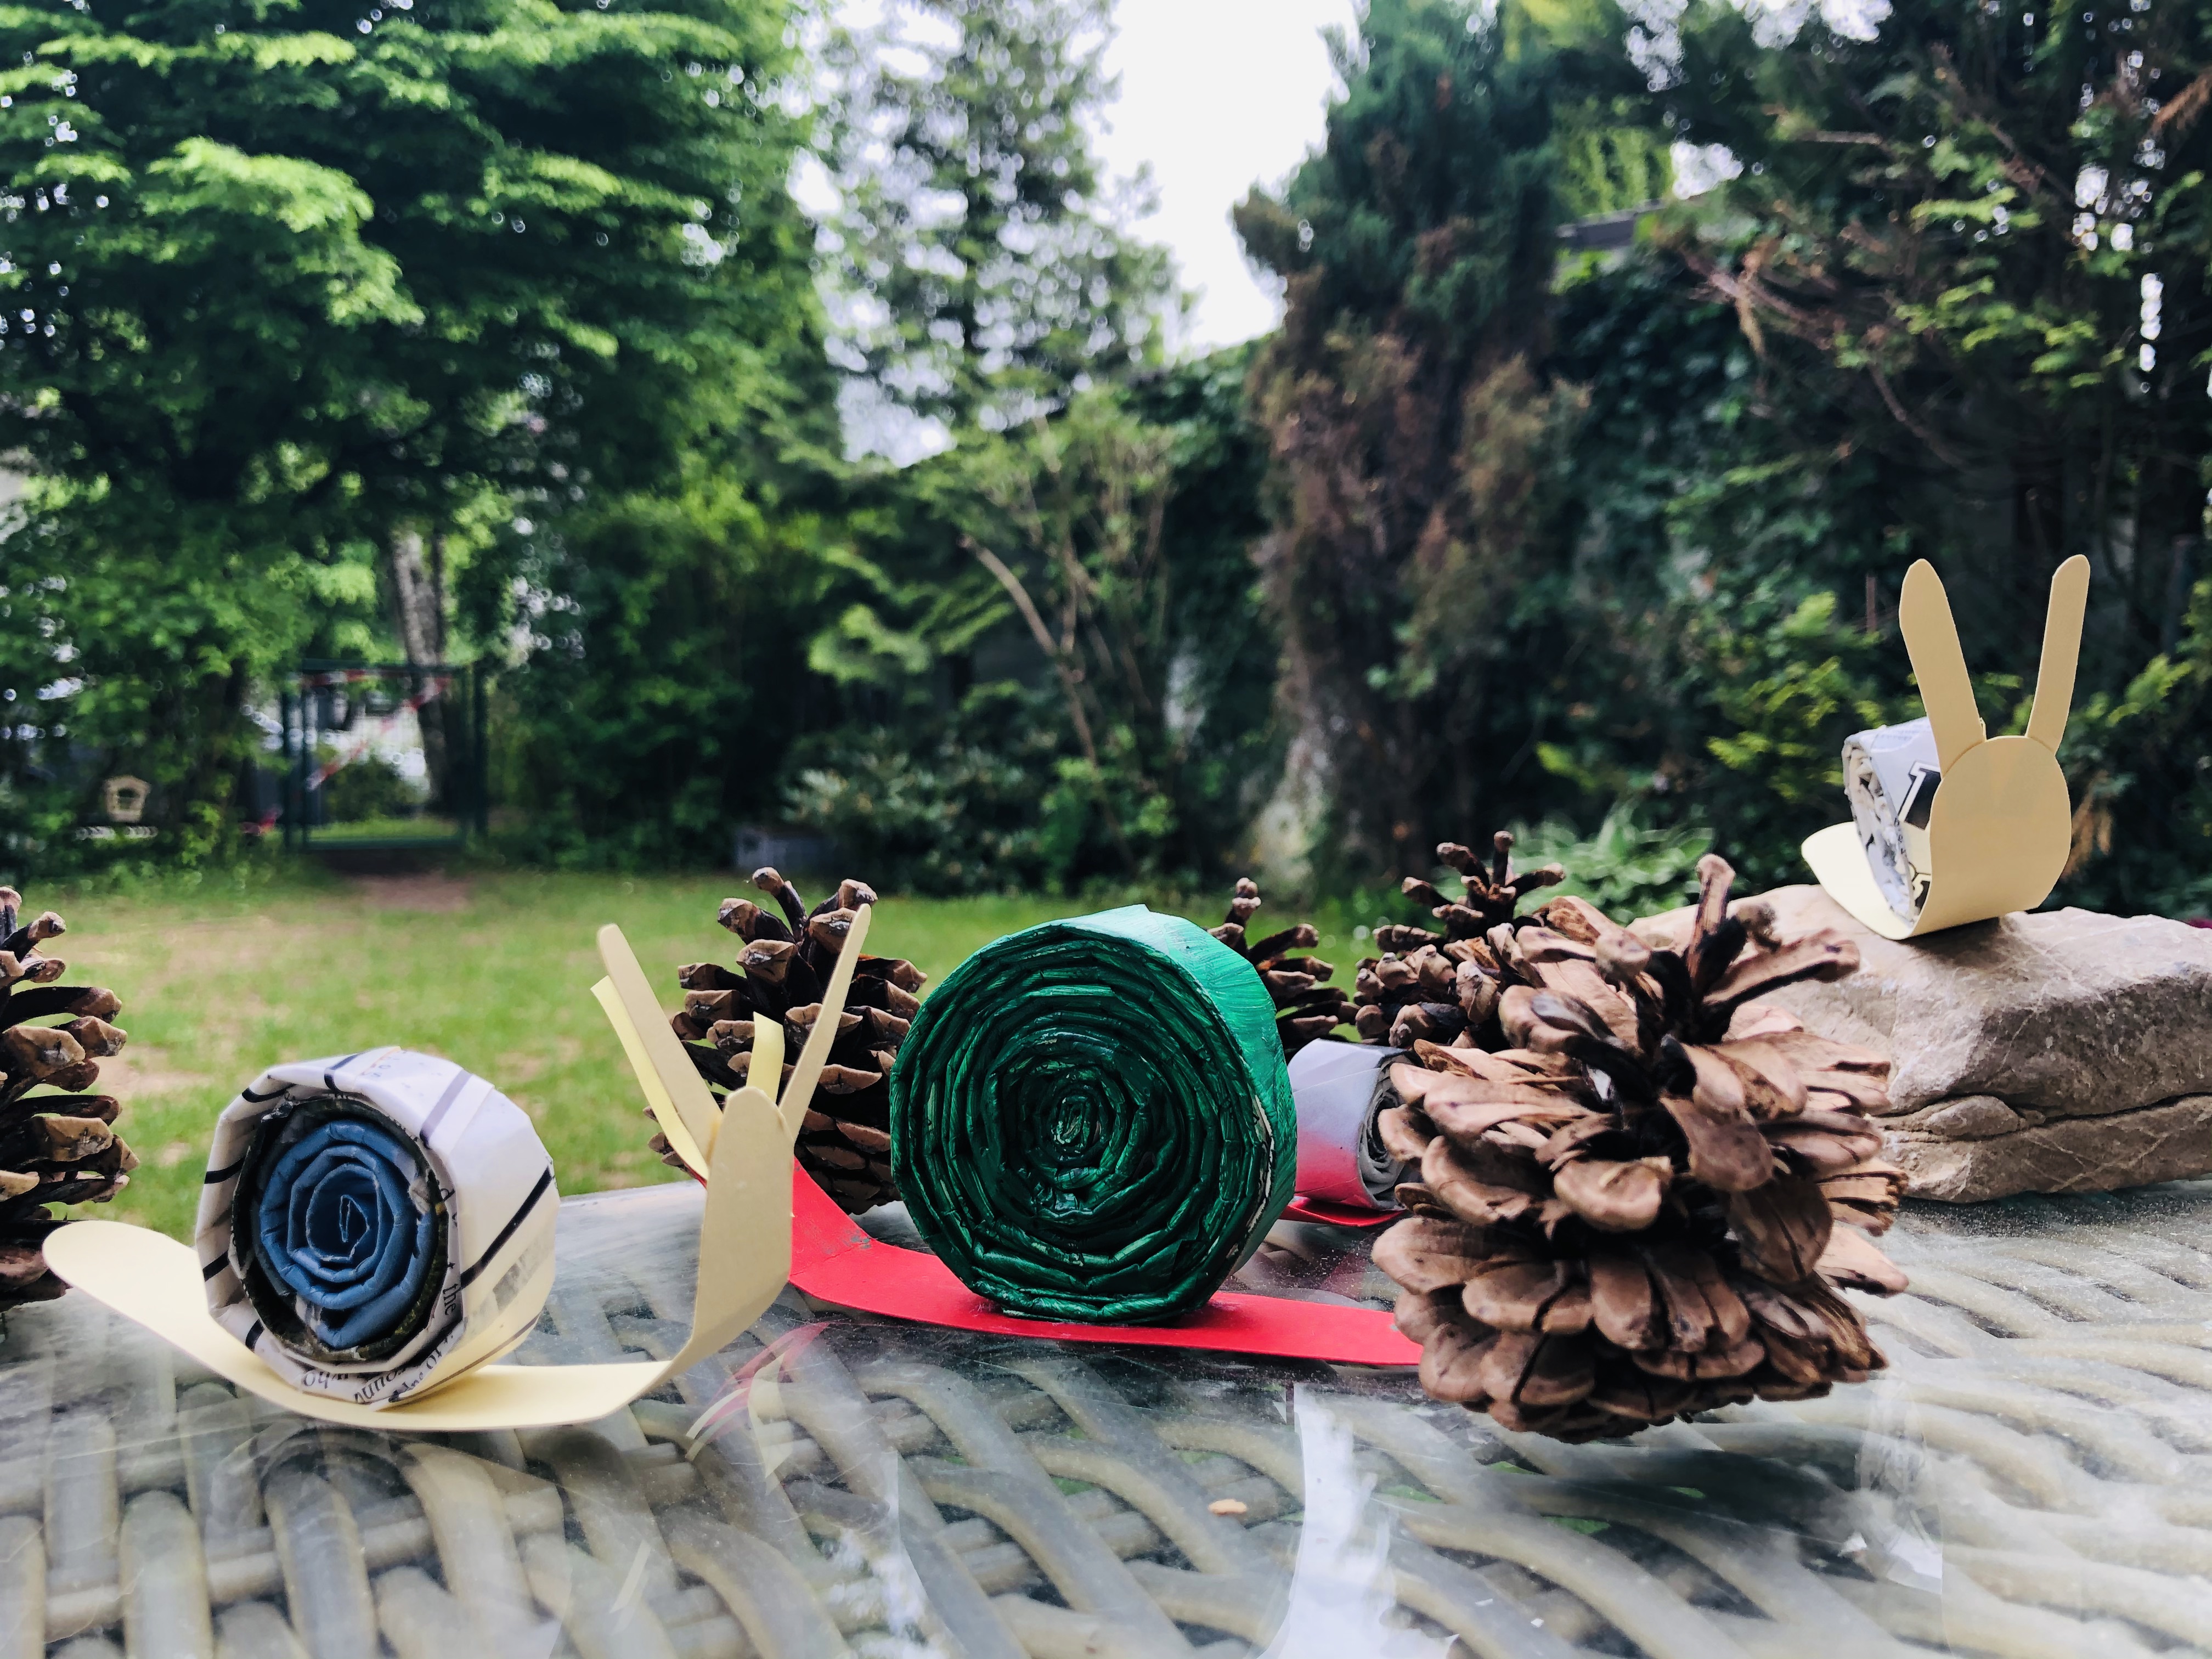
DIY snail toys

Do you have some old magazines and you are not sure what to do with them? Why not make some snails?
These DIY toys were a part of our snail project and one of our upcycling activities. The boys made a few snails and played with them afterwards.
If you'd like to learn a few interesting facts about snails, click here.
And if you'd like to make some, keep reading.
- Old magazines
- Glue
- Paper
- Scissors
- Long round wooden sticks
Step 1.
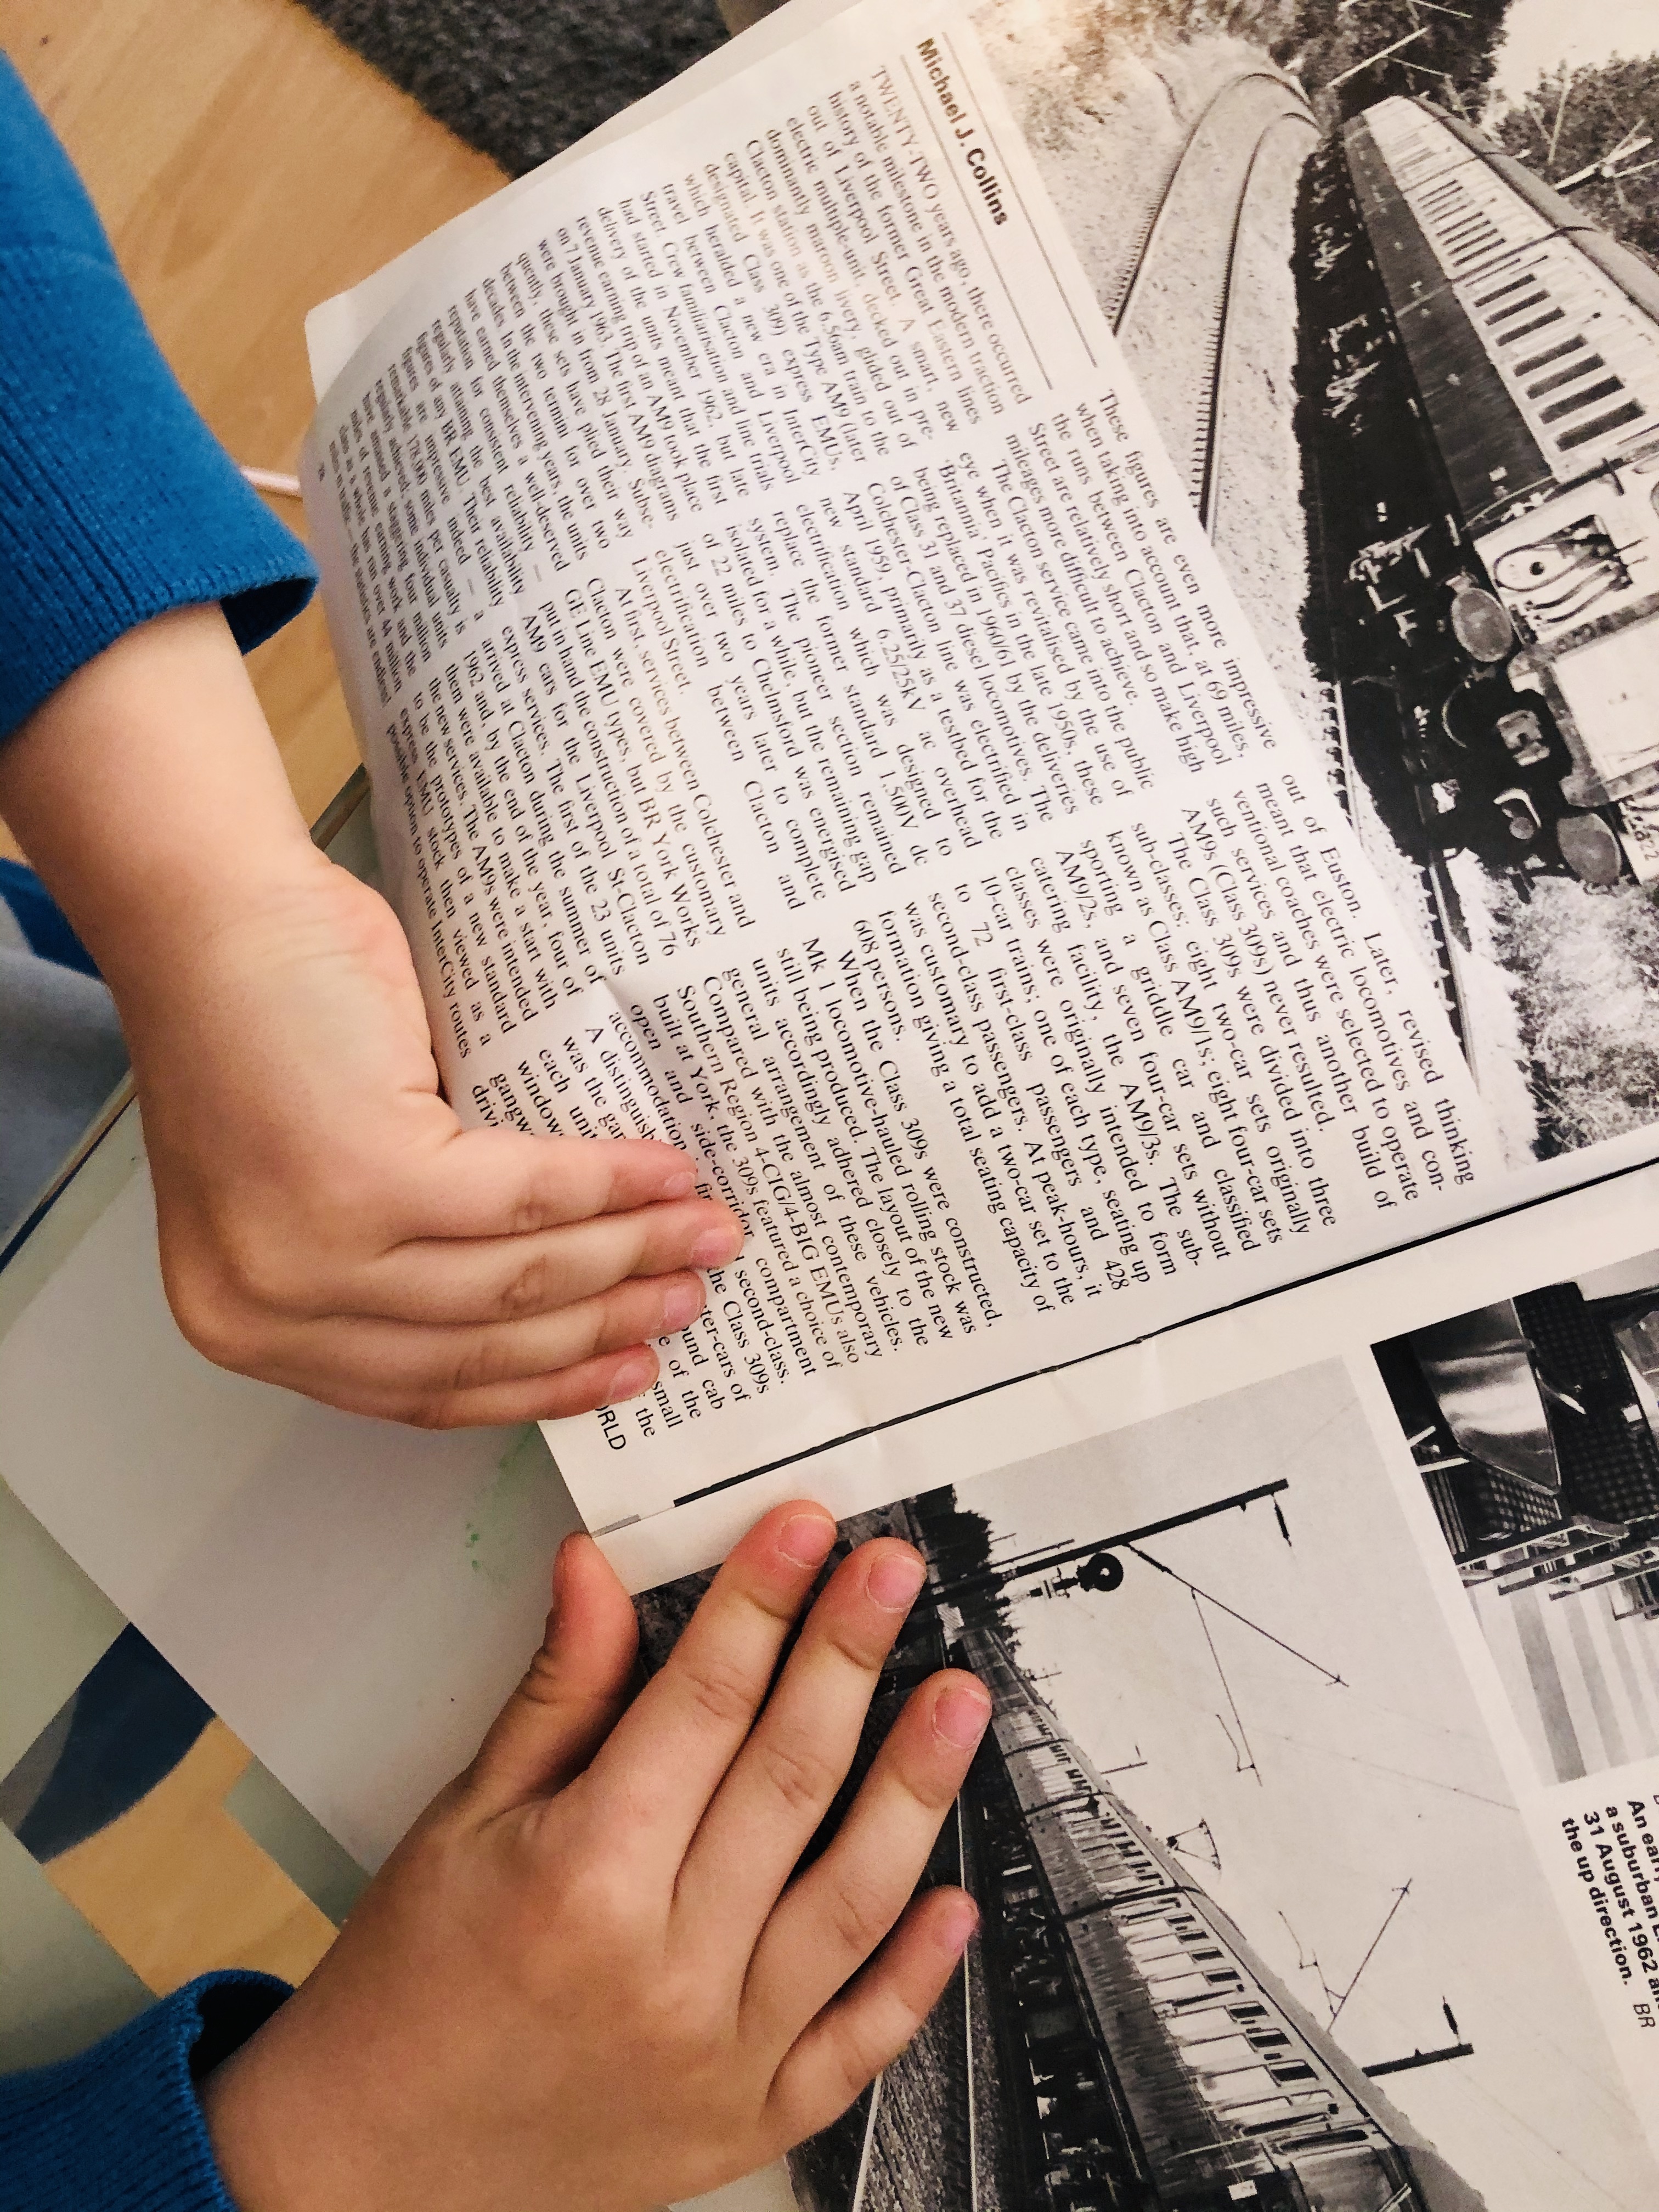
Old magazines.
Tear out magazine pages. Some kids find this thrilling.
Step 2.
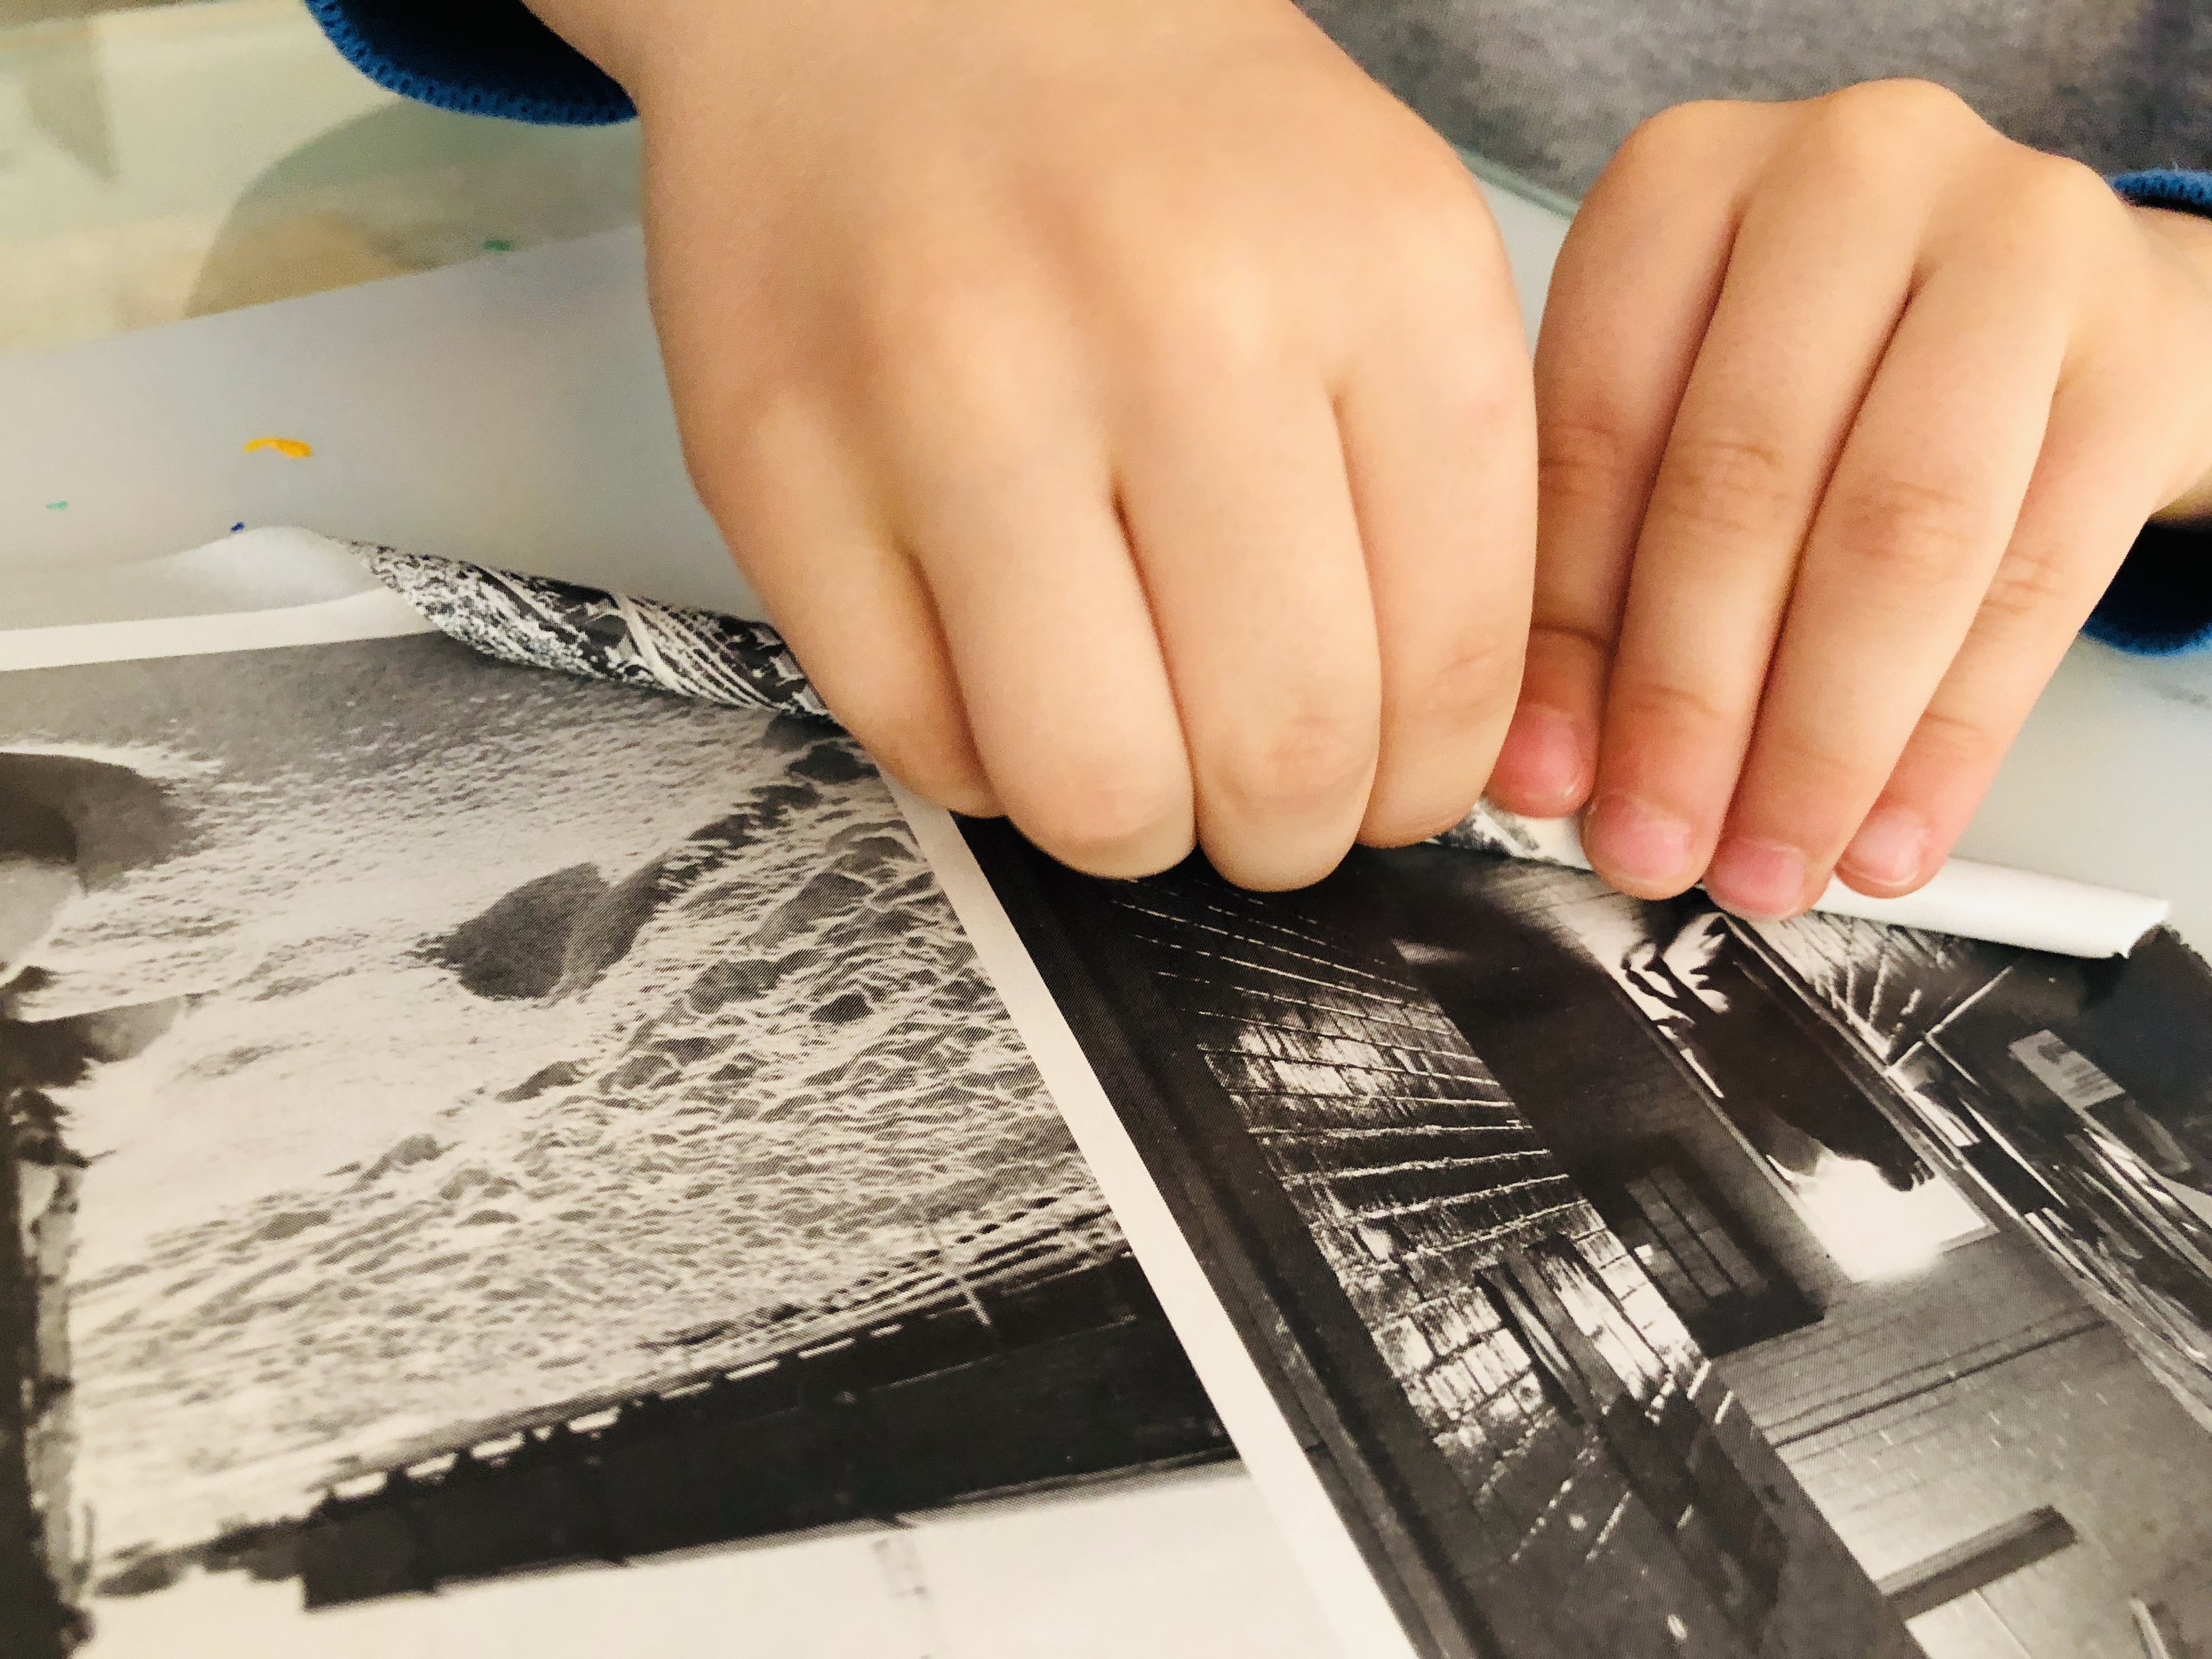
Roll the pages.
One at a time. We always use long round wooden sticks for this. Those chubby little fingers get to practise some fine motor skills.
Step 3.
Paper sticks.
Glue the endings and make your paper stick. These sticks can be used for making other exciting crafts. You can click here and see how to make a picture frame, necklace, paper bin and decorate your old pencil box.
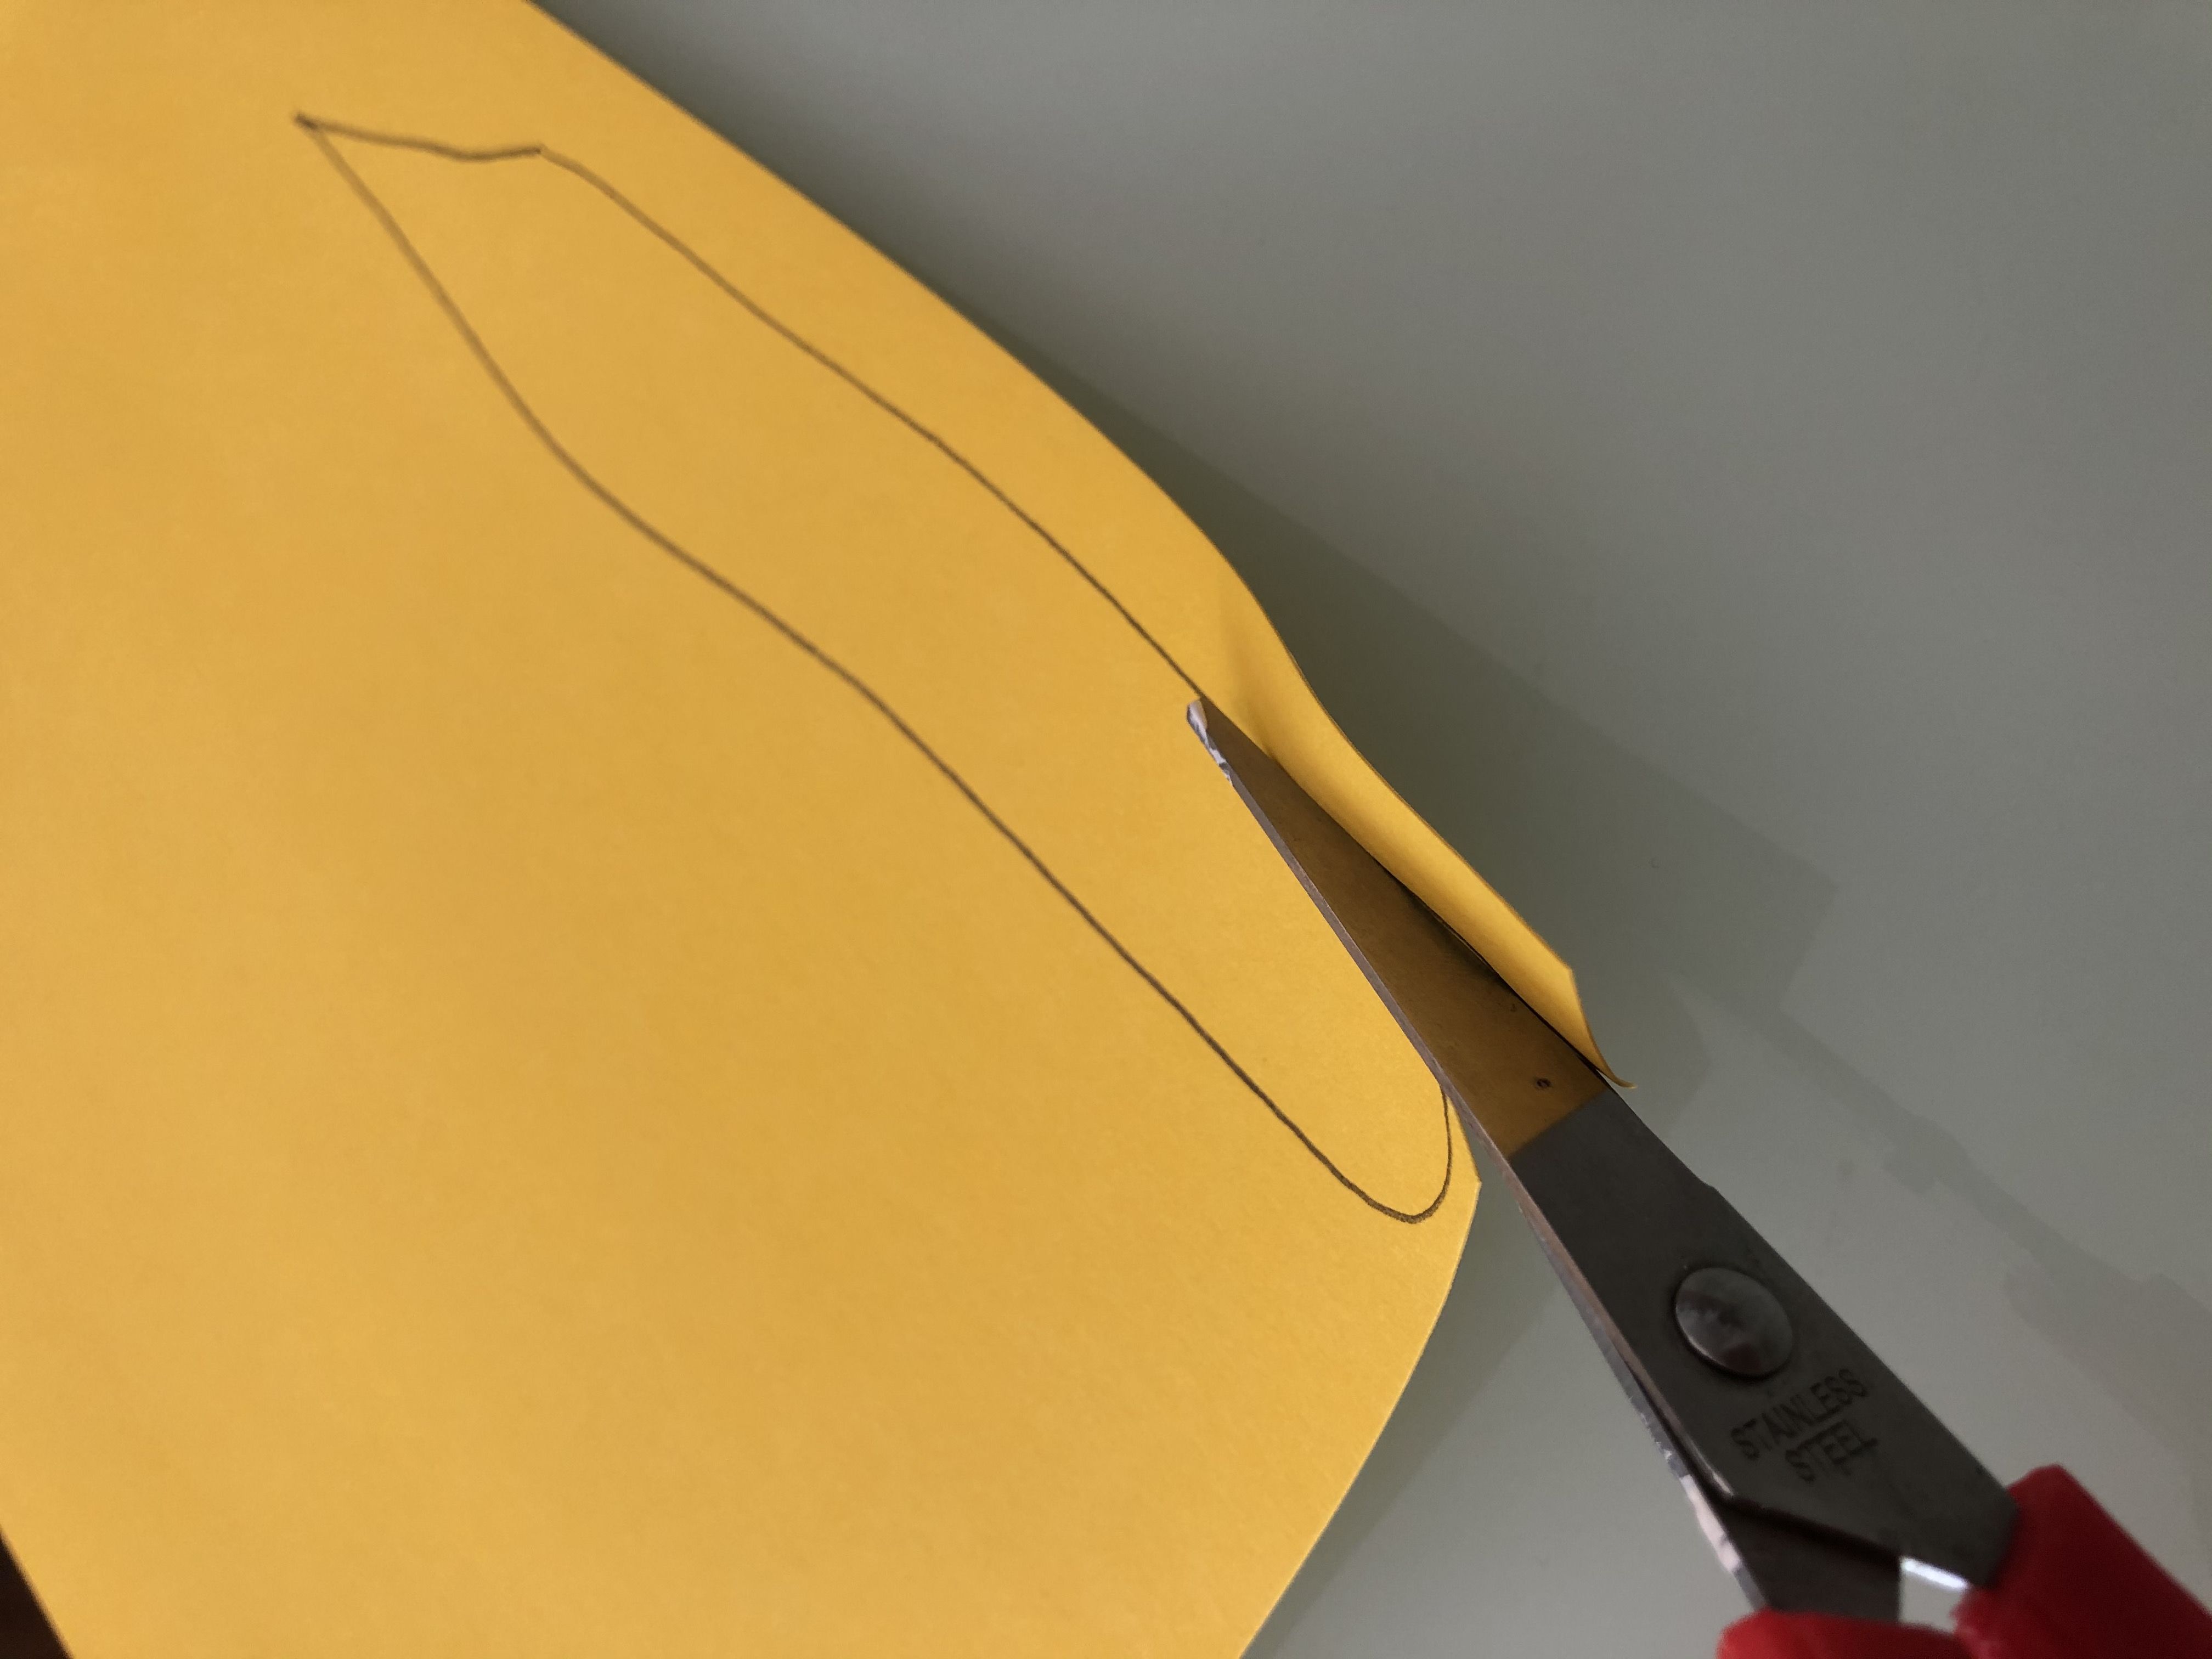
Step 4.
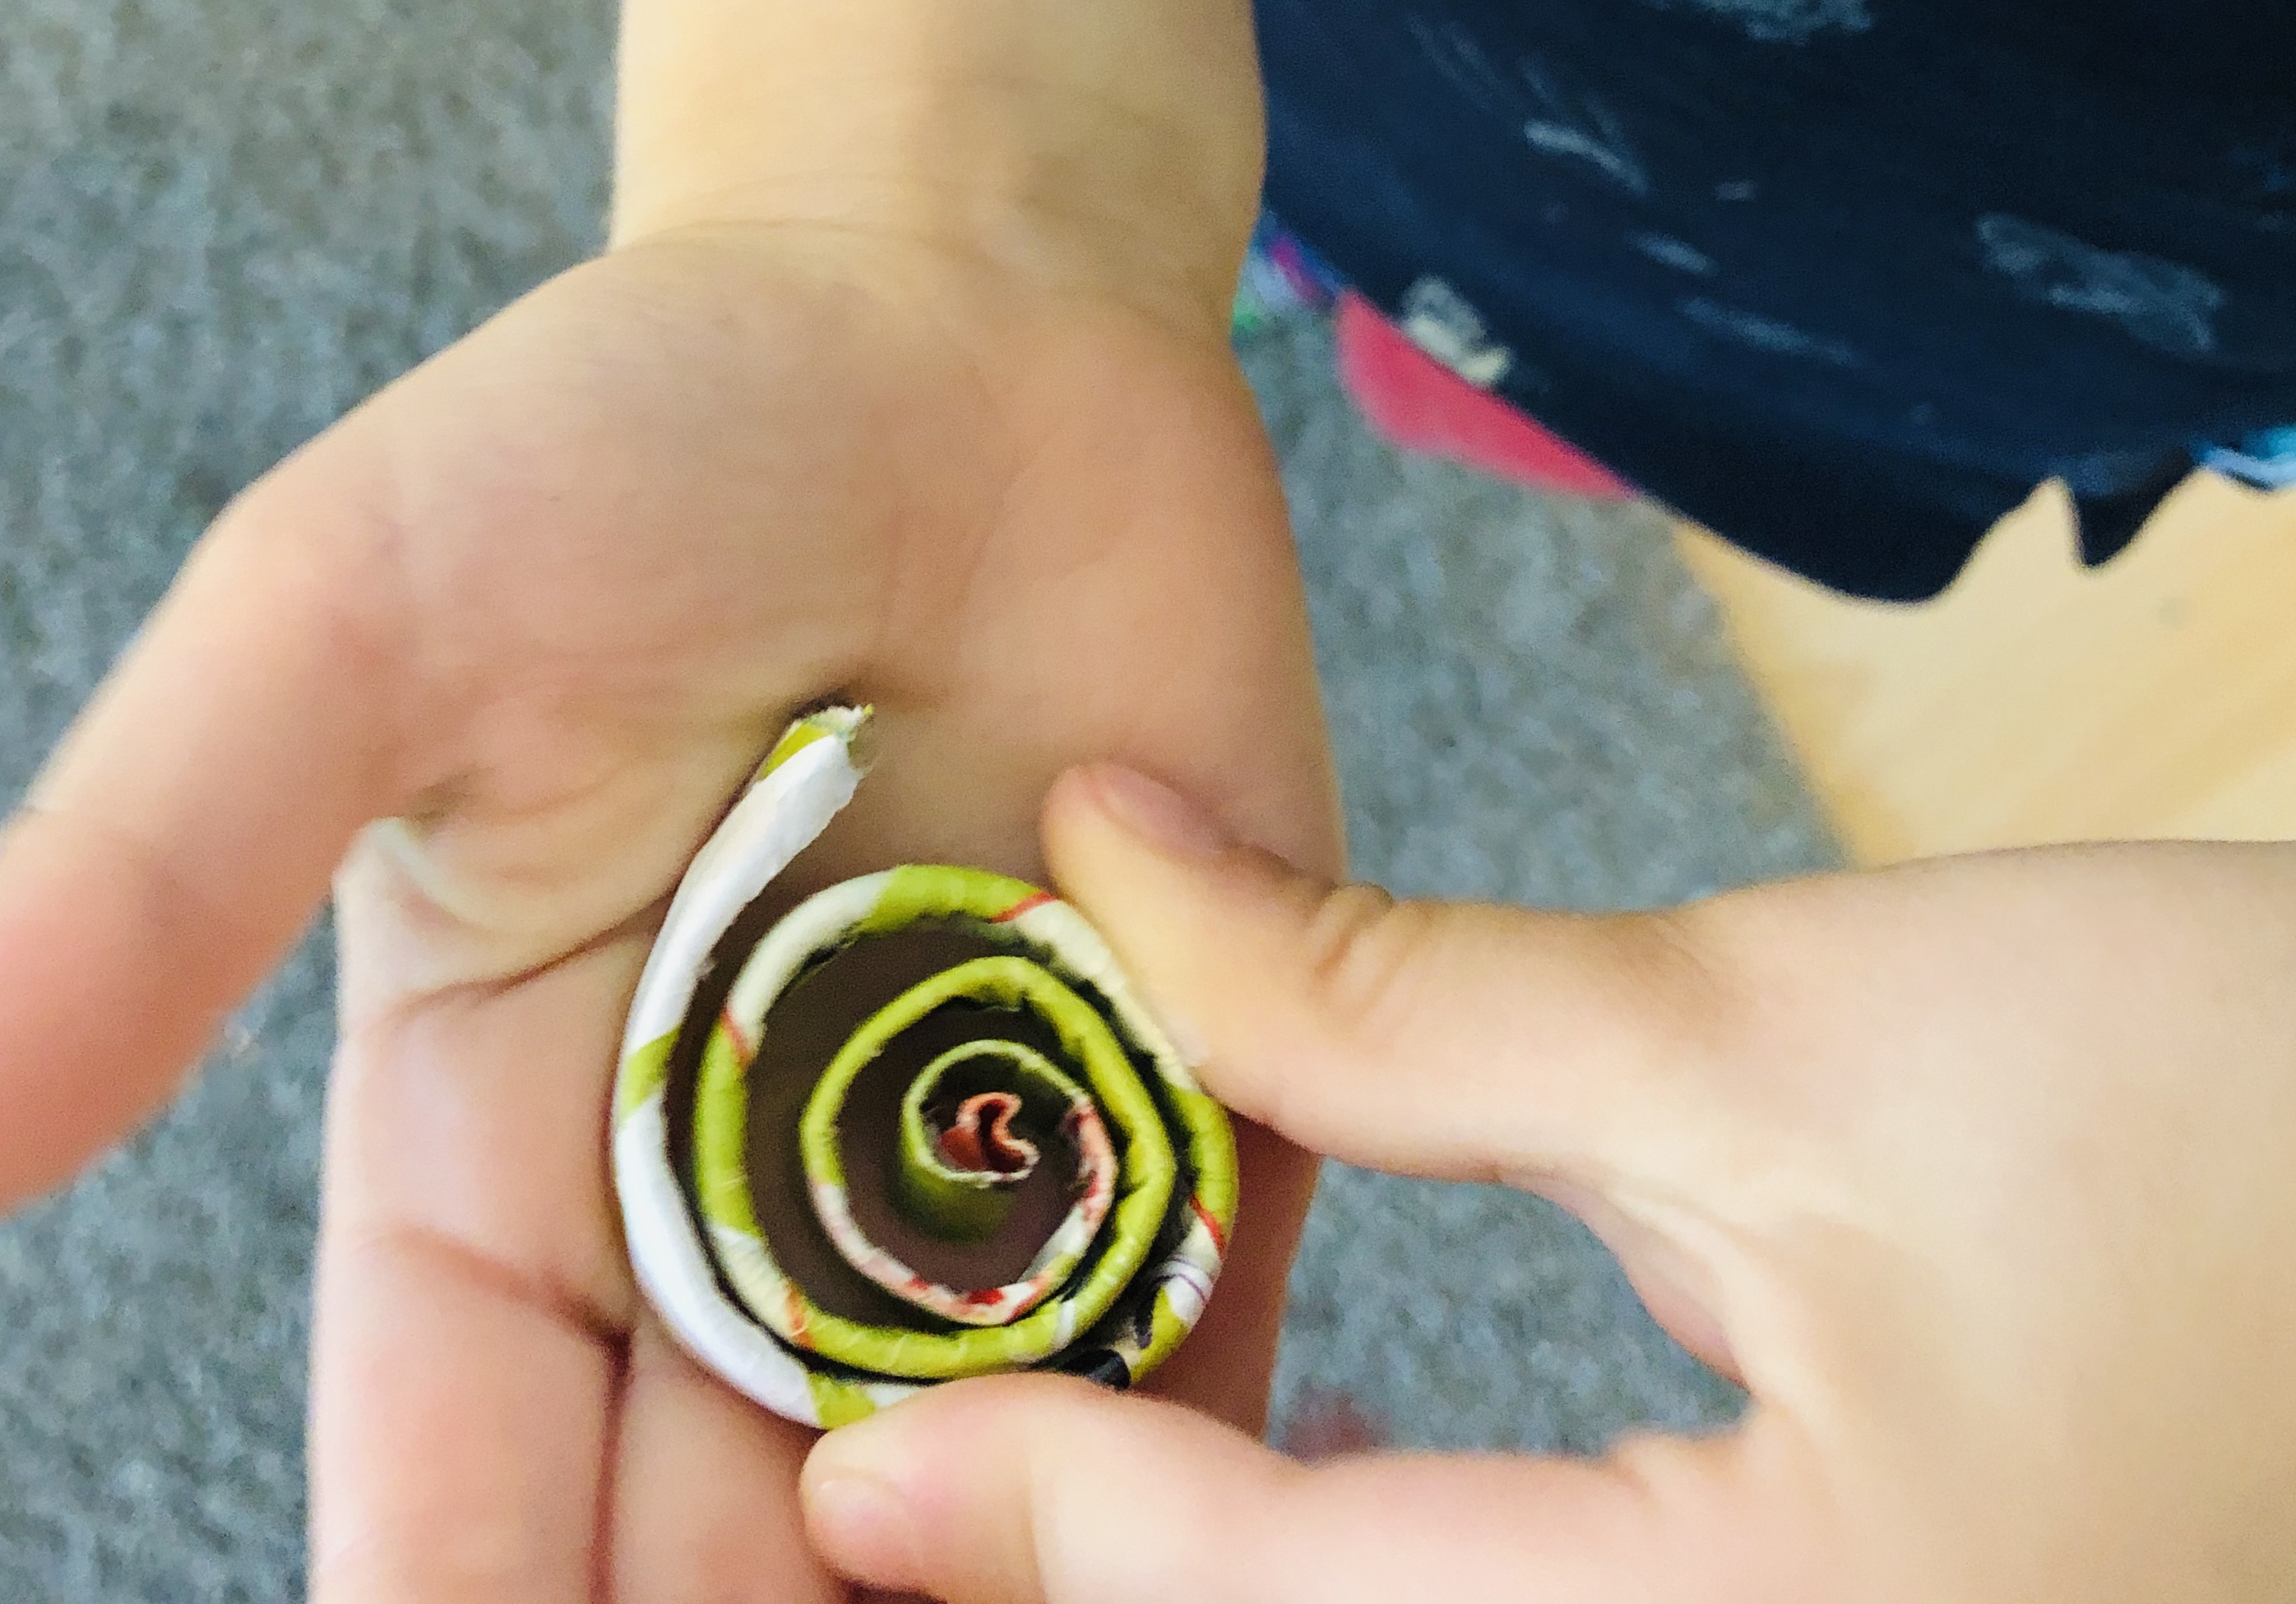
Step 5.
It is better to use a thicker paper for the body. this way, when you curl it up a bit, it stays up.
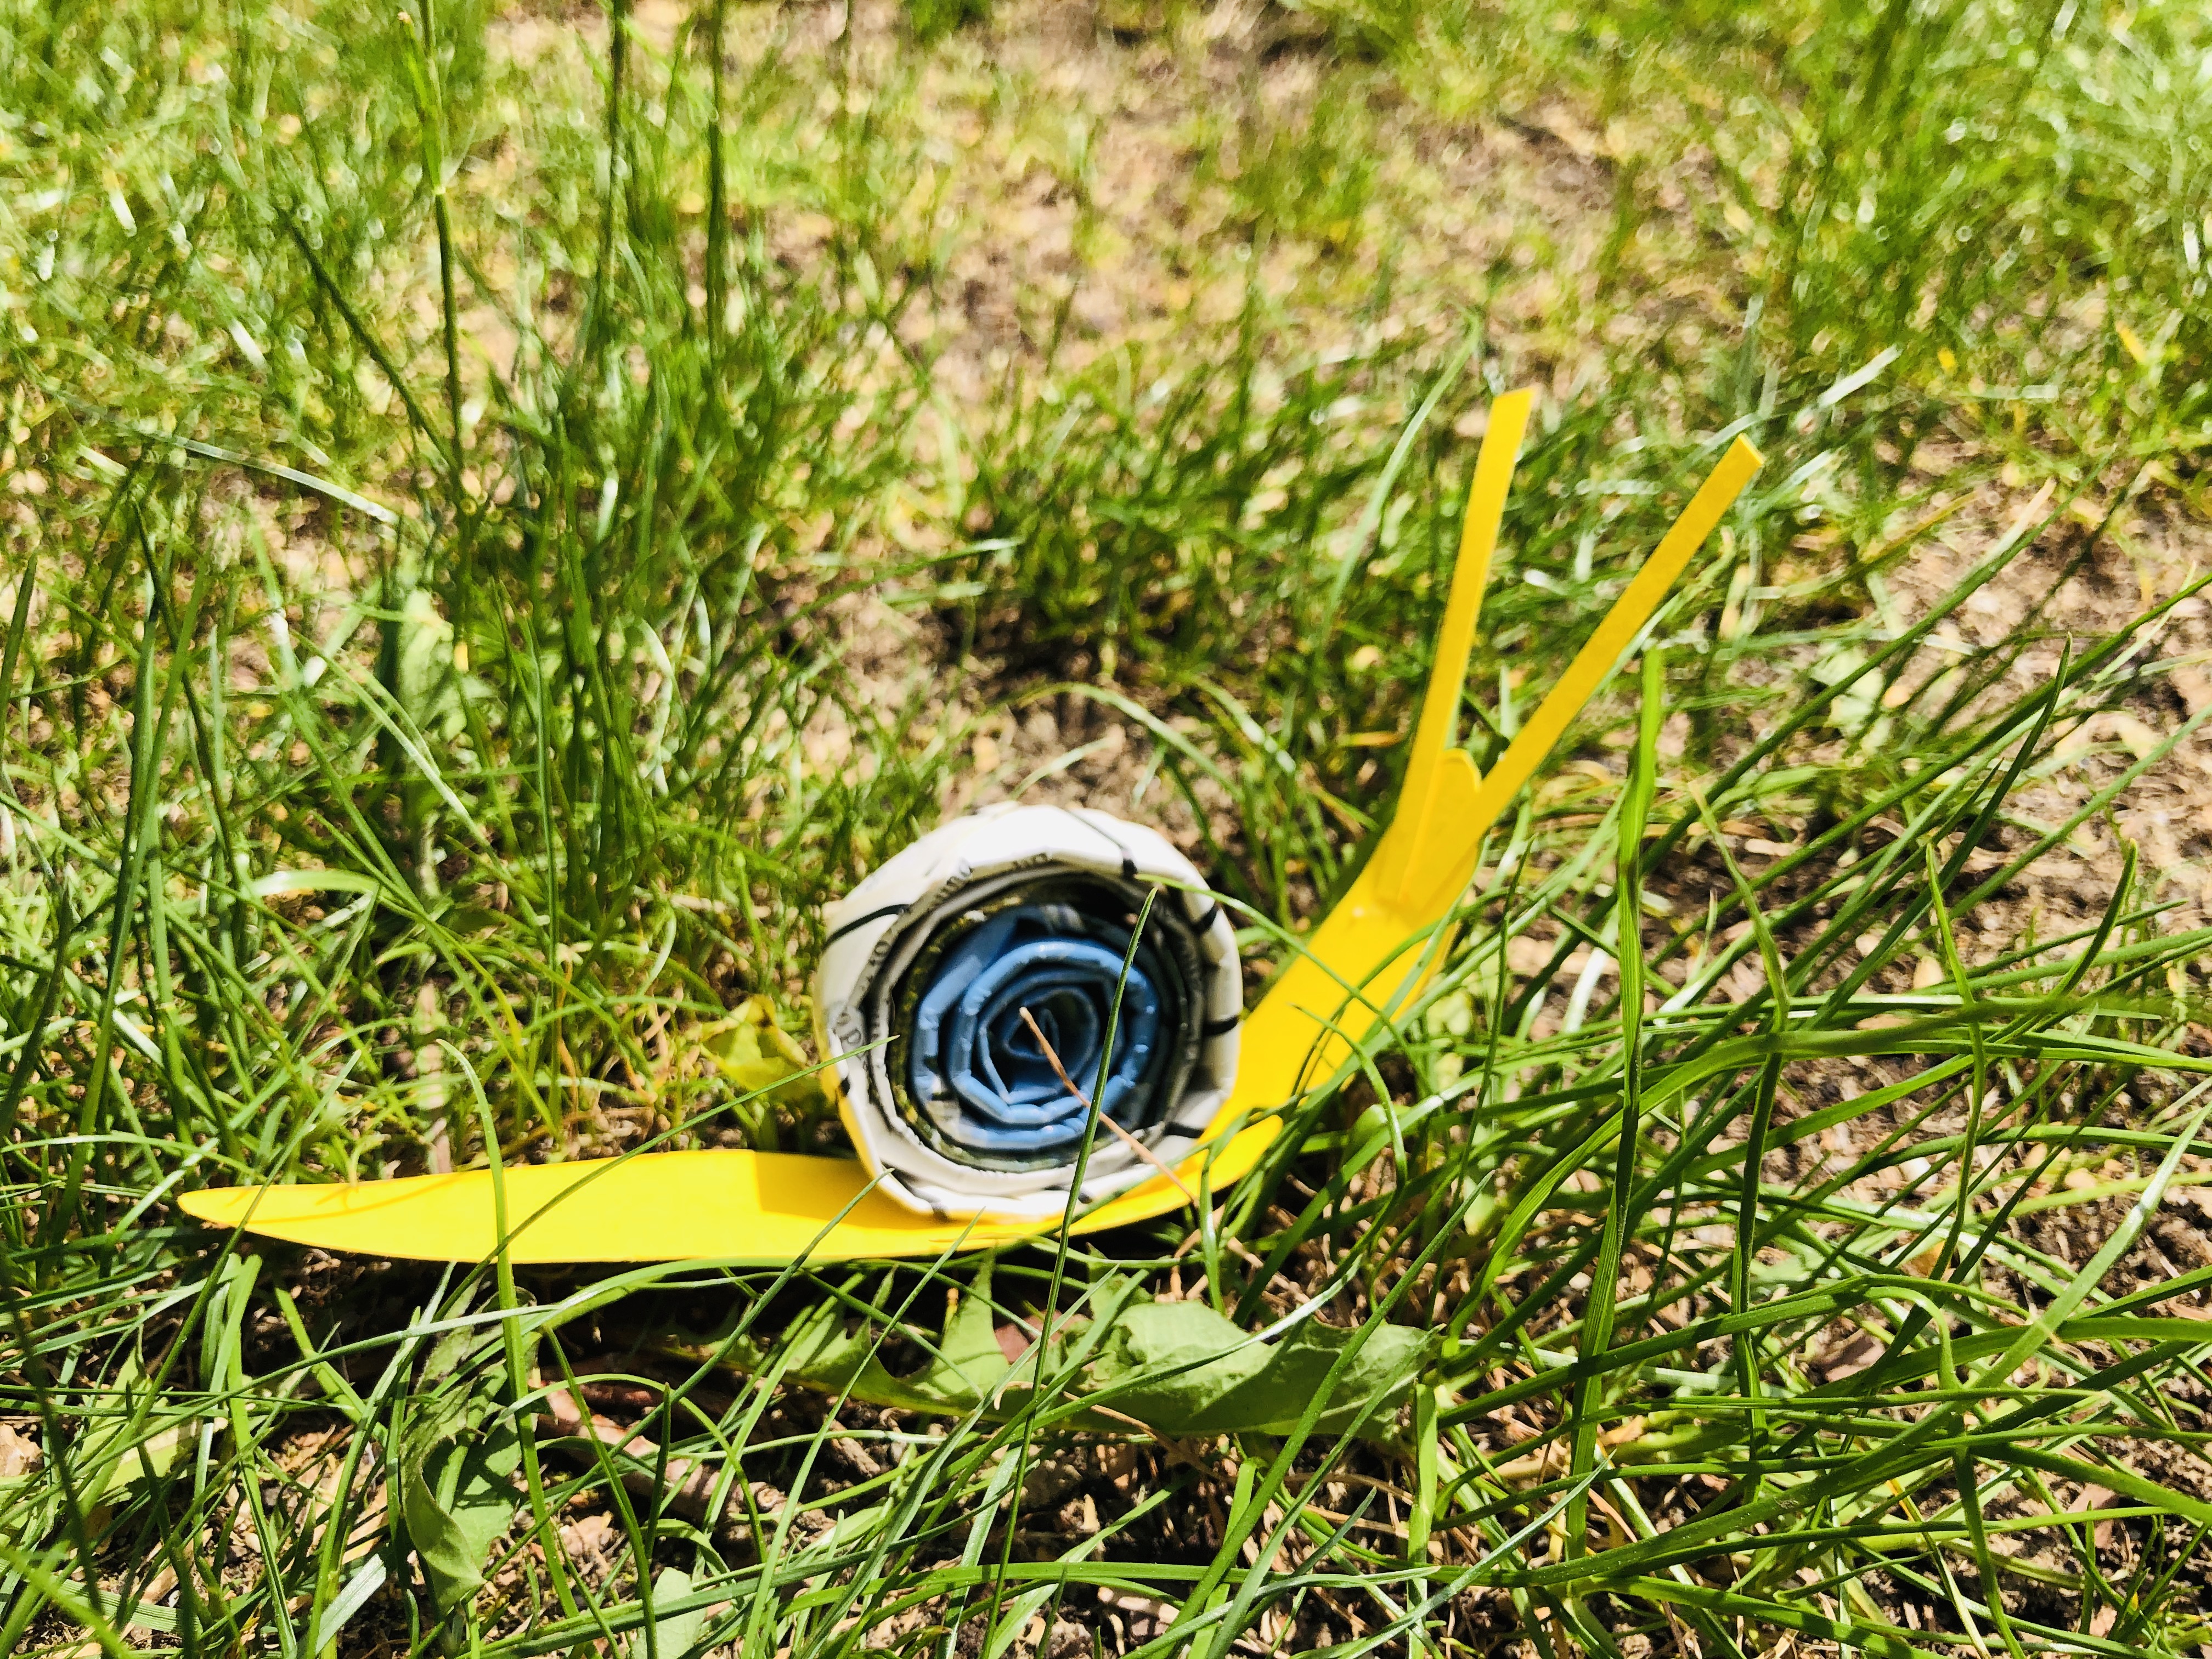
Step 6.
Glue its house on its body and voilà . The little snail is done.
Step 7.