Crafts for Kids - How to Make a Clock
Time is a vital structuring element in today's society, and telling time is something children have to learn and be explicitly taught. So, as soon as your child gets past understanding time concepts such as morning, before, after, tomorrow, and counting to 60, you are ready for clock-reading. (Here, you can read more about the development of time concepts in young children).
The best way to learn is, of course, through play. So, how about some crafts for learning about clocks and telling time?
Materials:
- a piece of cardboard
- paint (optional)
- a toothpick and a milk bottle cap
- hot glue
Before you get busy with crafting, you might want to share some interesting facts about clocks with your kid.
Did you know that:
- the first mechanical clocks were invented in Europe at the beginning of the 14th century?
- the oldest known sundial is from Egypt; it dates back to around 1500 BC (loooong time ago)?
Now that you and your kid know these exciting things, you're ready to go.
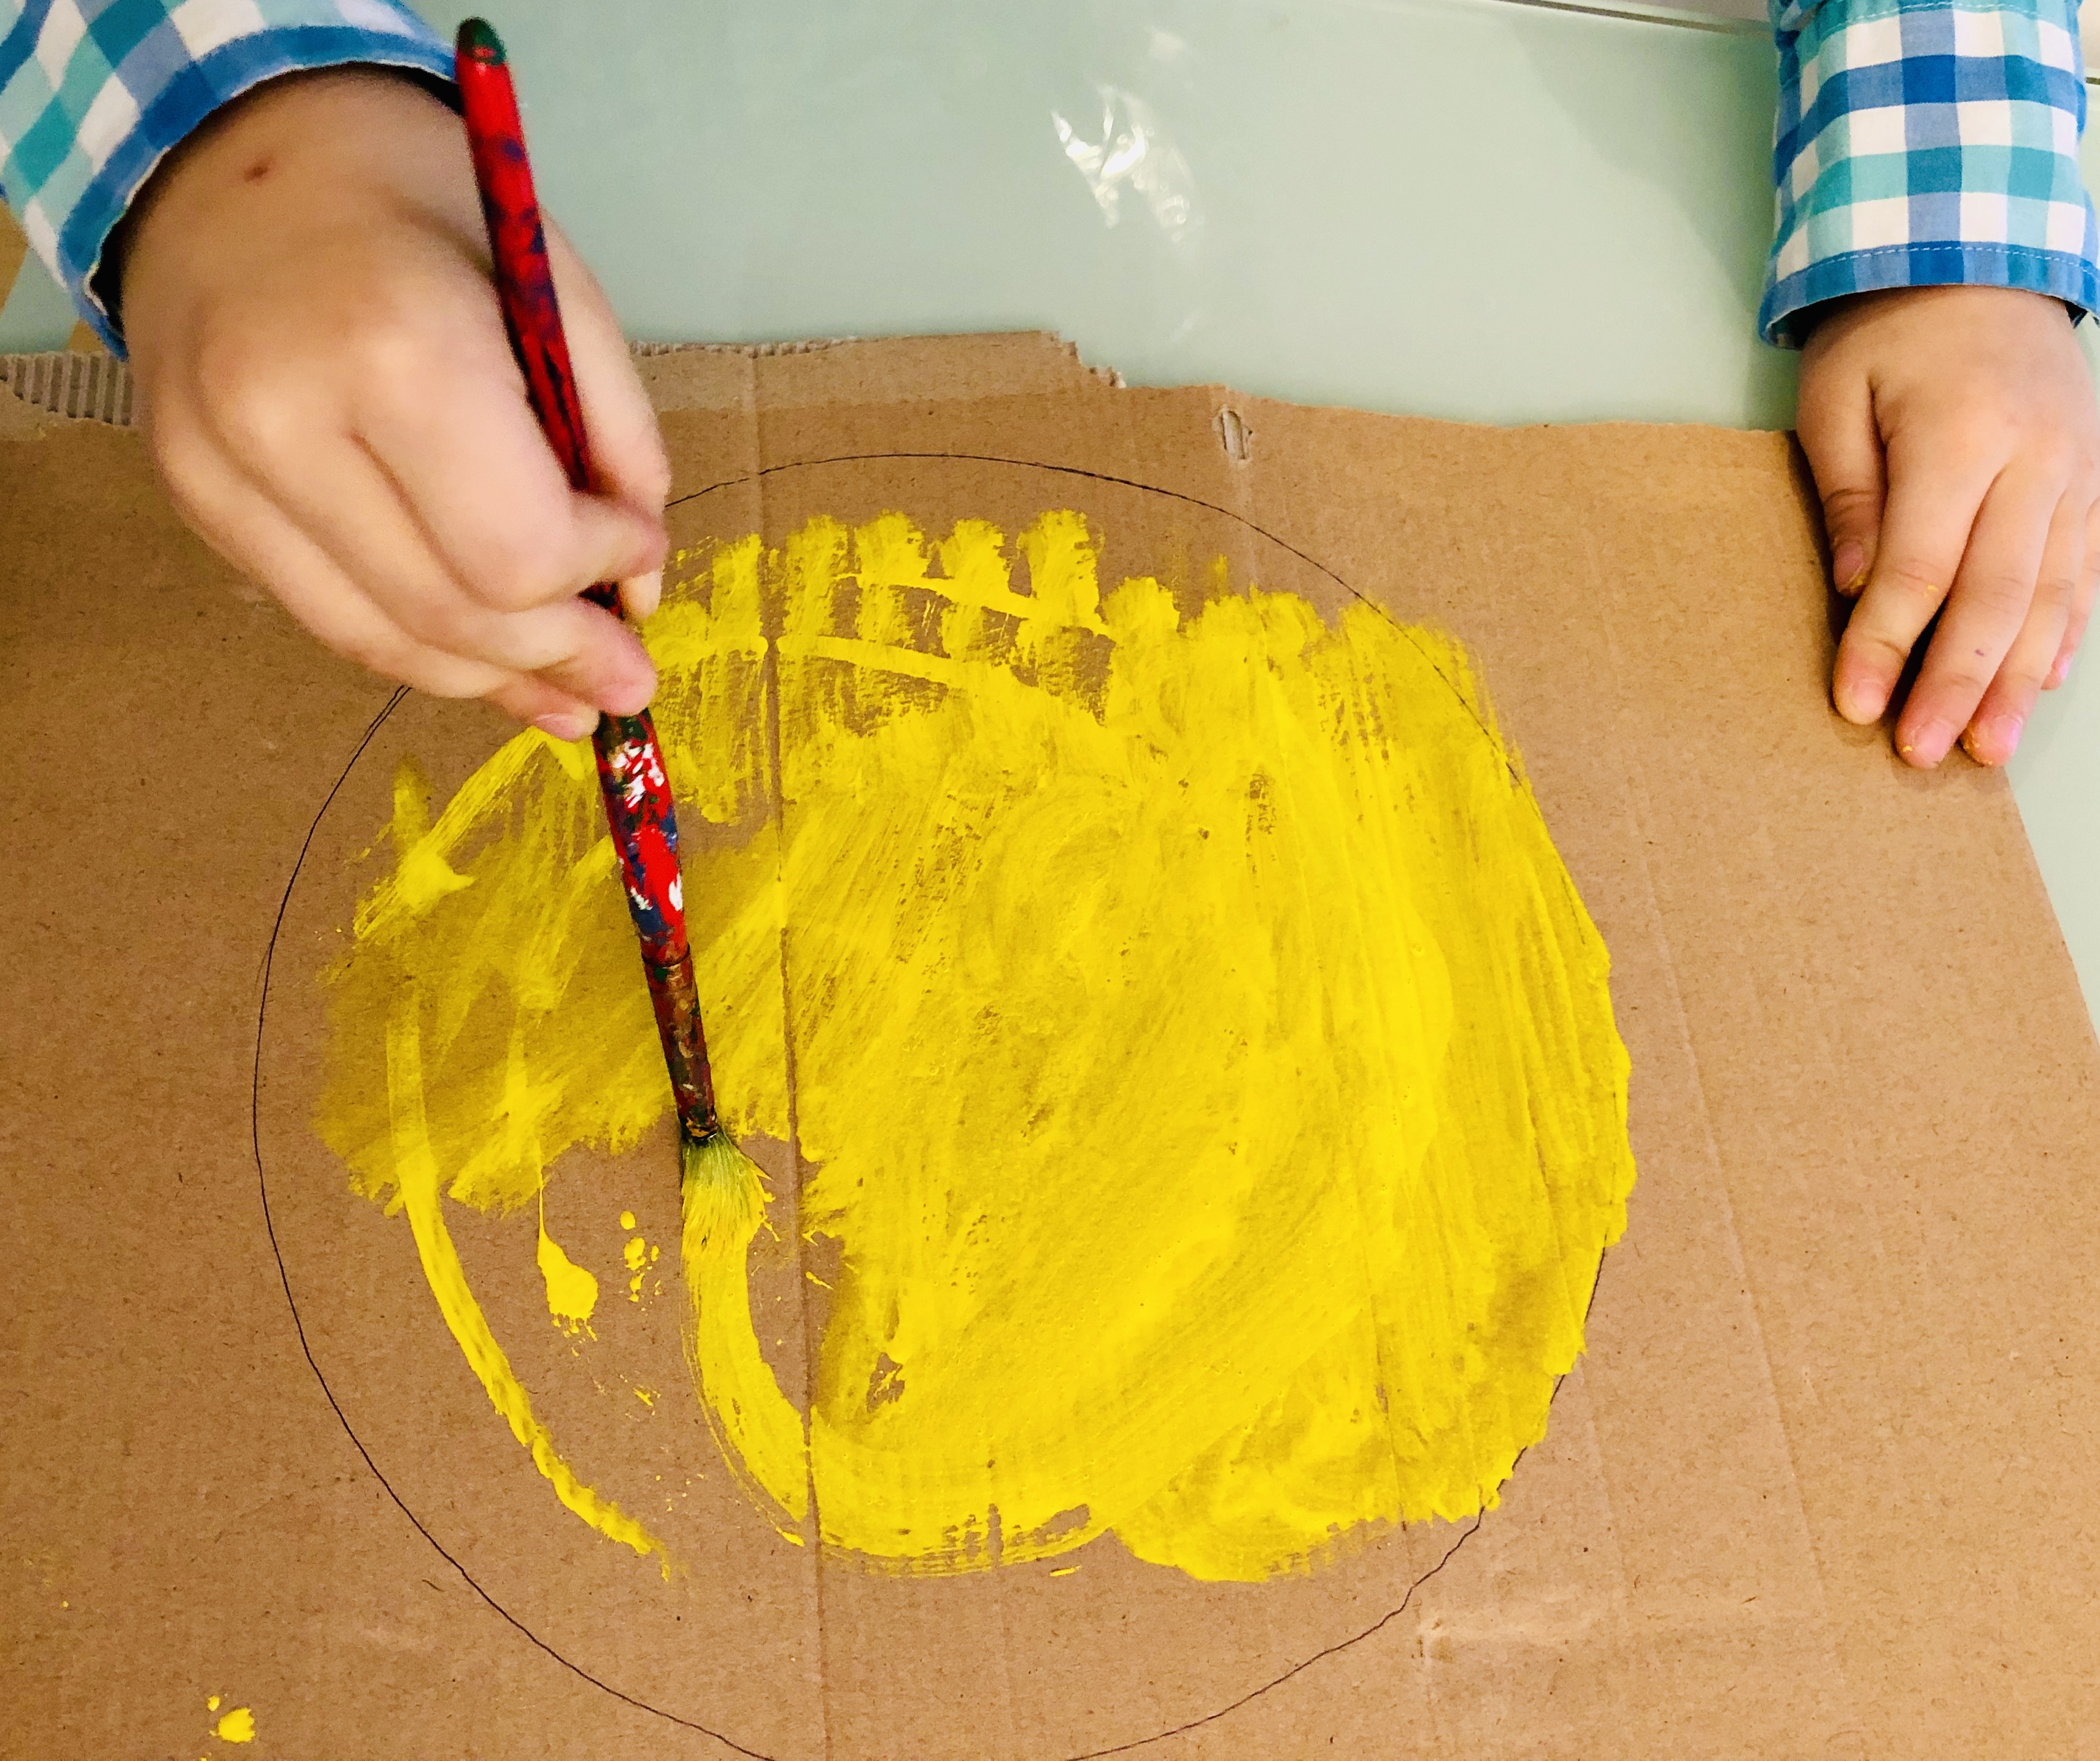
Step 1.
Step 2.
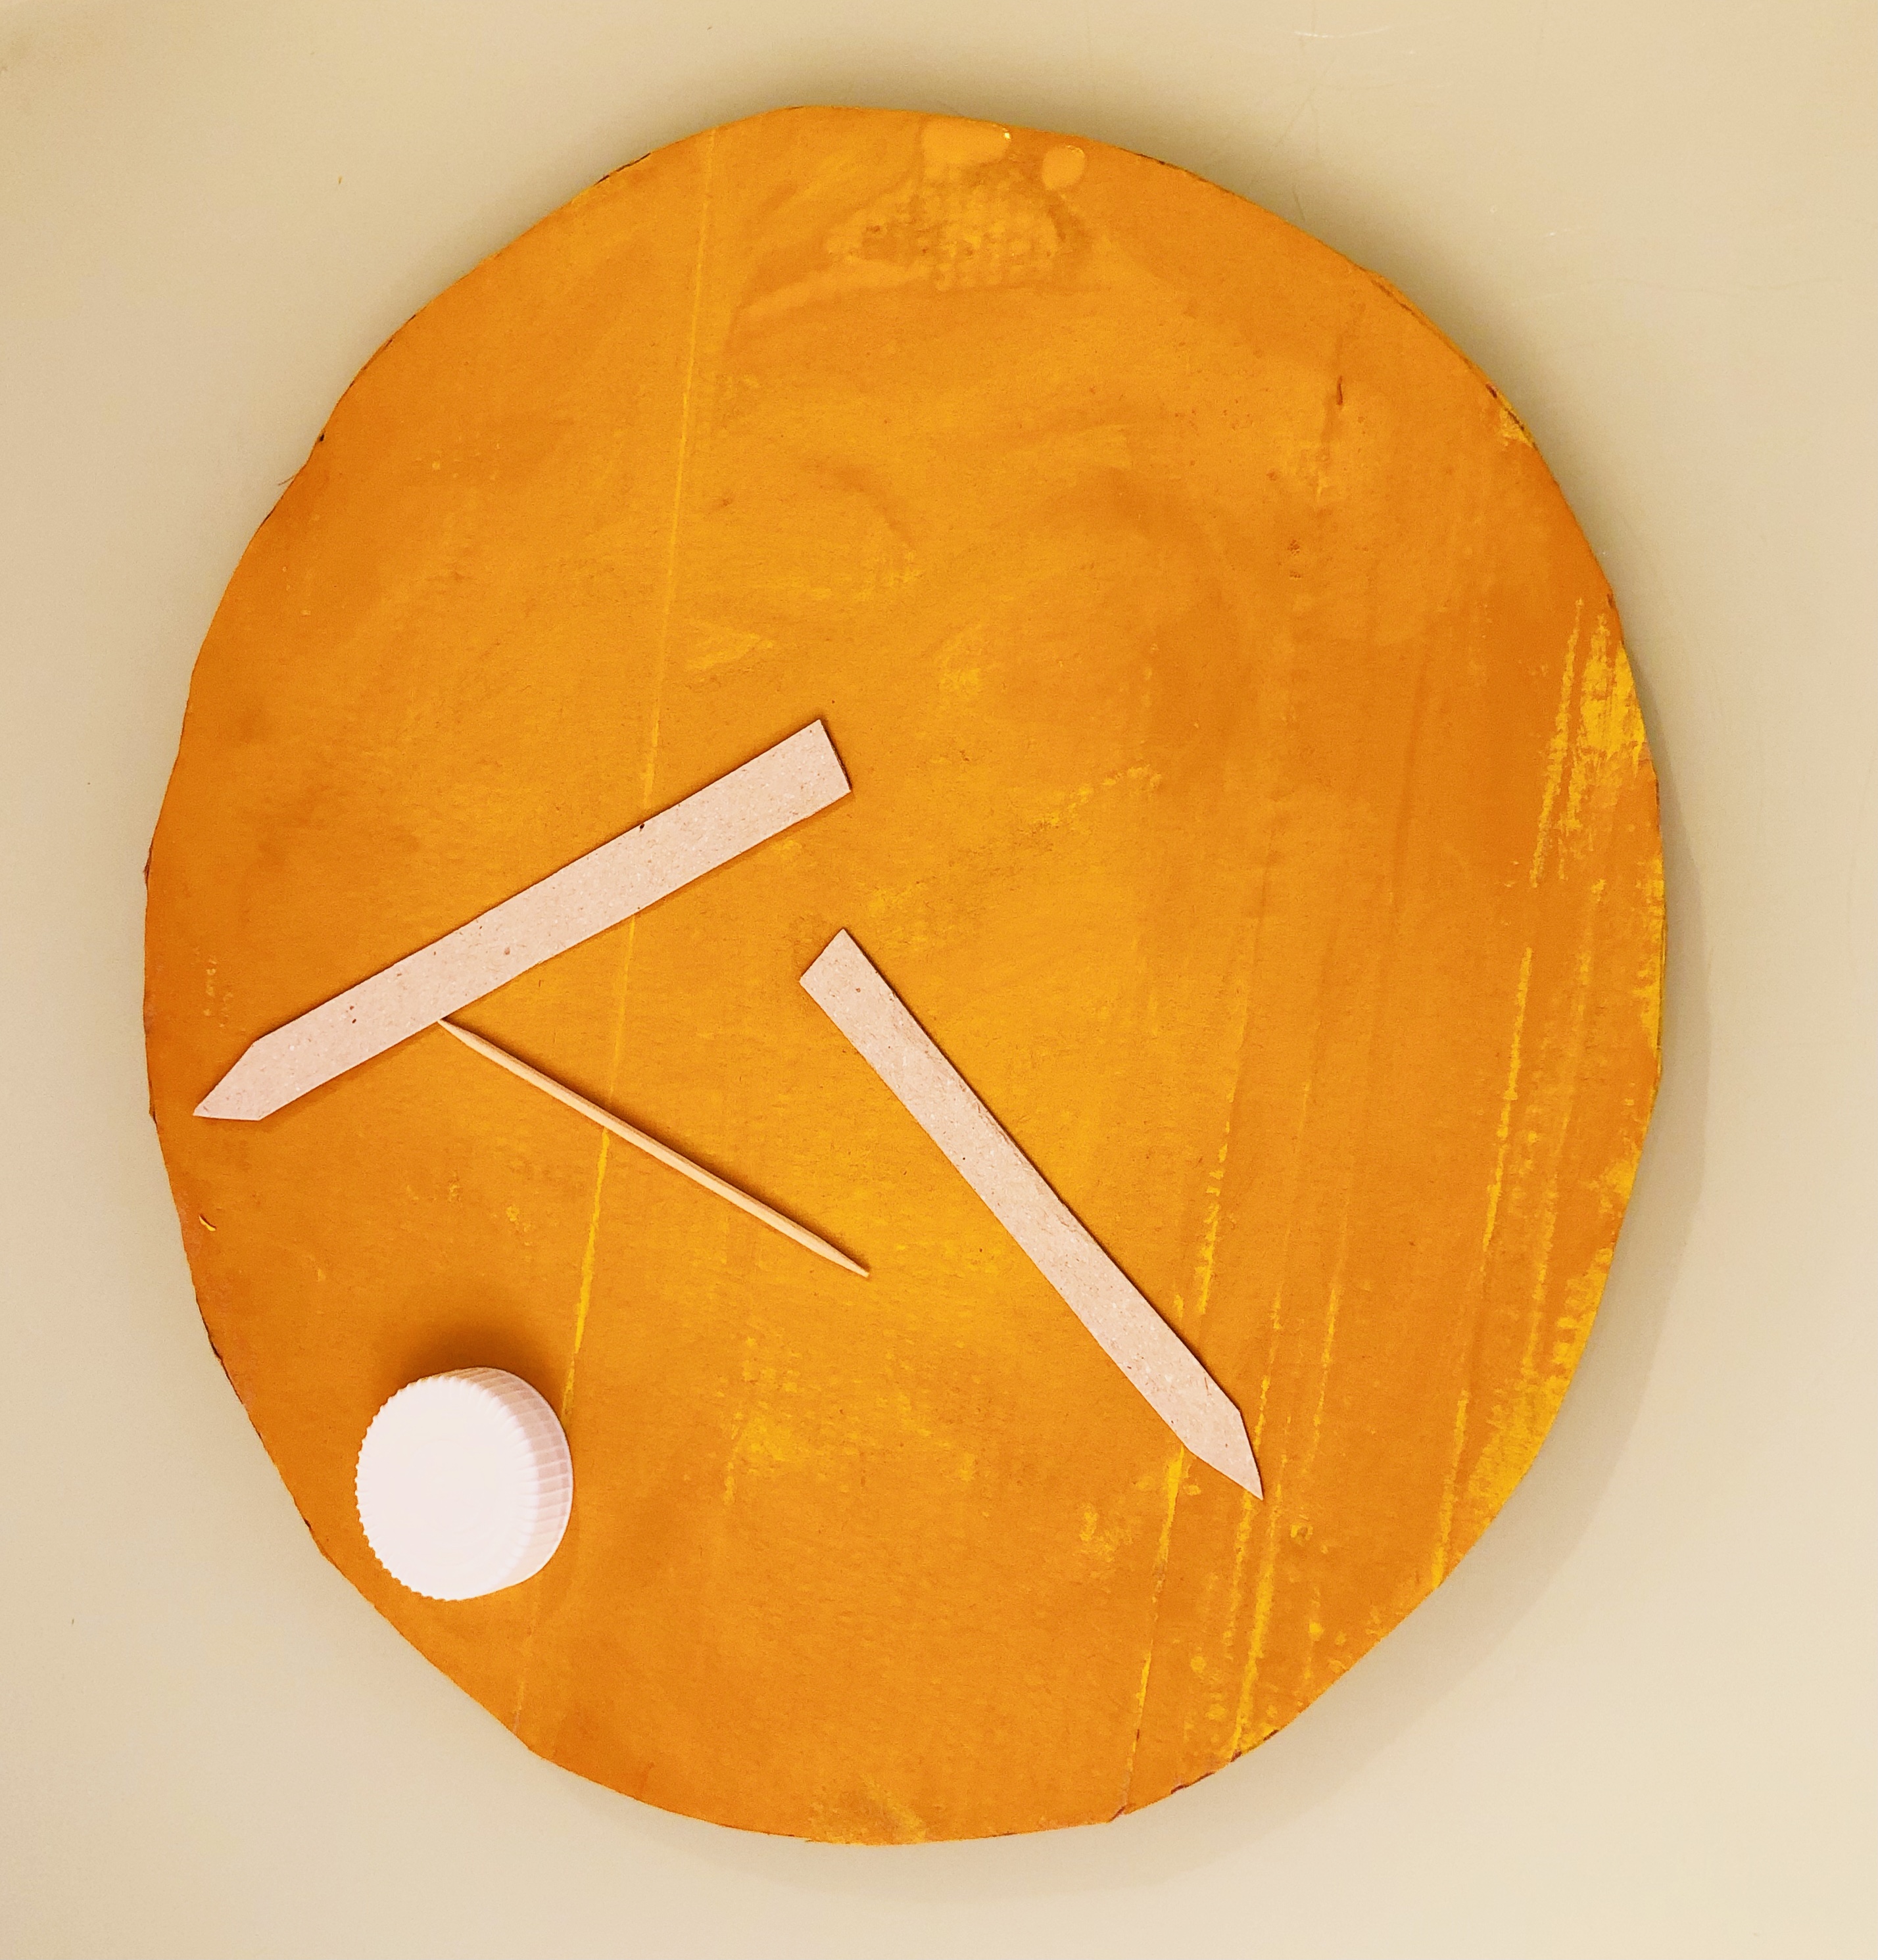
Cut out the hour and minute hands.
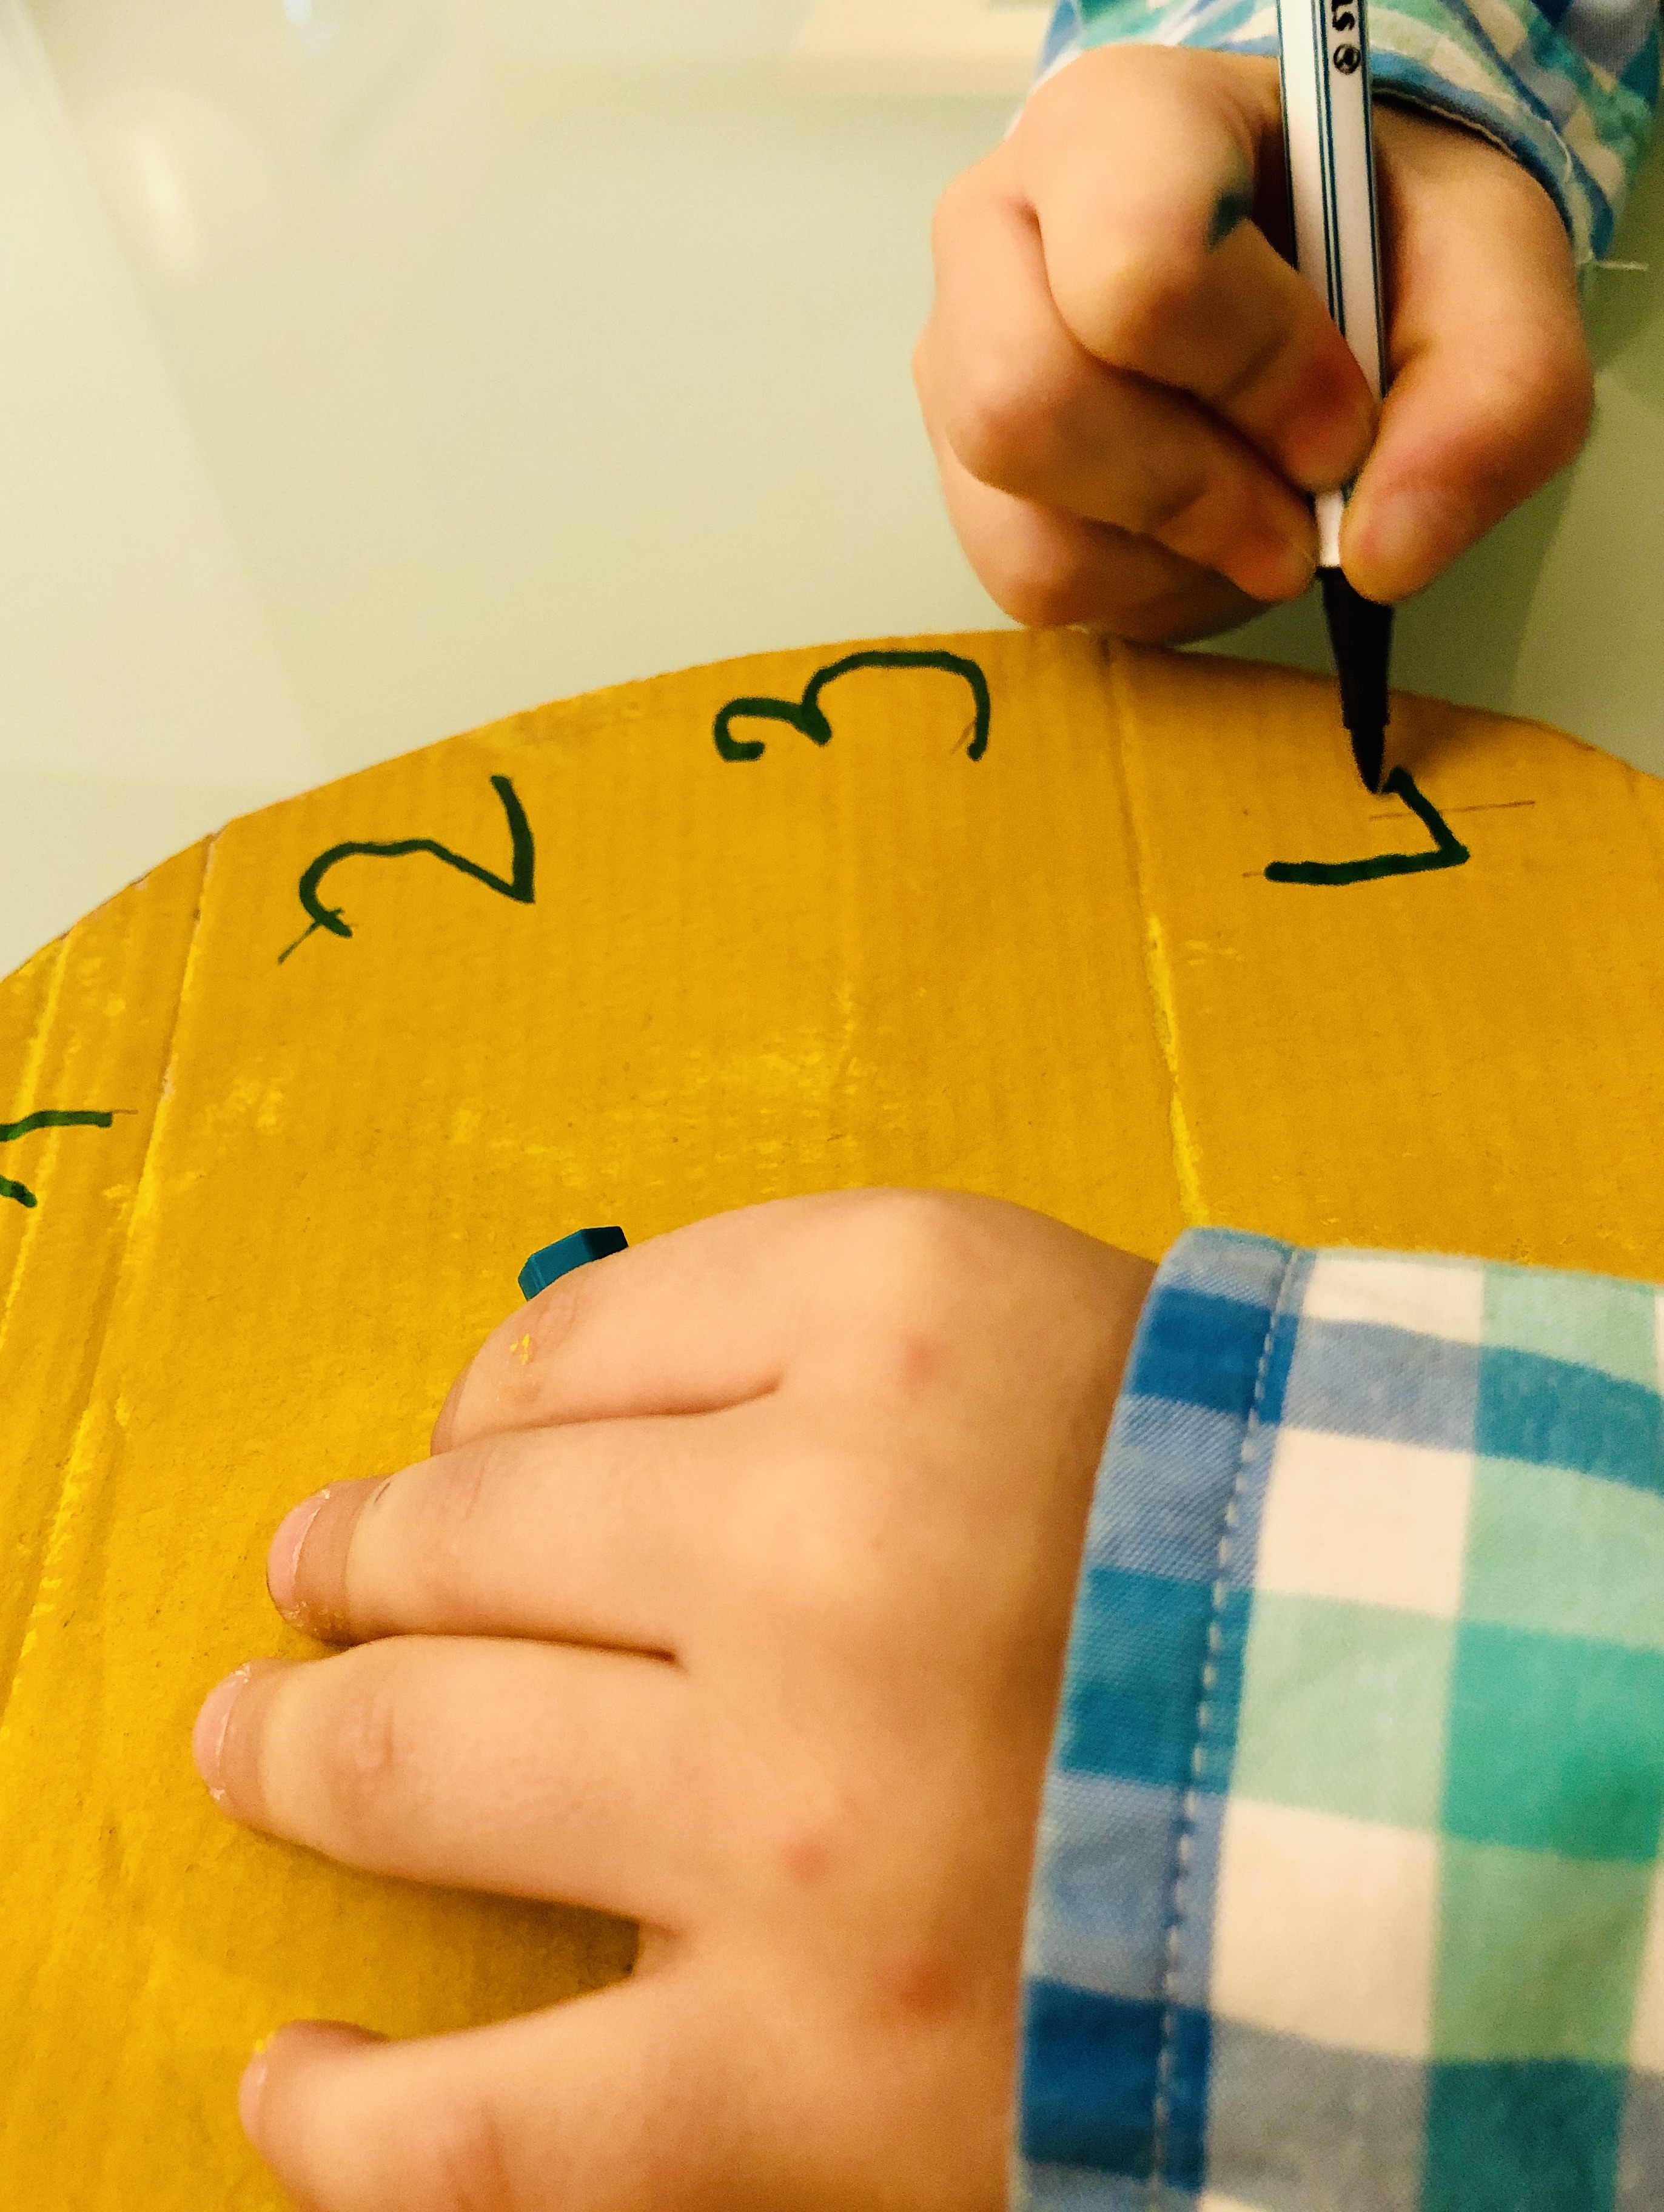
Step 3.
Write the numbers 1-12, and you can mark the minutes.
Step 4.
In the middle, pierce a small hole with the toothpick, and through the cap which you then
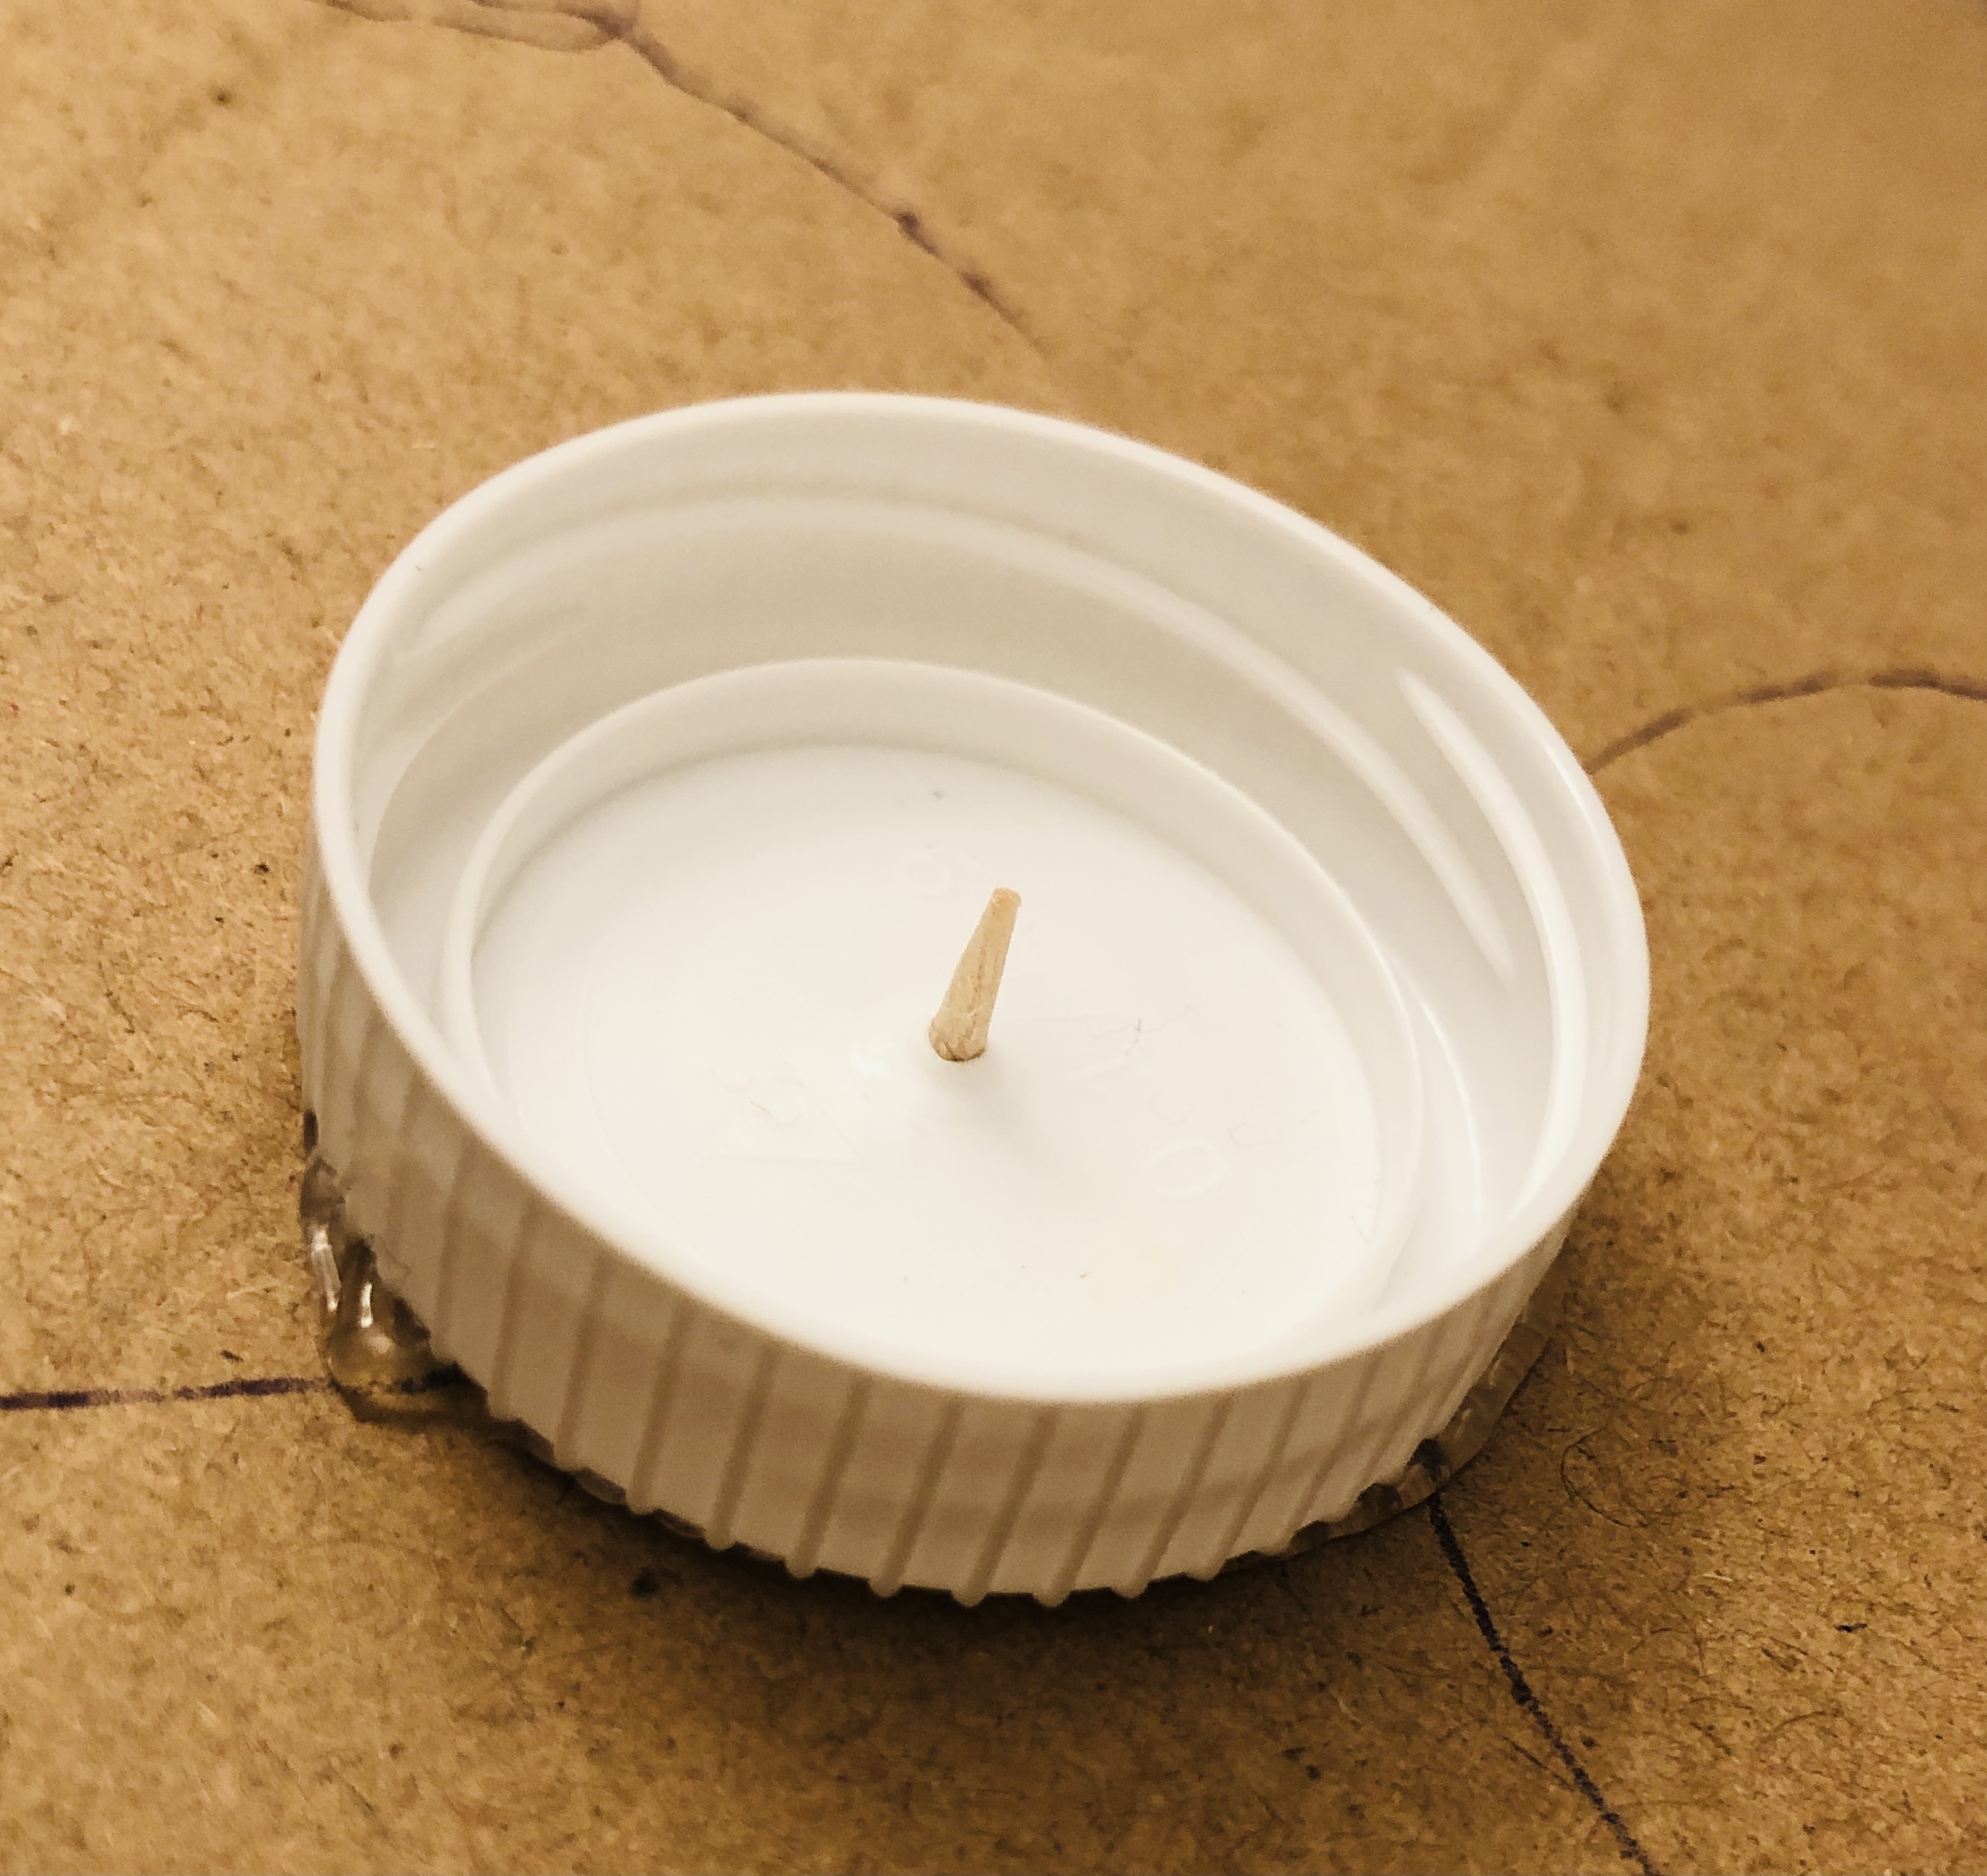
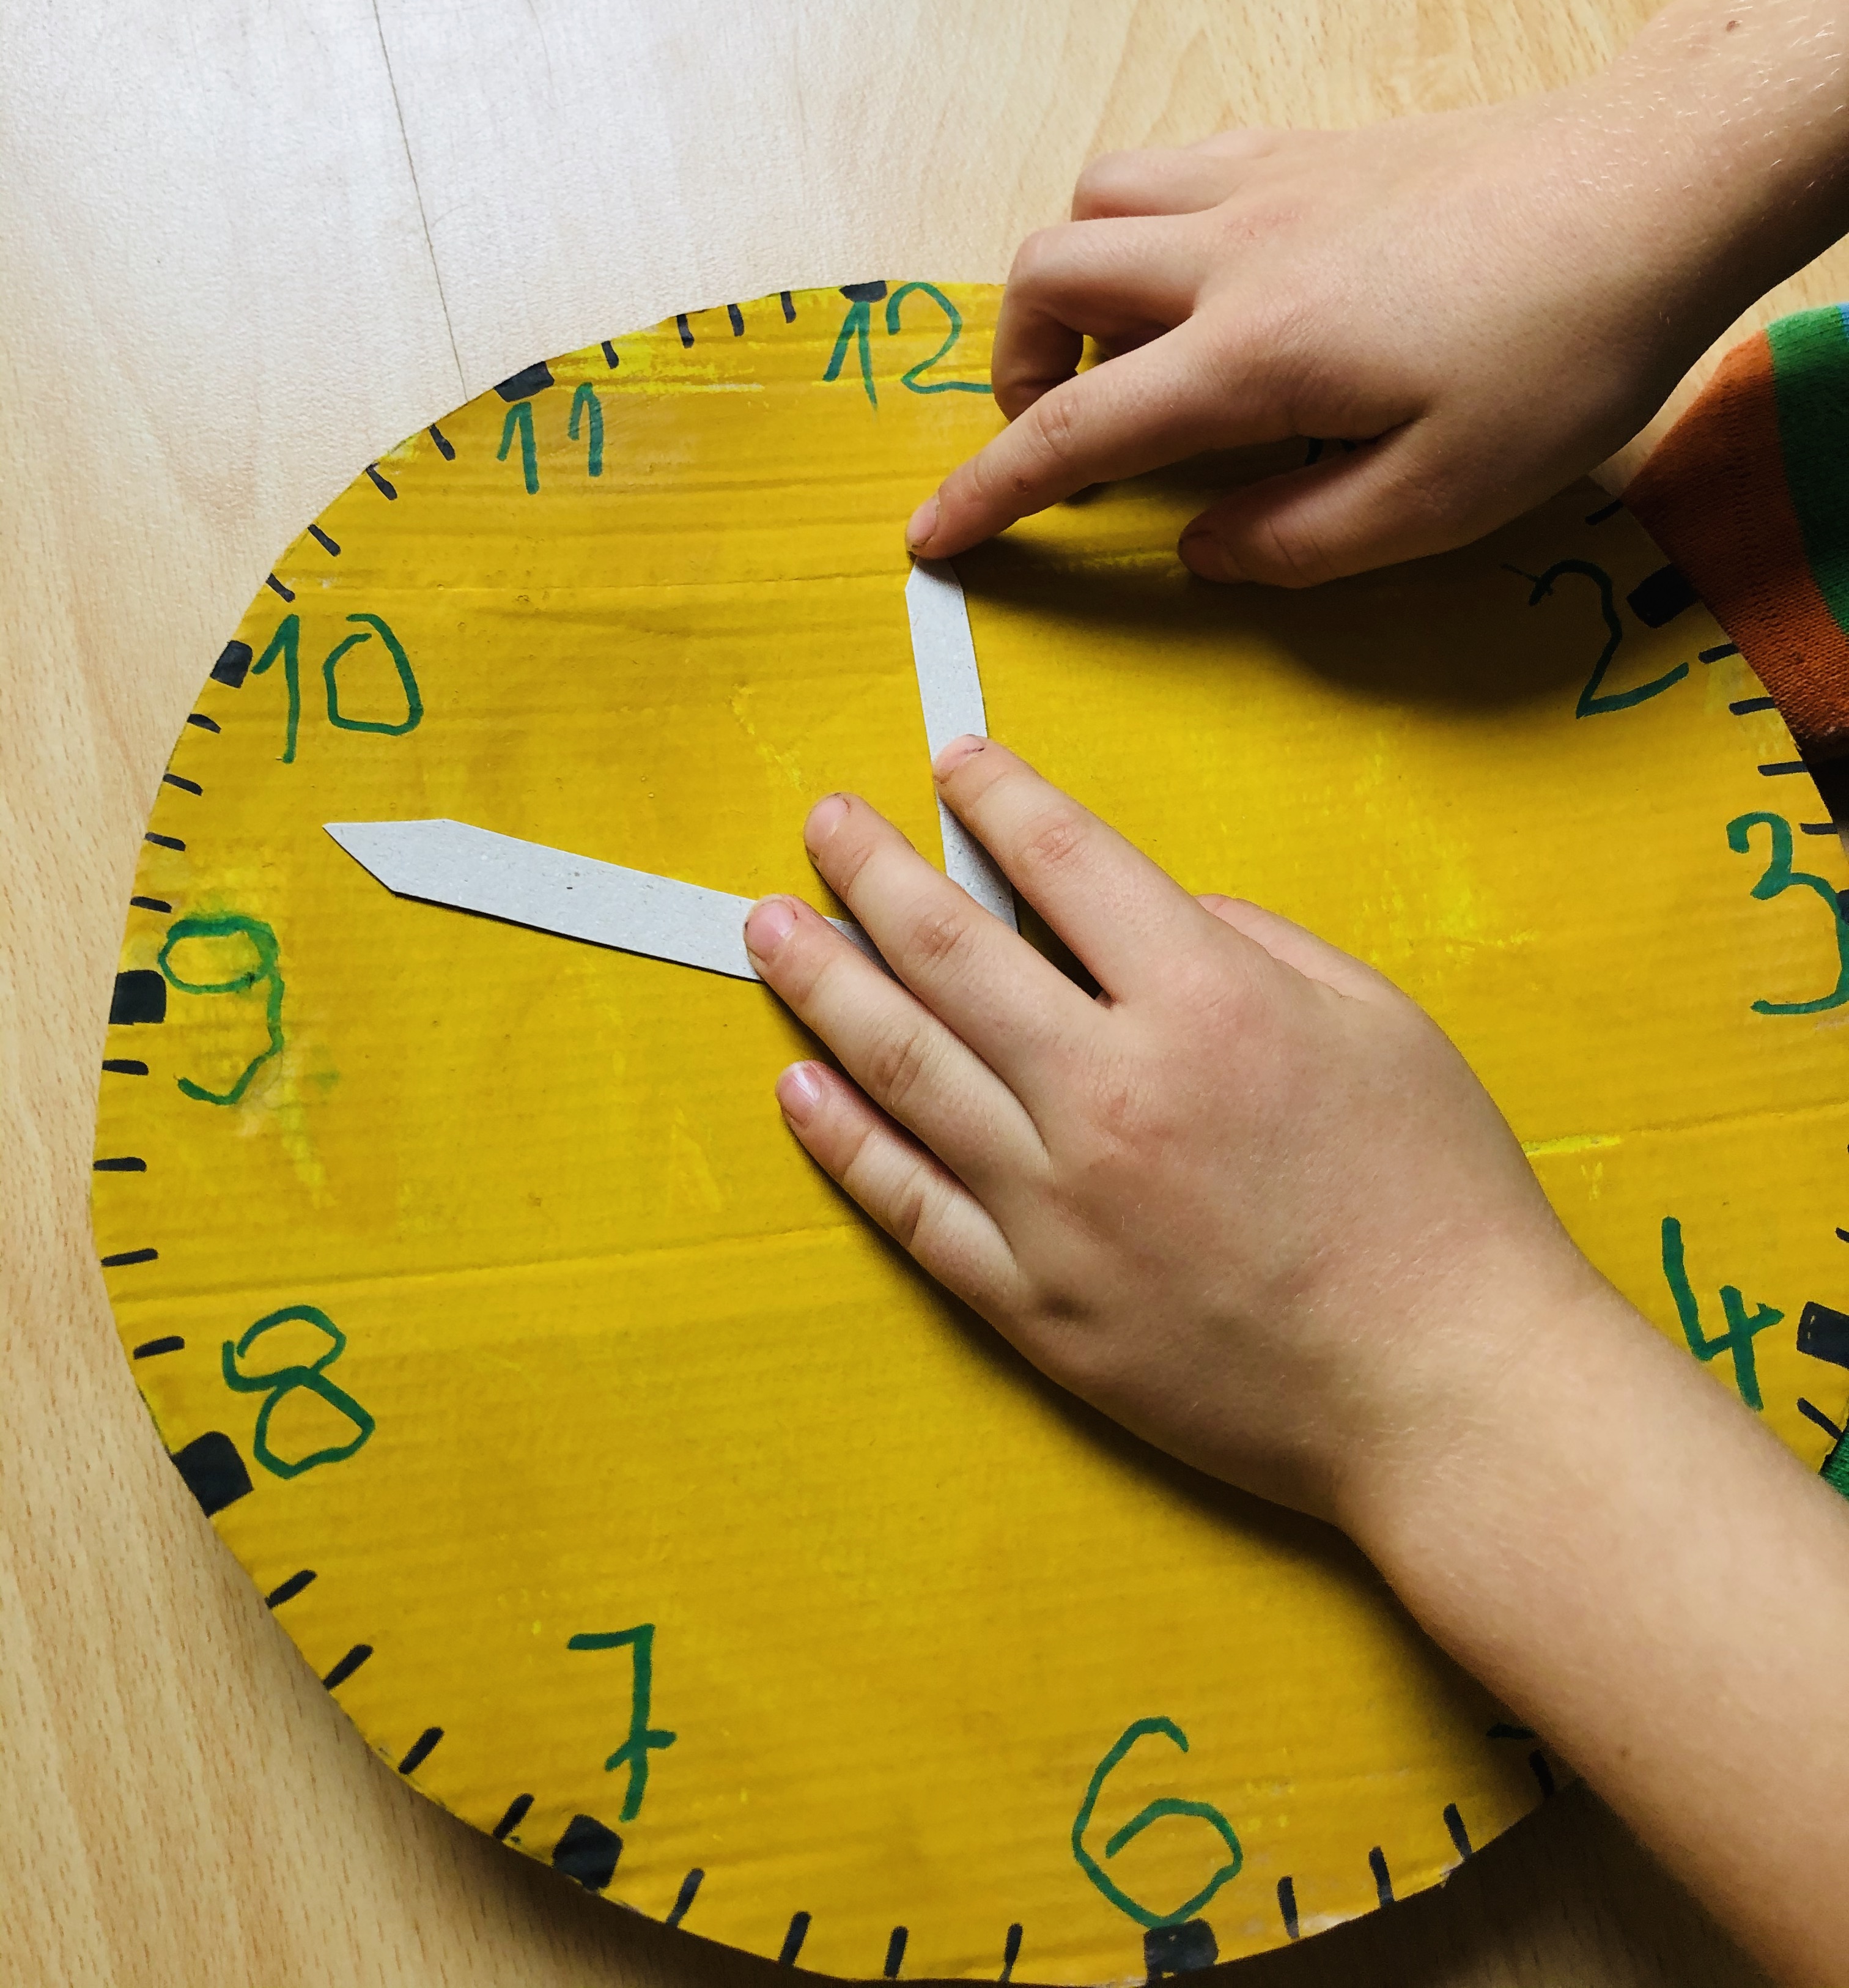
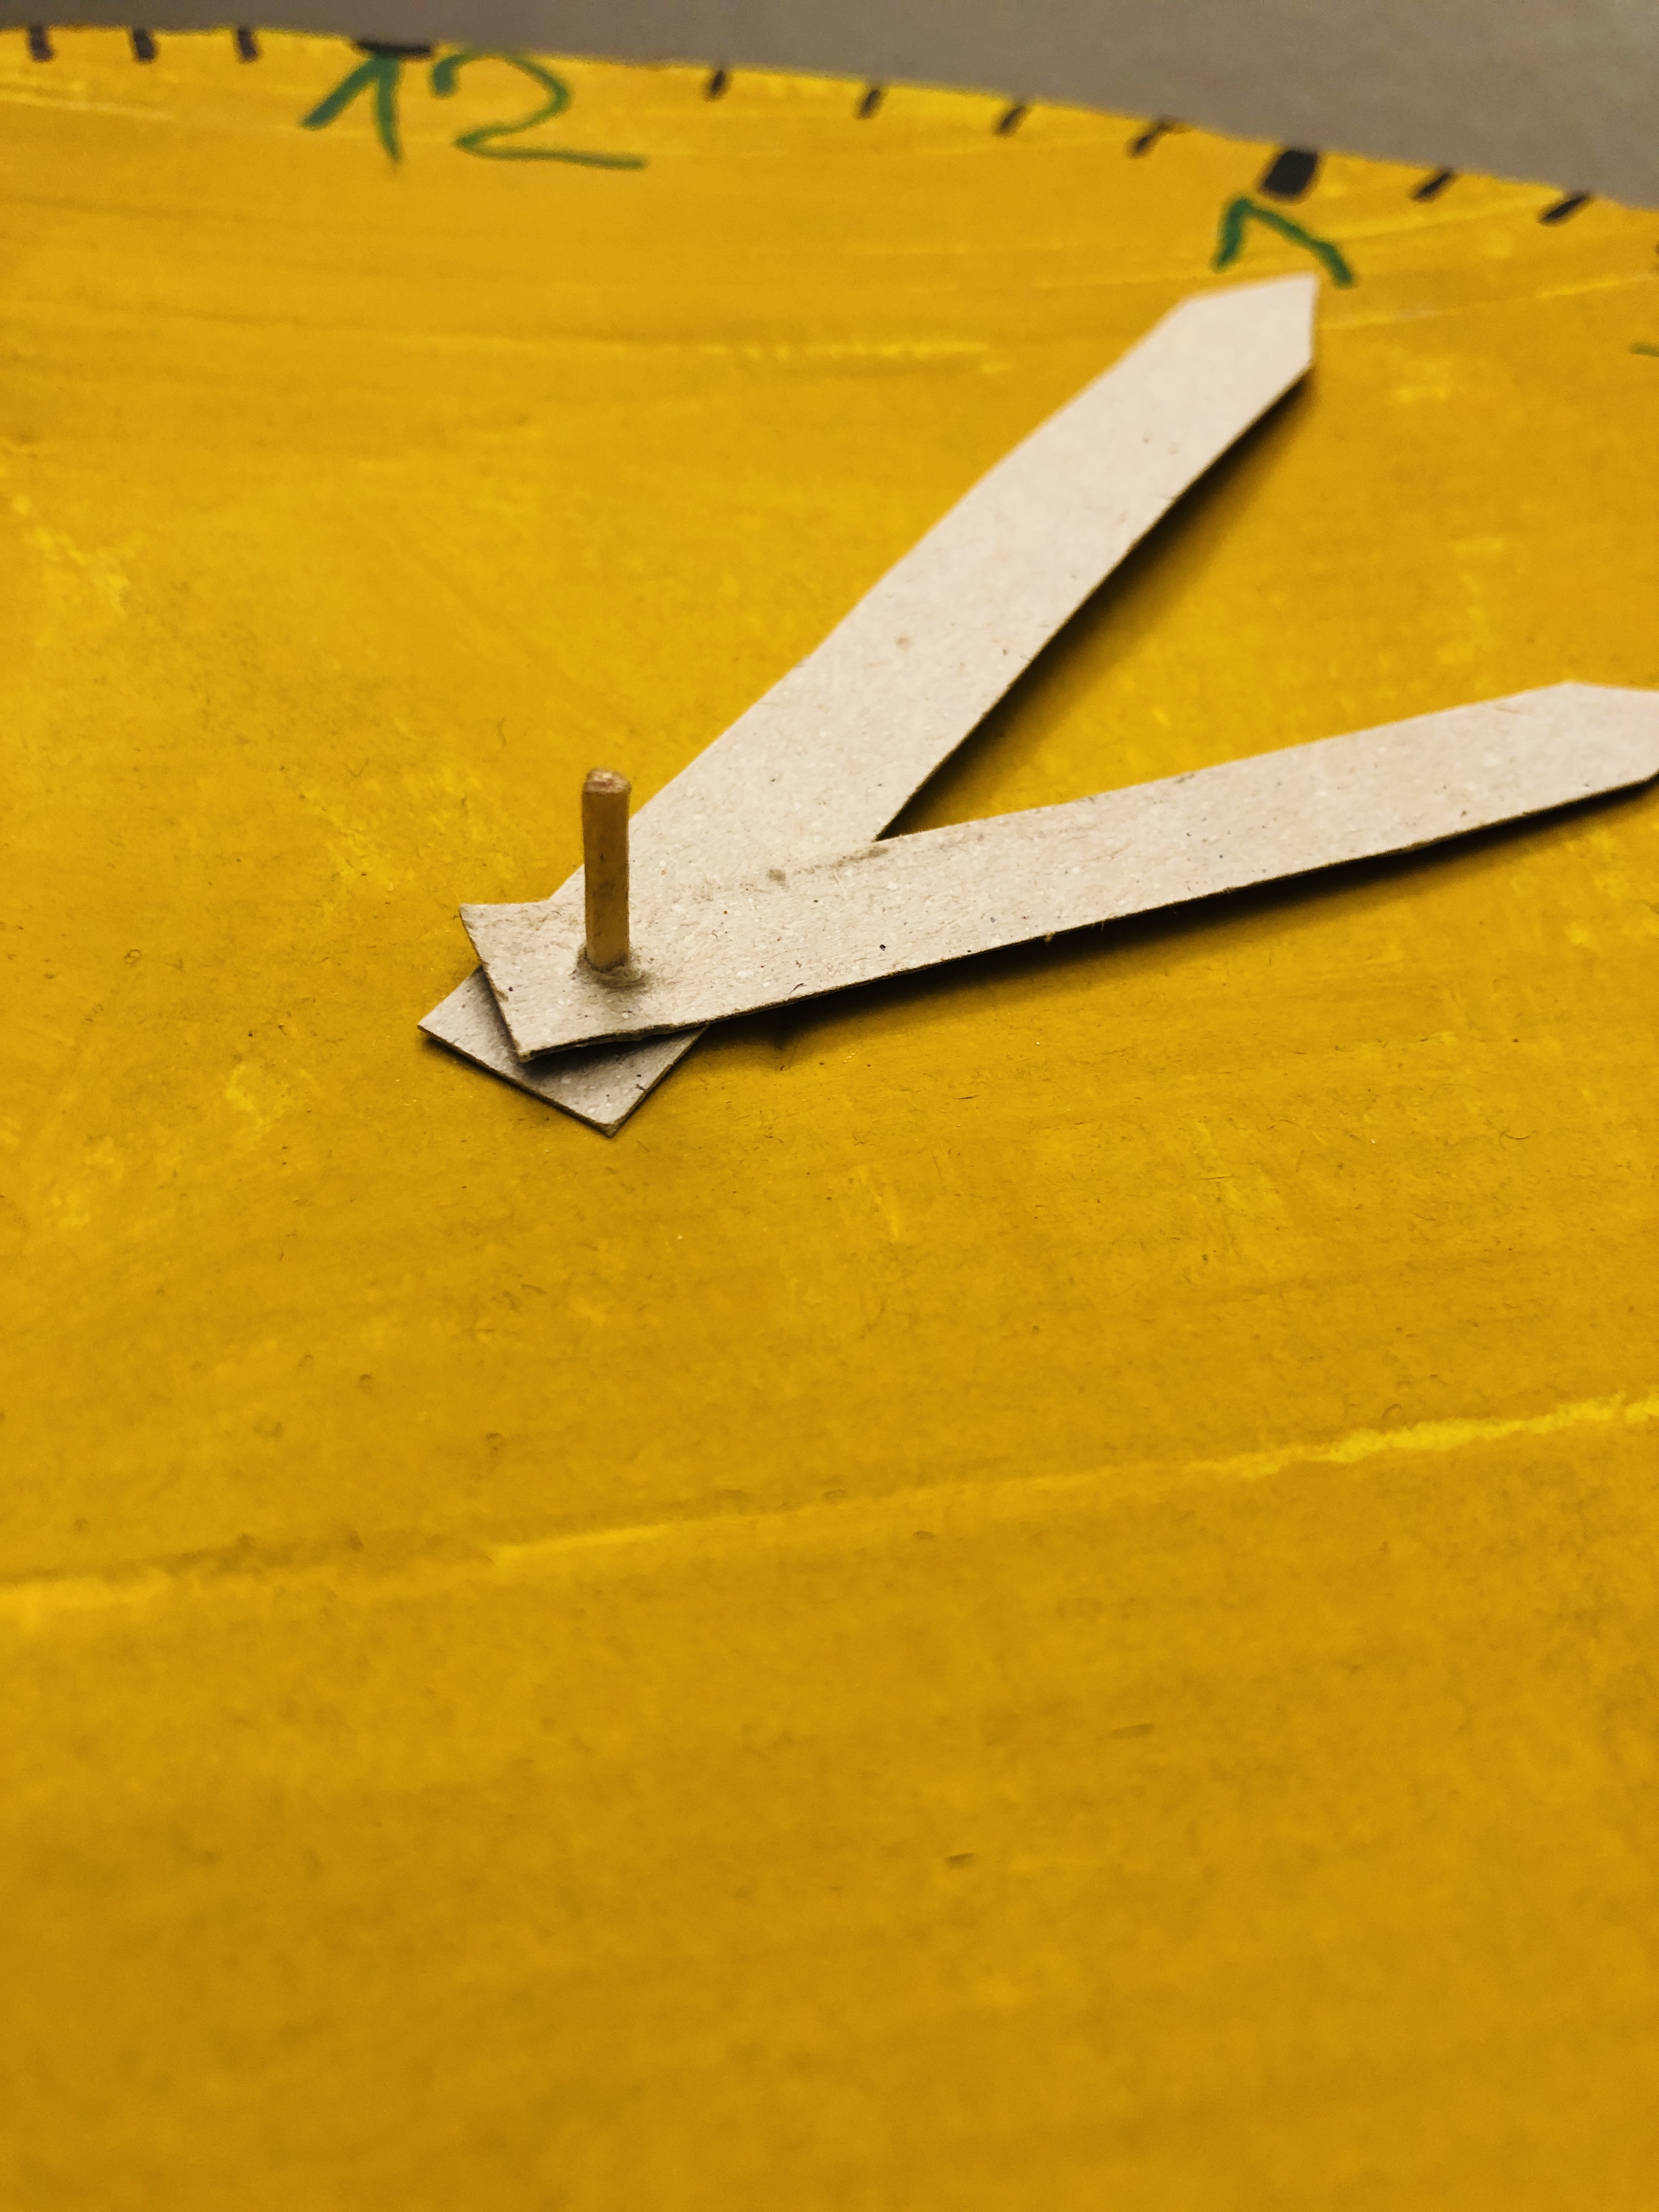
Step 5.
Explain the hour and minute hands, and put them on the toothpick.
Finally, play What's the time :)