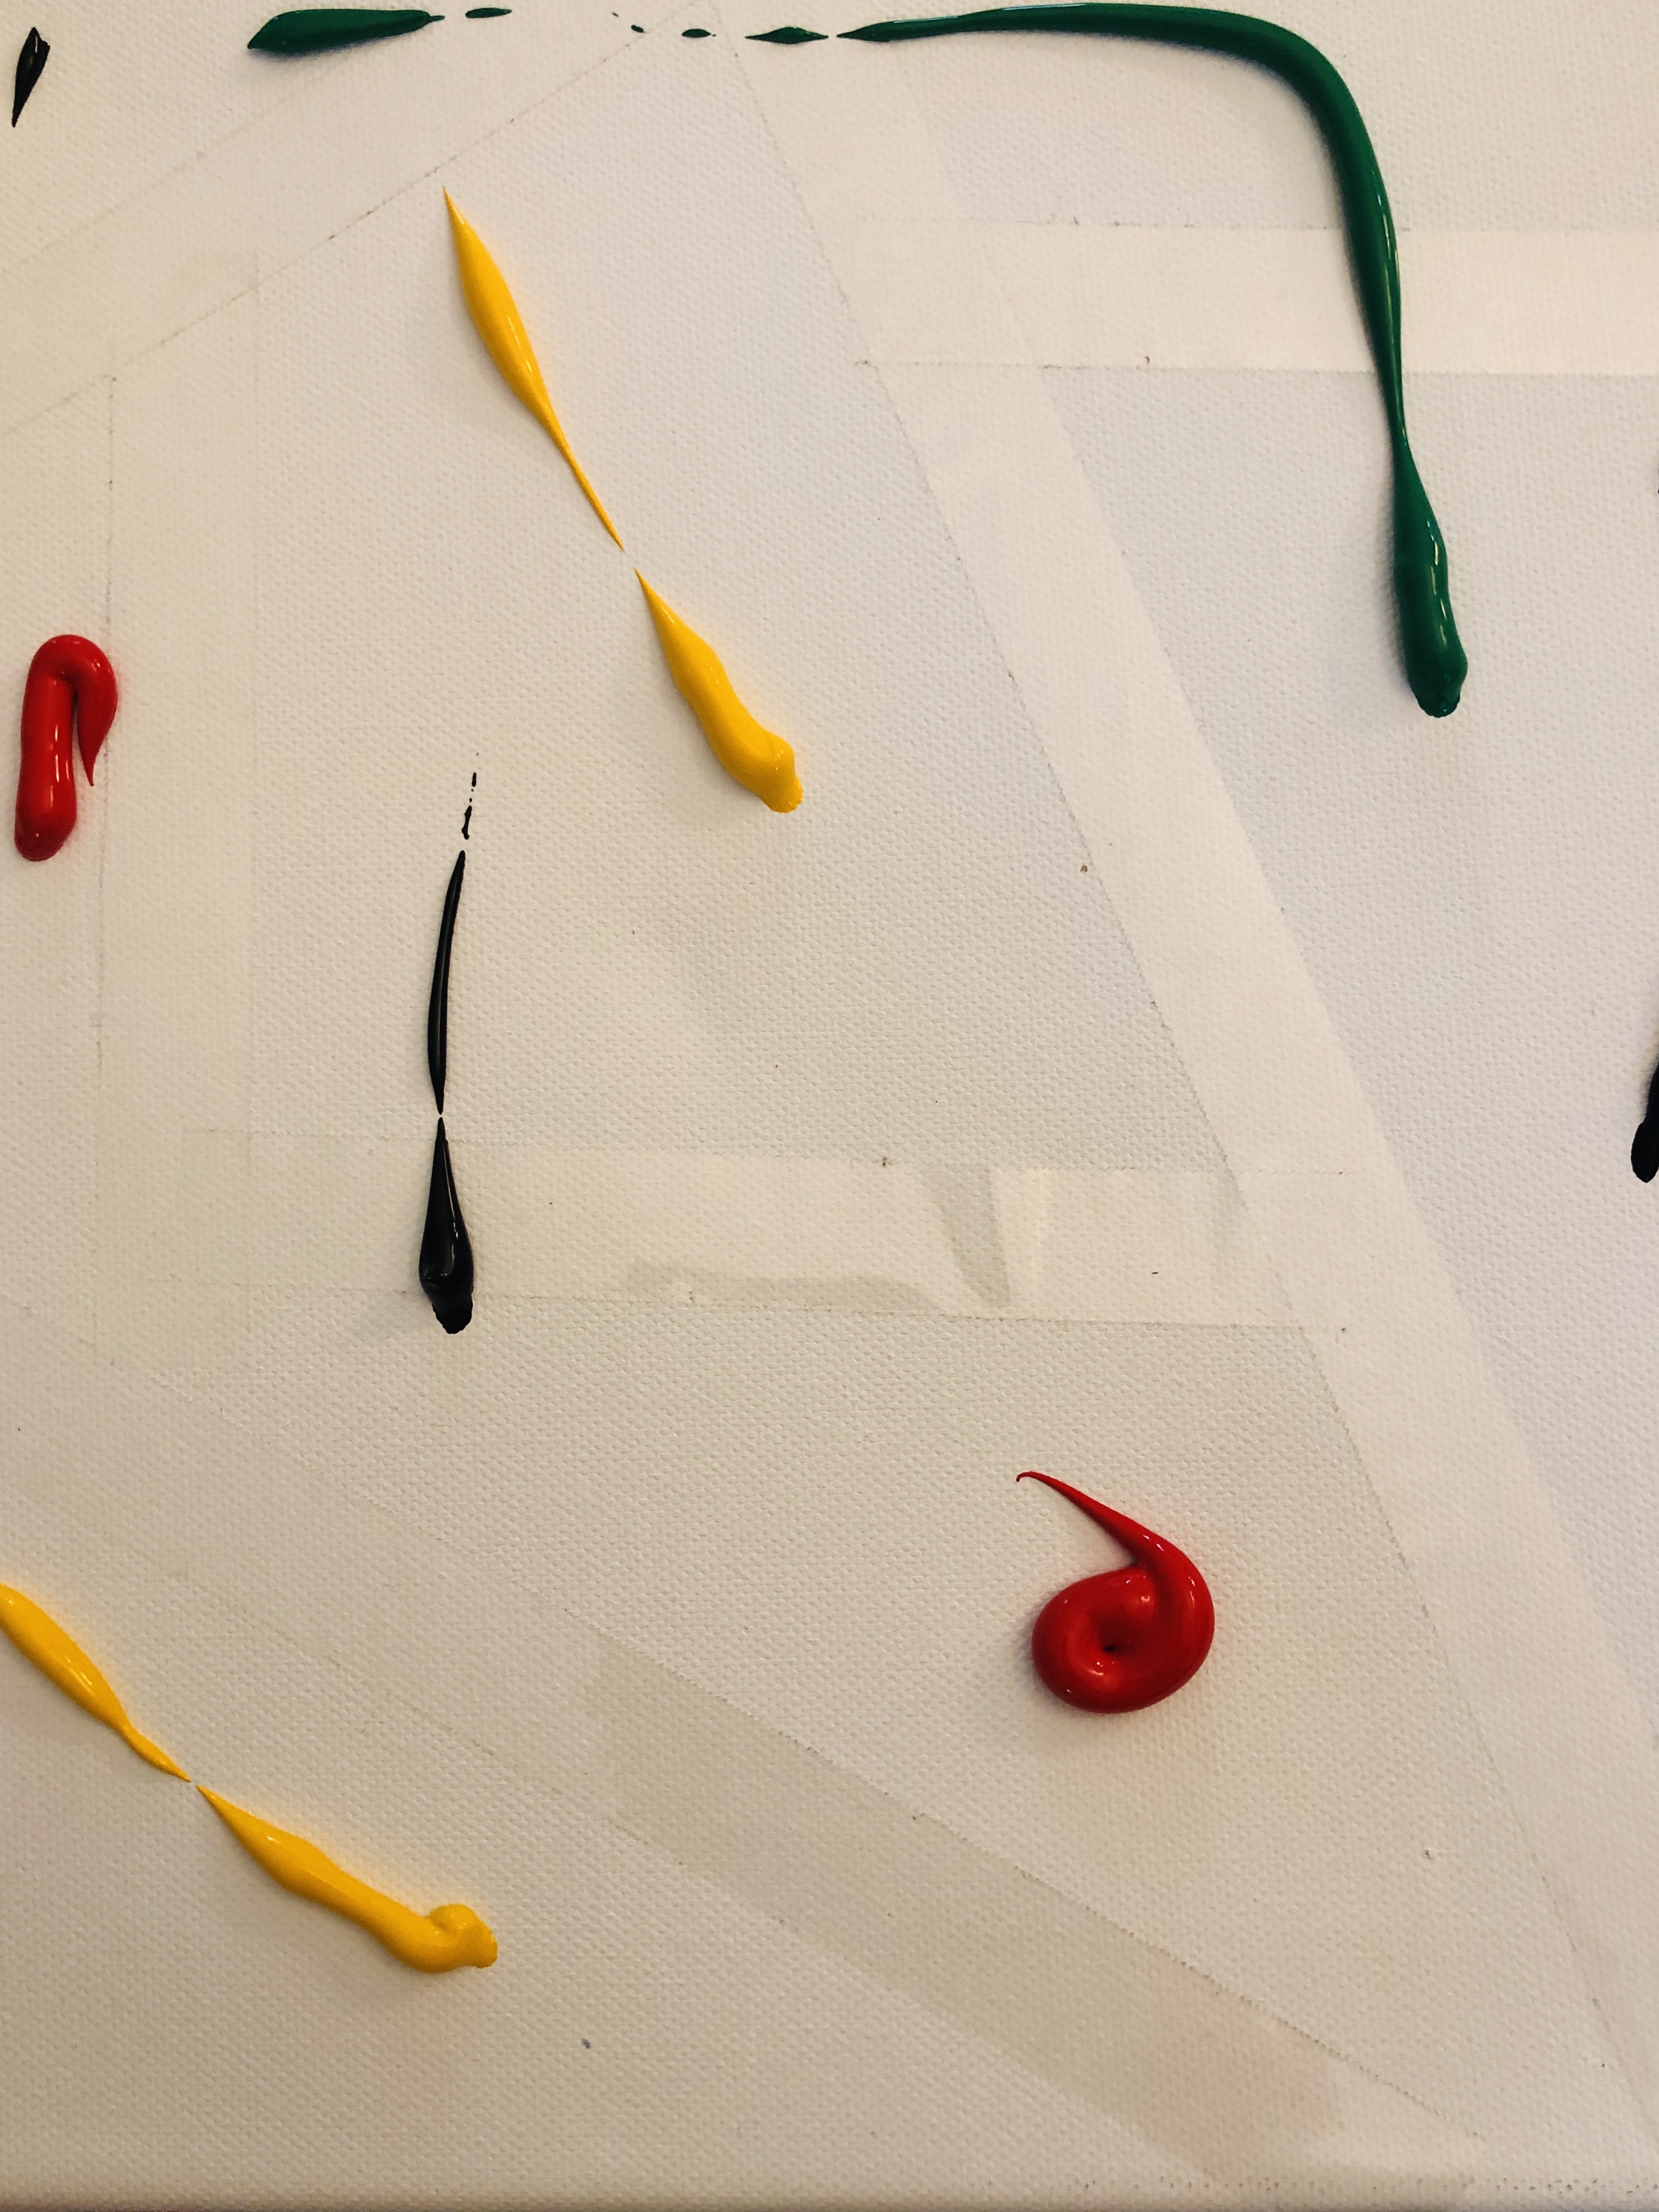
Car painting
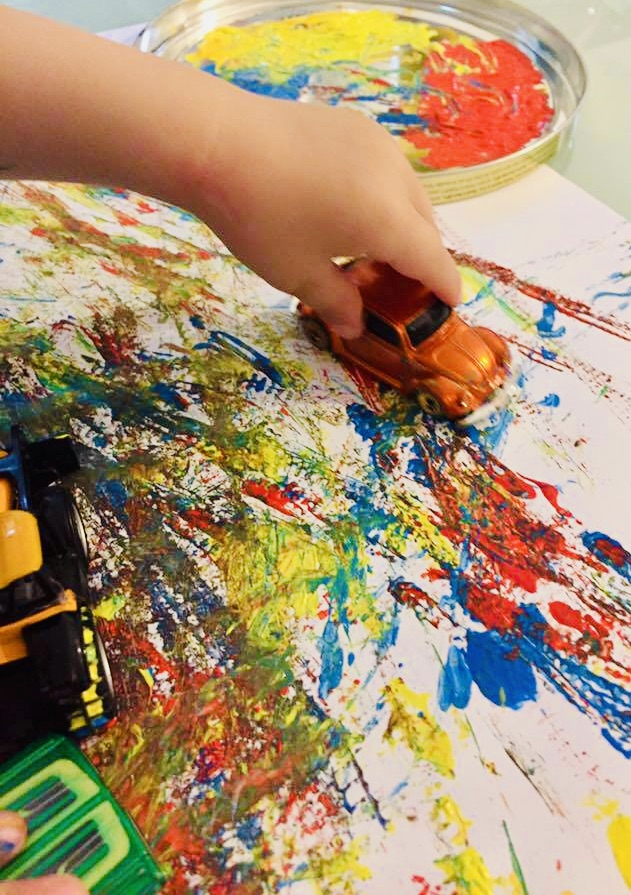
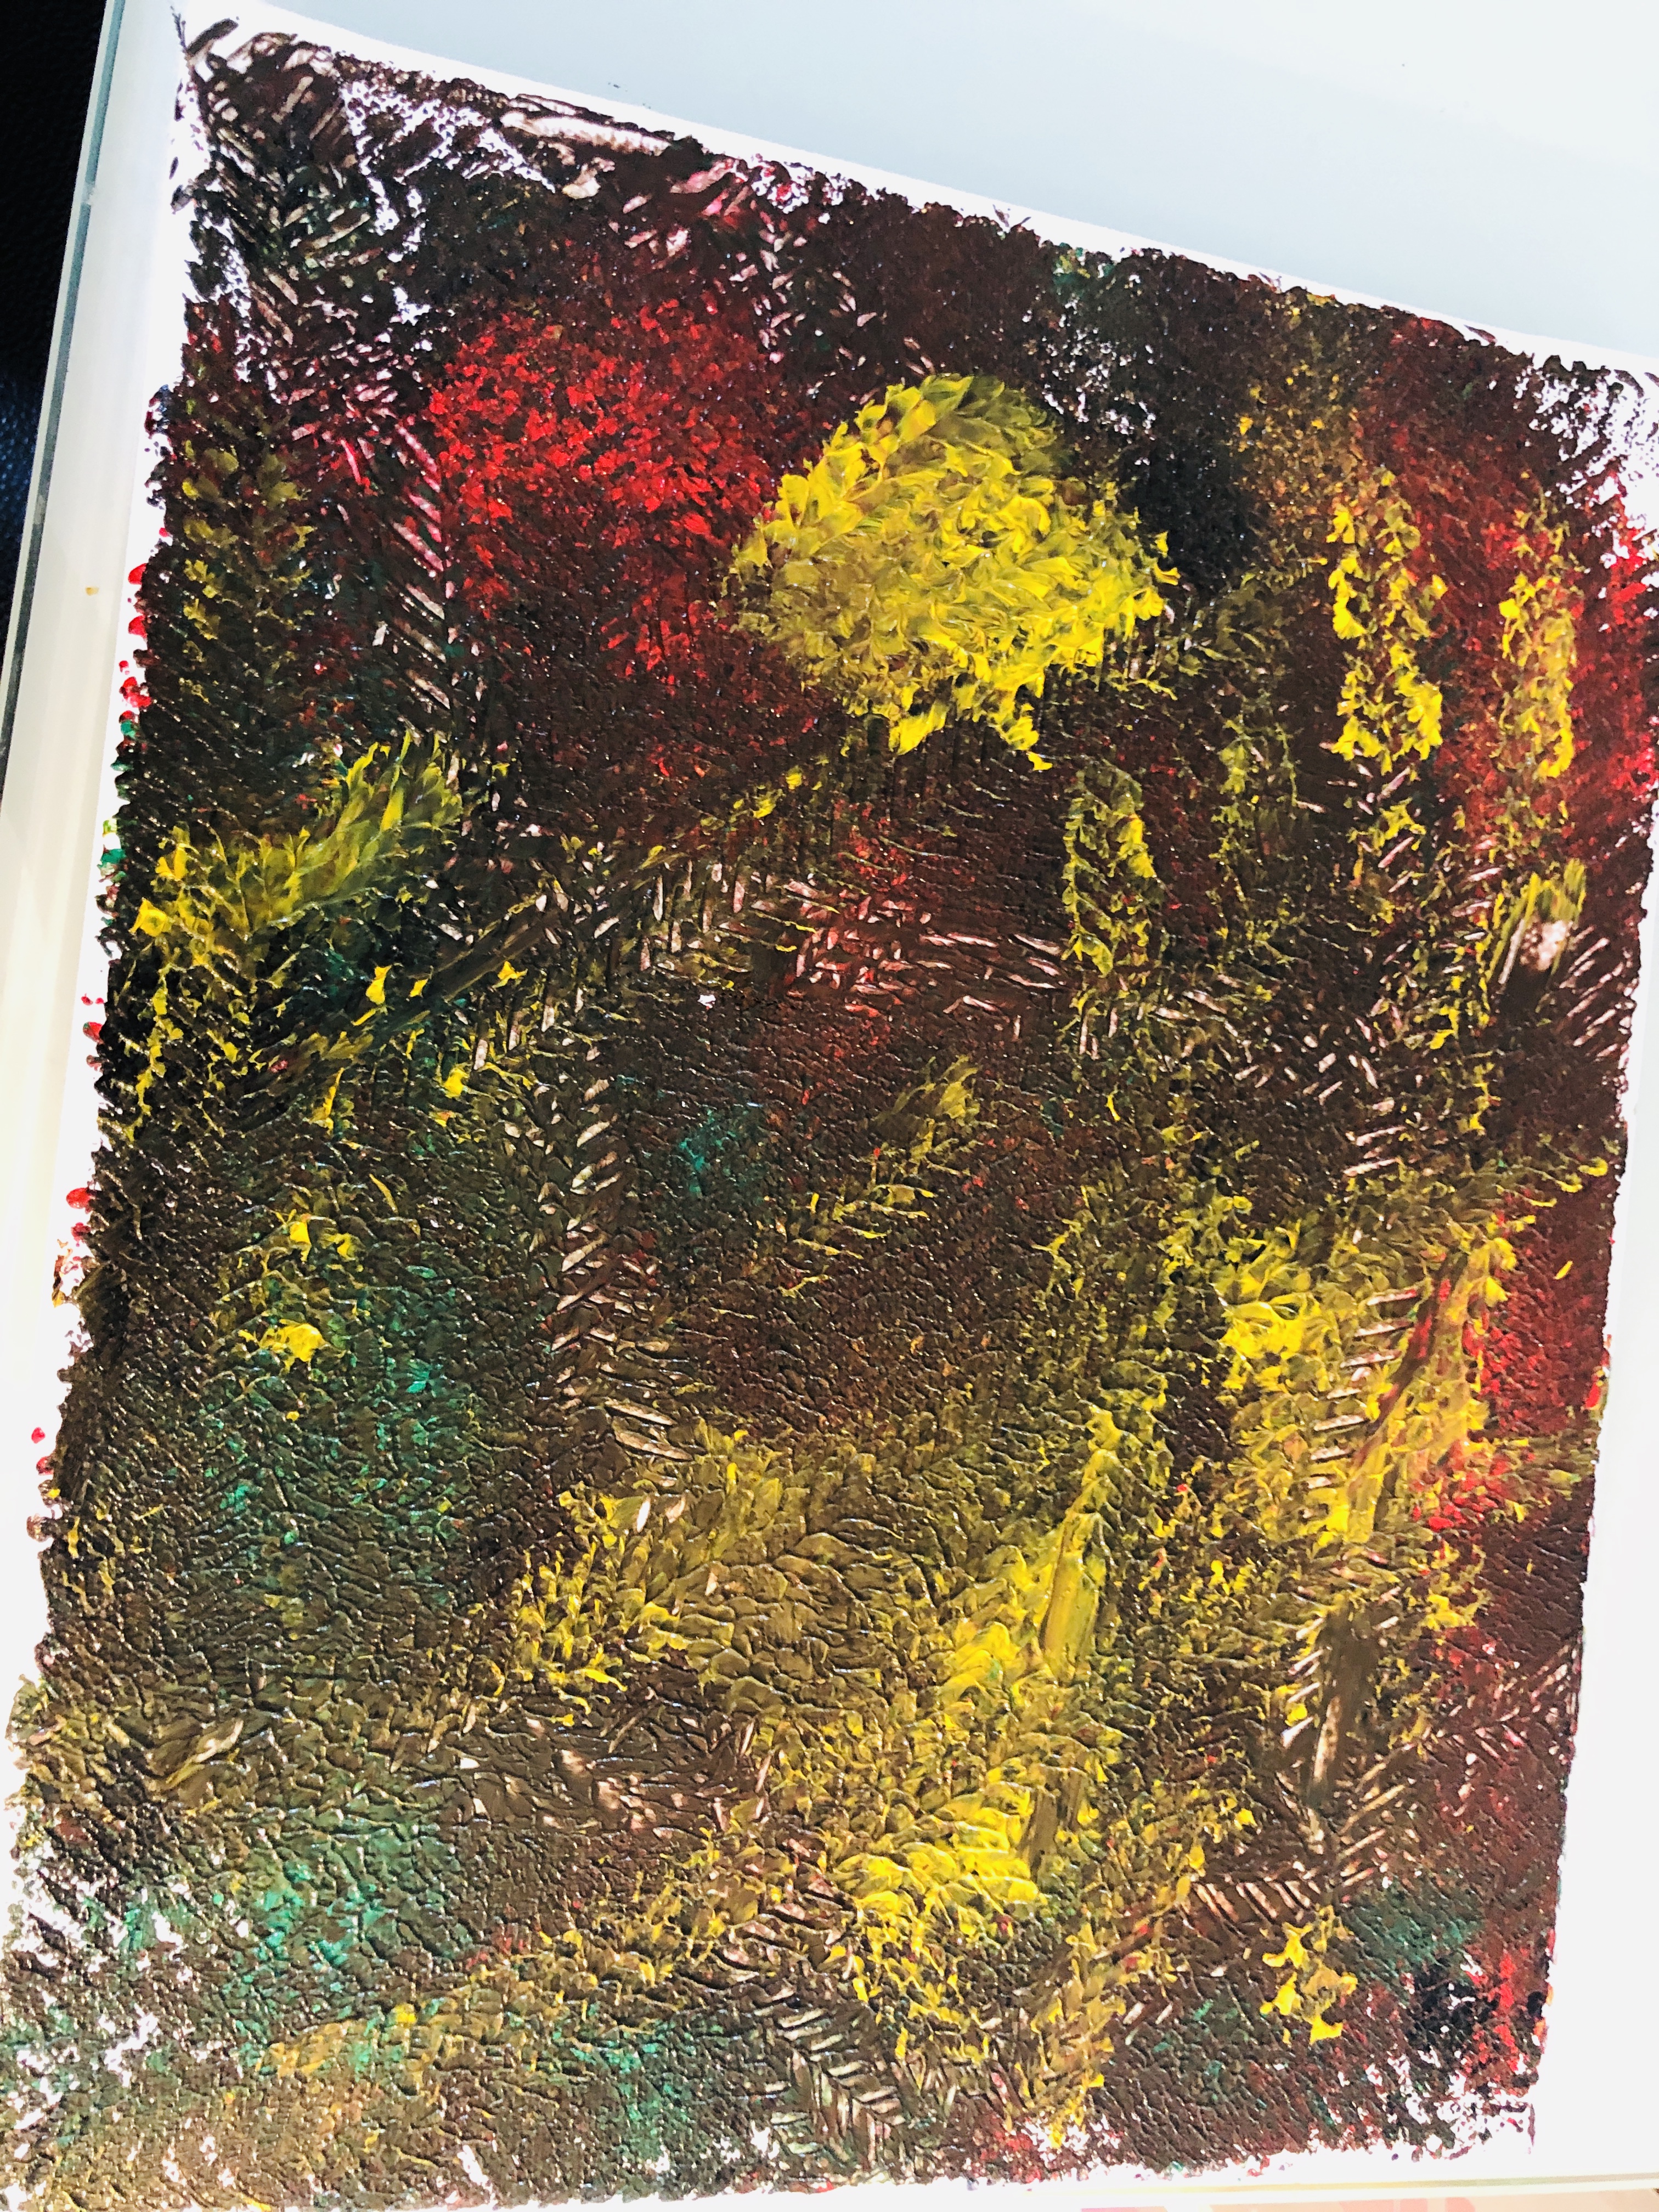
This form of art was very popular with my kids when they were toddlers. Even now, as pre-school kids, they find this way of painting relaxing and make some new creations from time to time. It takes less than a minute to prepare (unless you have to buy some paint first). Cleaning up might take longer :) This is also a perfect opportunity to learn about colours and - cars.
Interesting facts about cars and driving:
- RHT (right-hand traffic) is used in 165 countries and territories, with the remaining 75 countries and territories using LHT (left-hand-traffic).
- A modern Formula 1 can drive upside down in a tunnel at 120mph (193kmh).
- It would take less than a month to get to the moon by car.
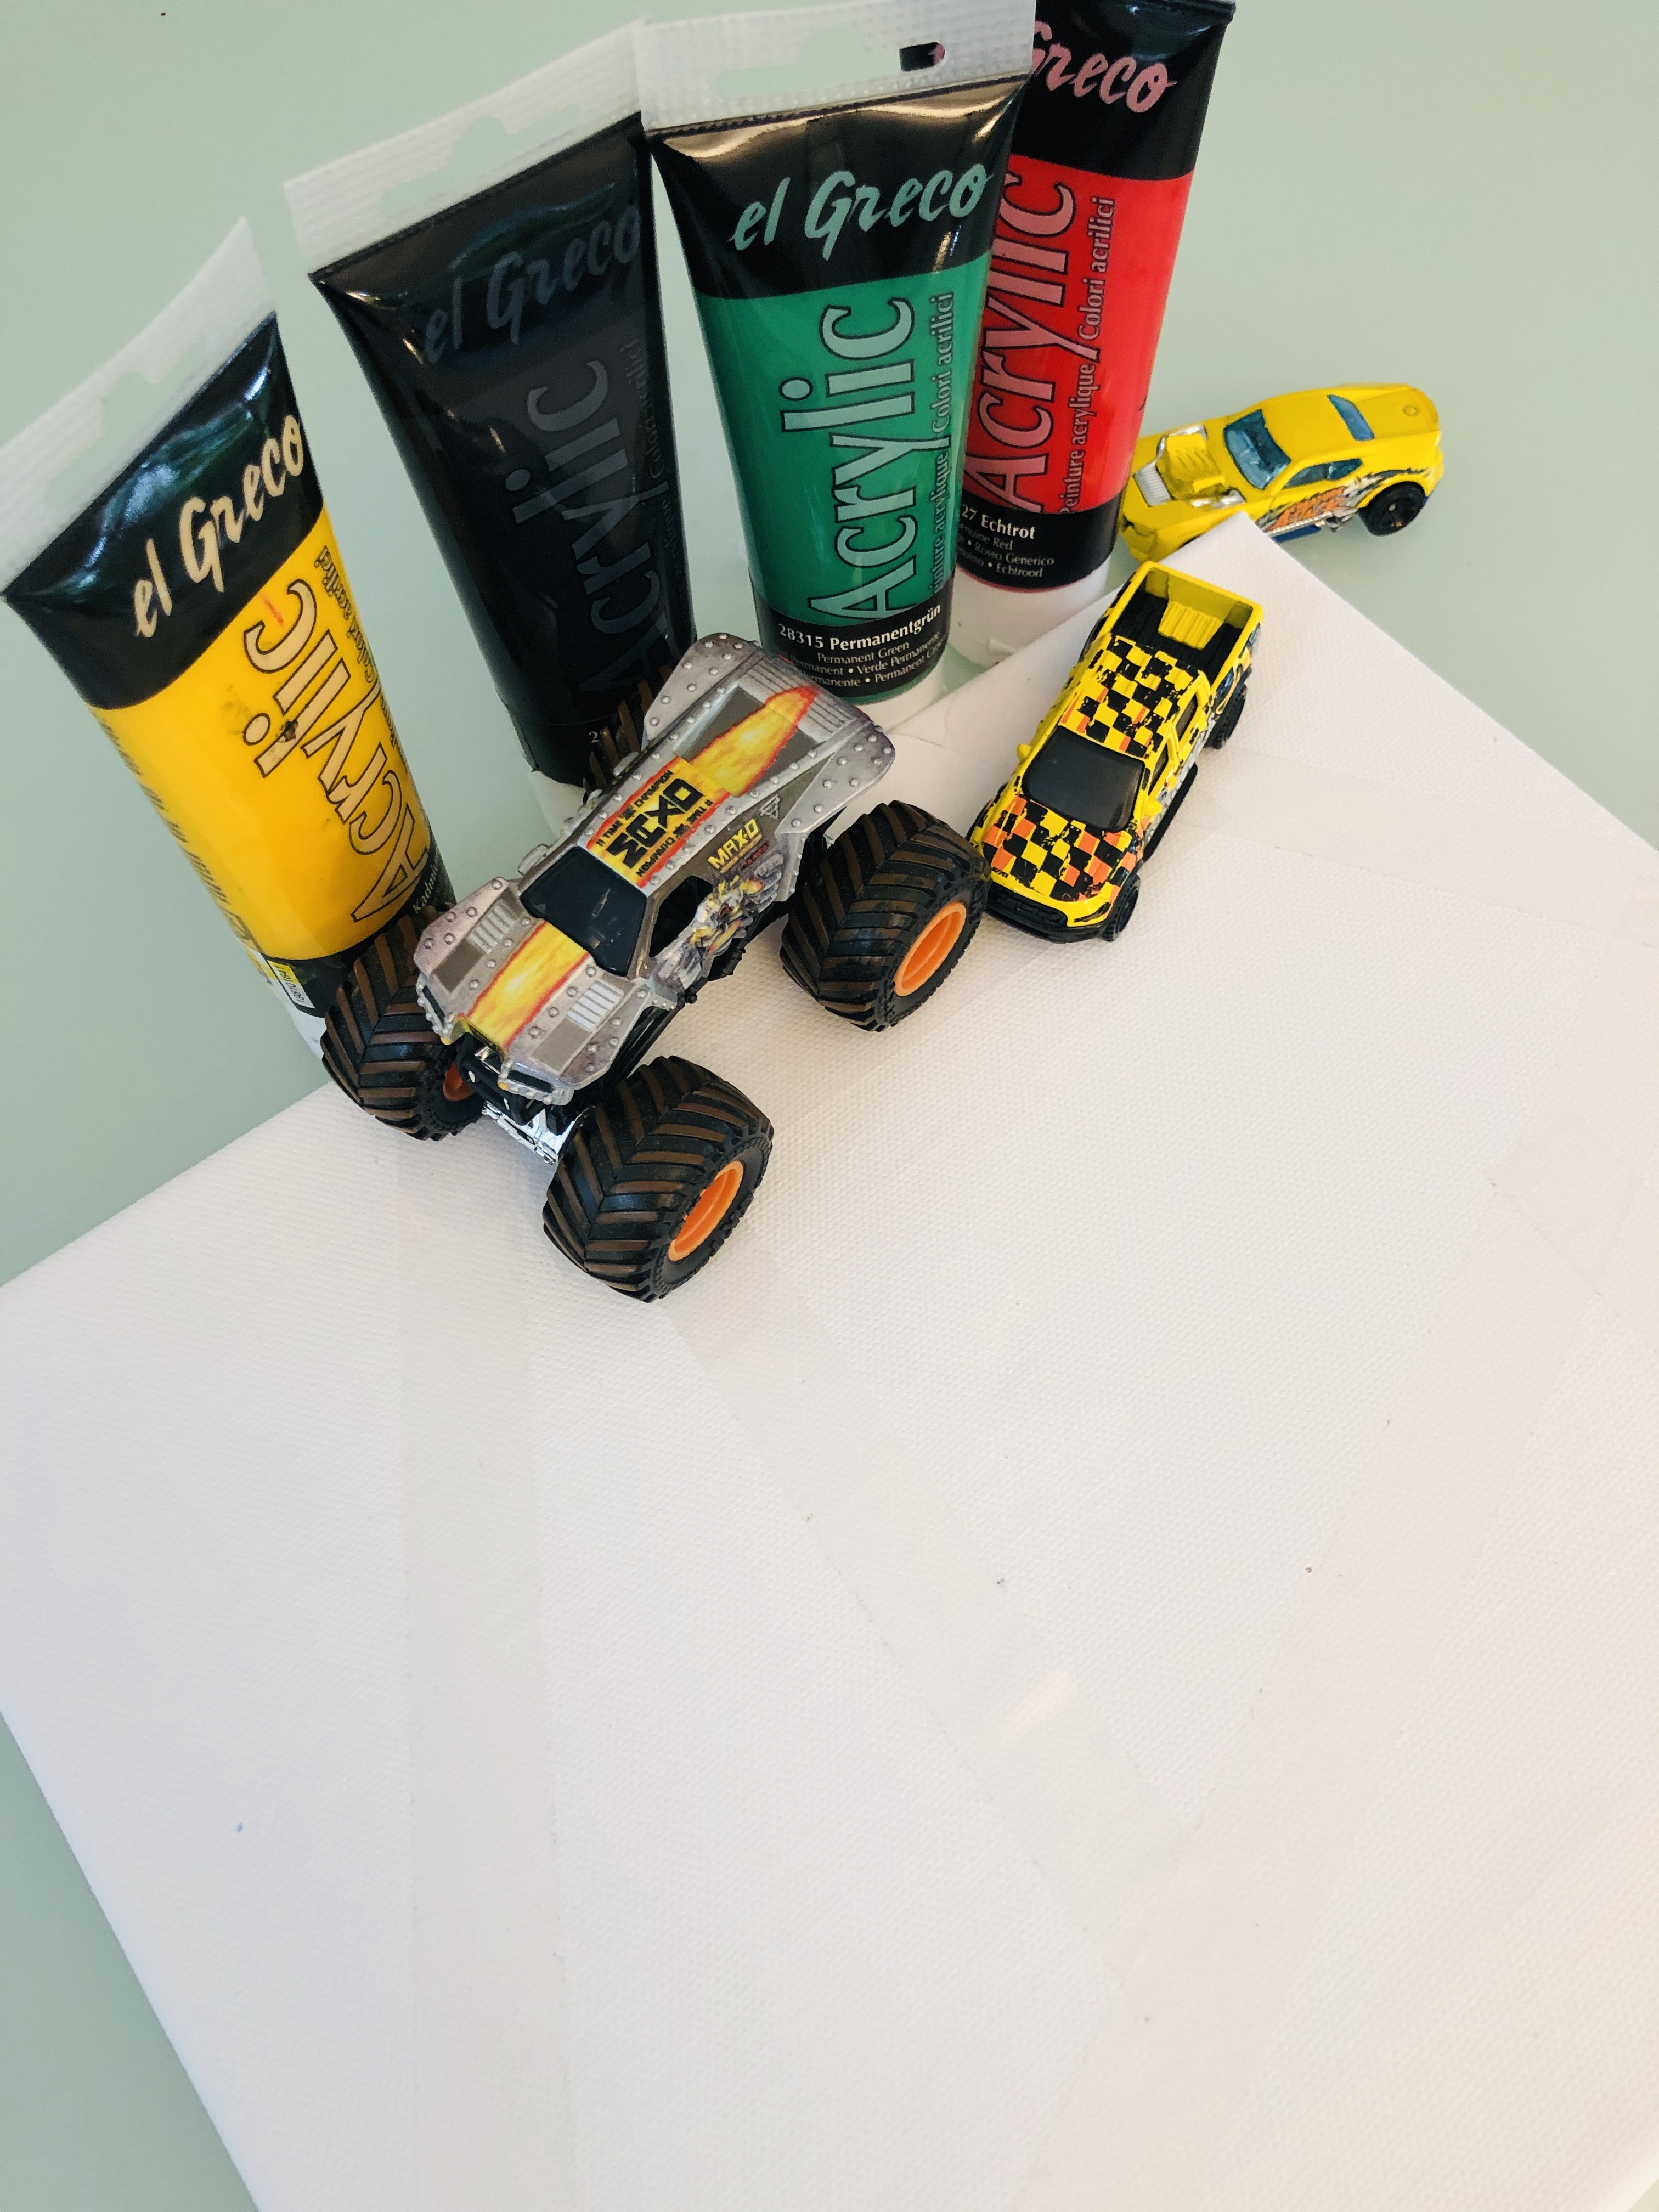
Materials
- Canvas or cardboard
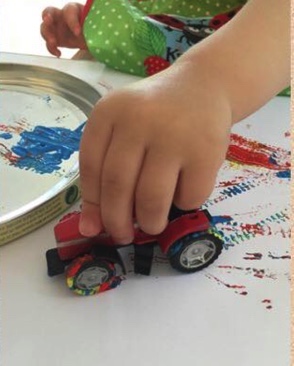
- Cars, trucks, excavators…
- Paint
- Painting table protectors (optional but very helpful)
- Scotch tape (optional but decorative)
Step 1.
Prepare a canvas or some cardboard (paper is too thin for so much paint and car tyres might tear it), paint, and vehicles.
Get you kid out on a protective apron and protect the table.
If you want the final product to be a bit more decorative, you can peel the tape in different directions.
Put some paint on the canvas or on a lid/foil next to the canvas. Then…
Step 4.
Let dry.
While the artwork is drying, wash the cars. This is a whole new fun activity.

Step 6.
Peel off the tape and display.